For years I’ve wanted to design a chess set. Its universal language has always been an attraction for me.
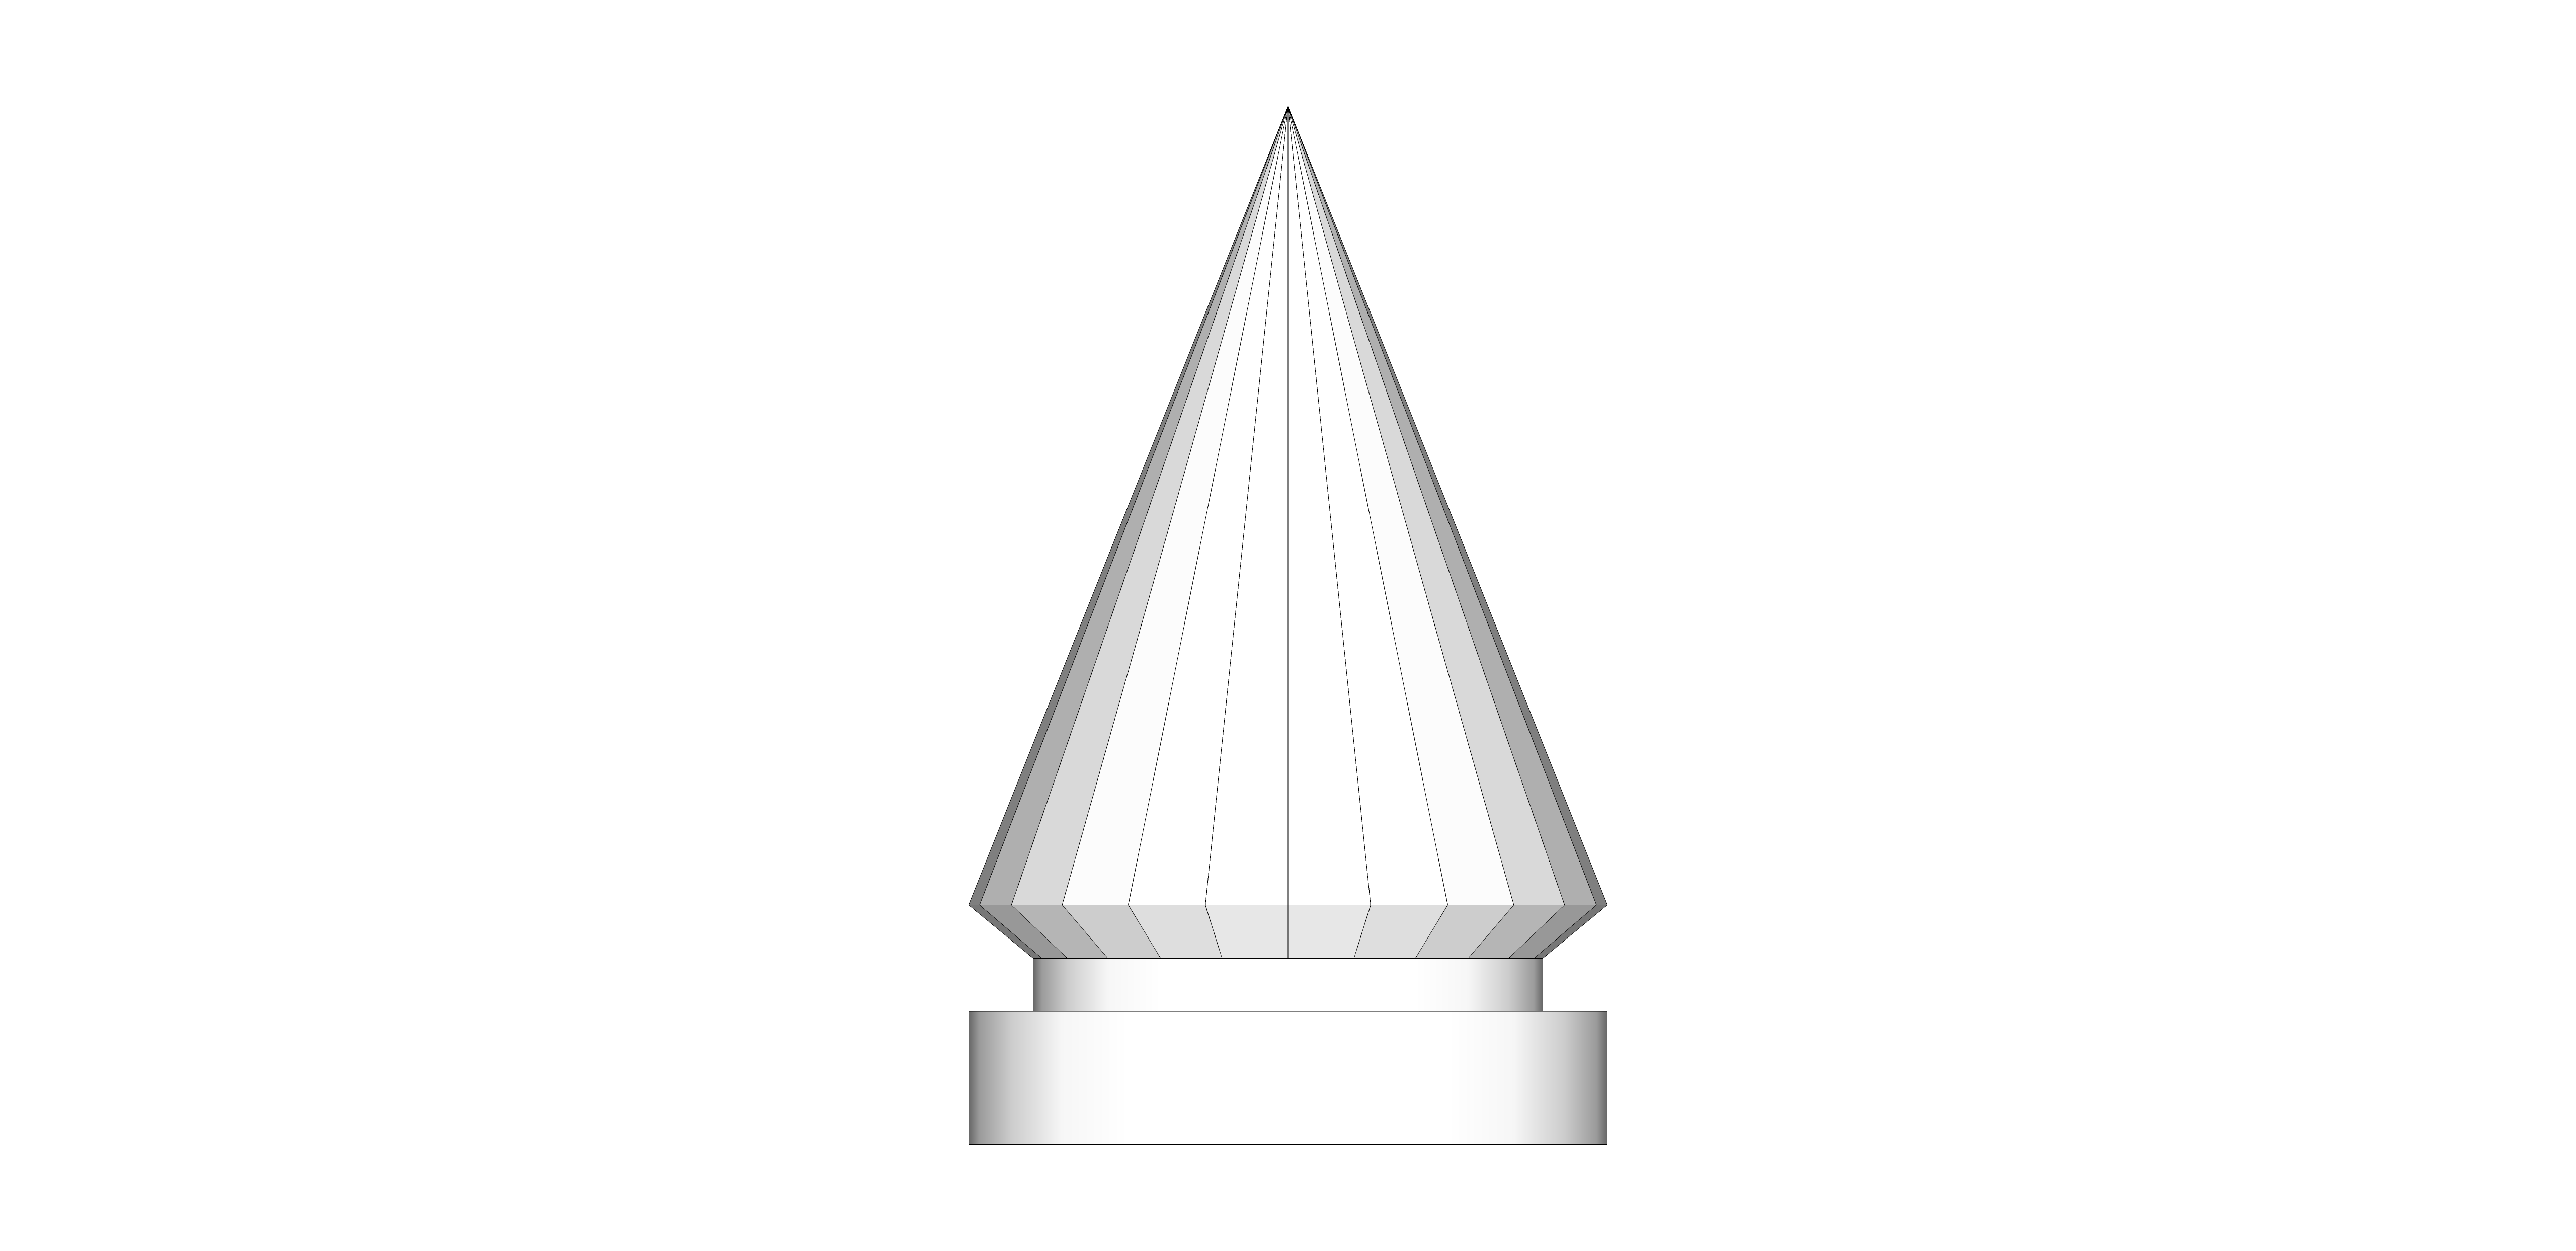
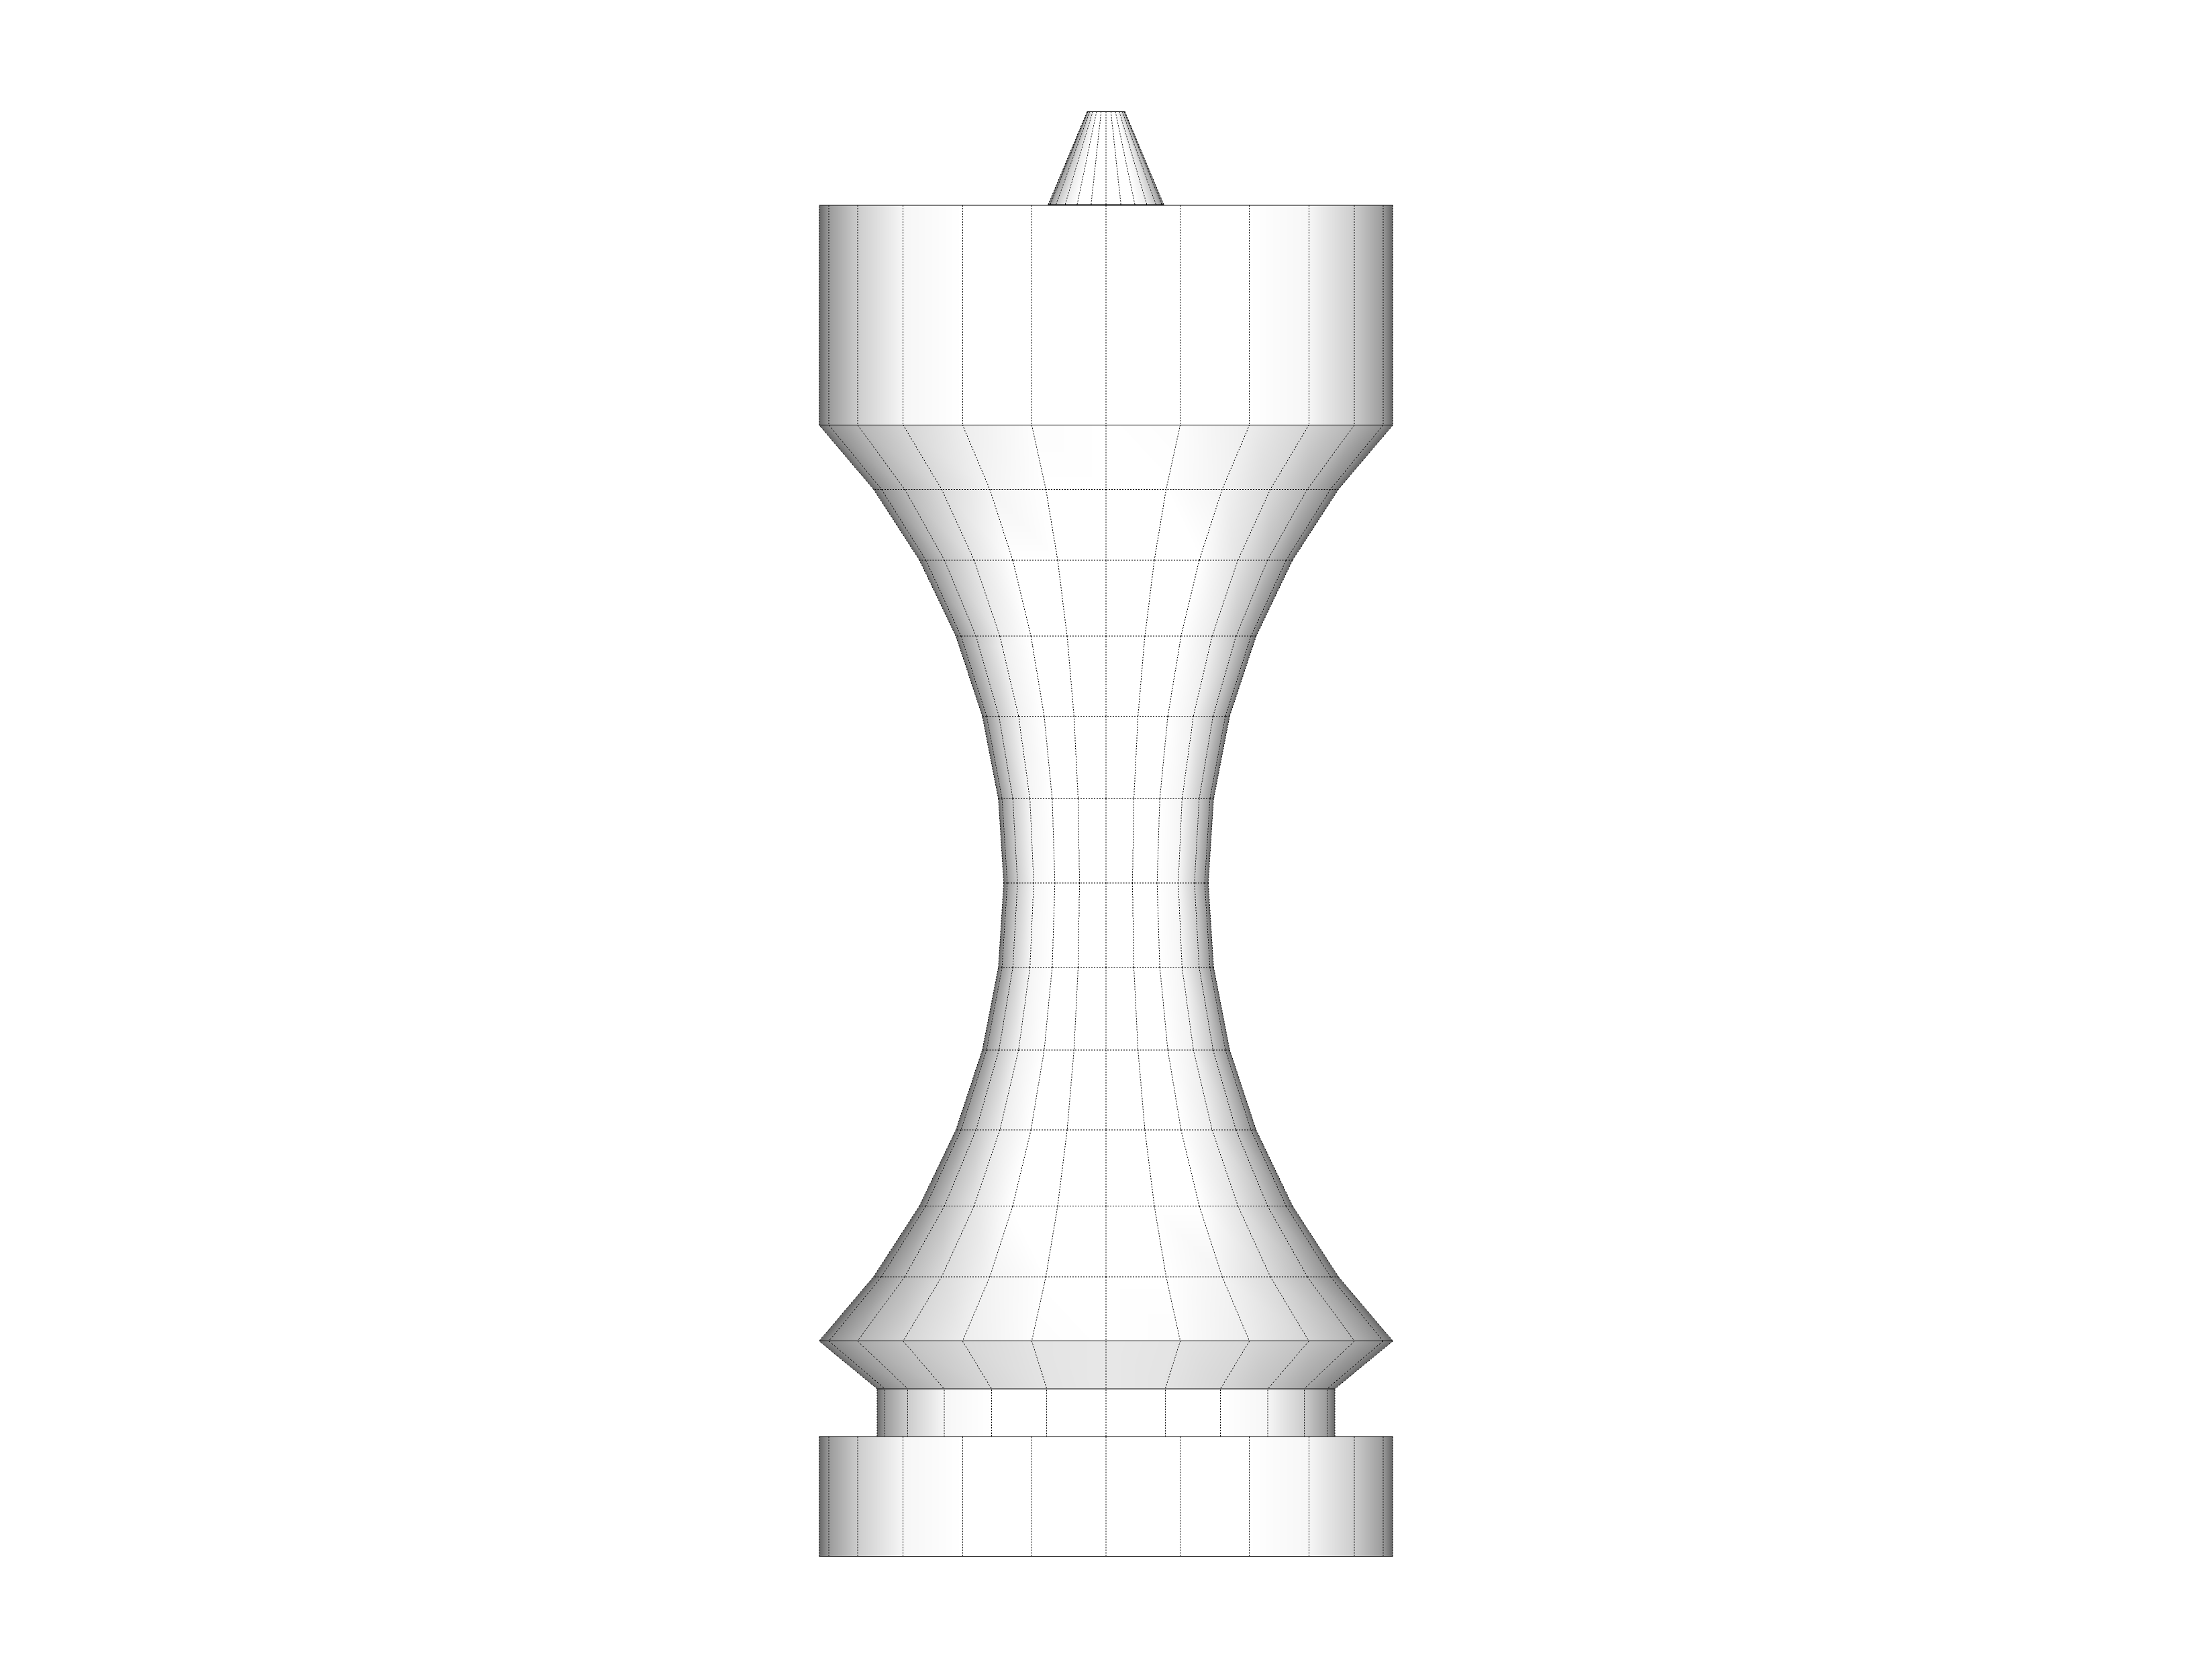
I started doodling around Thanksgiving and creating my first parts over Christmas break. I finally finished the set a few weeks ago. The initial designs were all done in Sketchup and that’s where the images below were exported from.
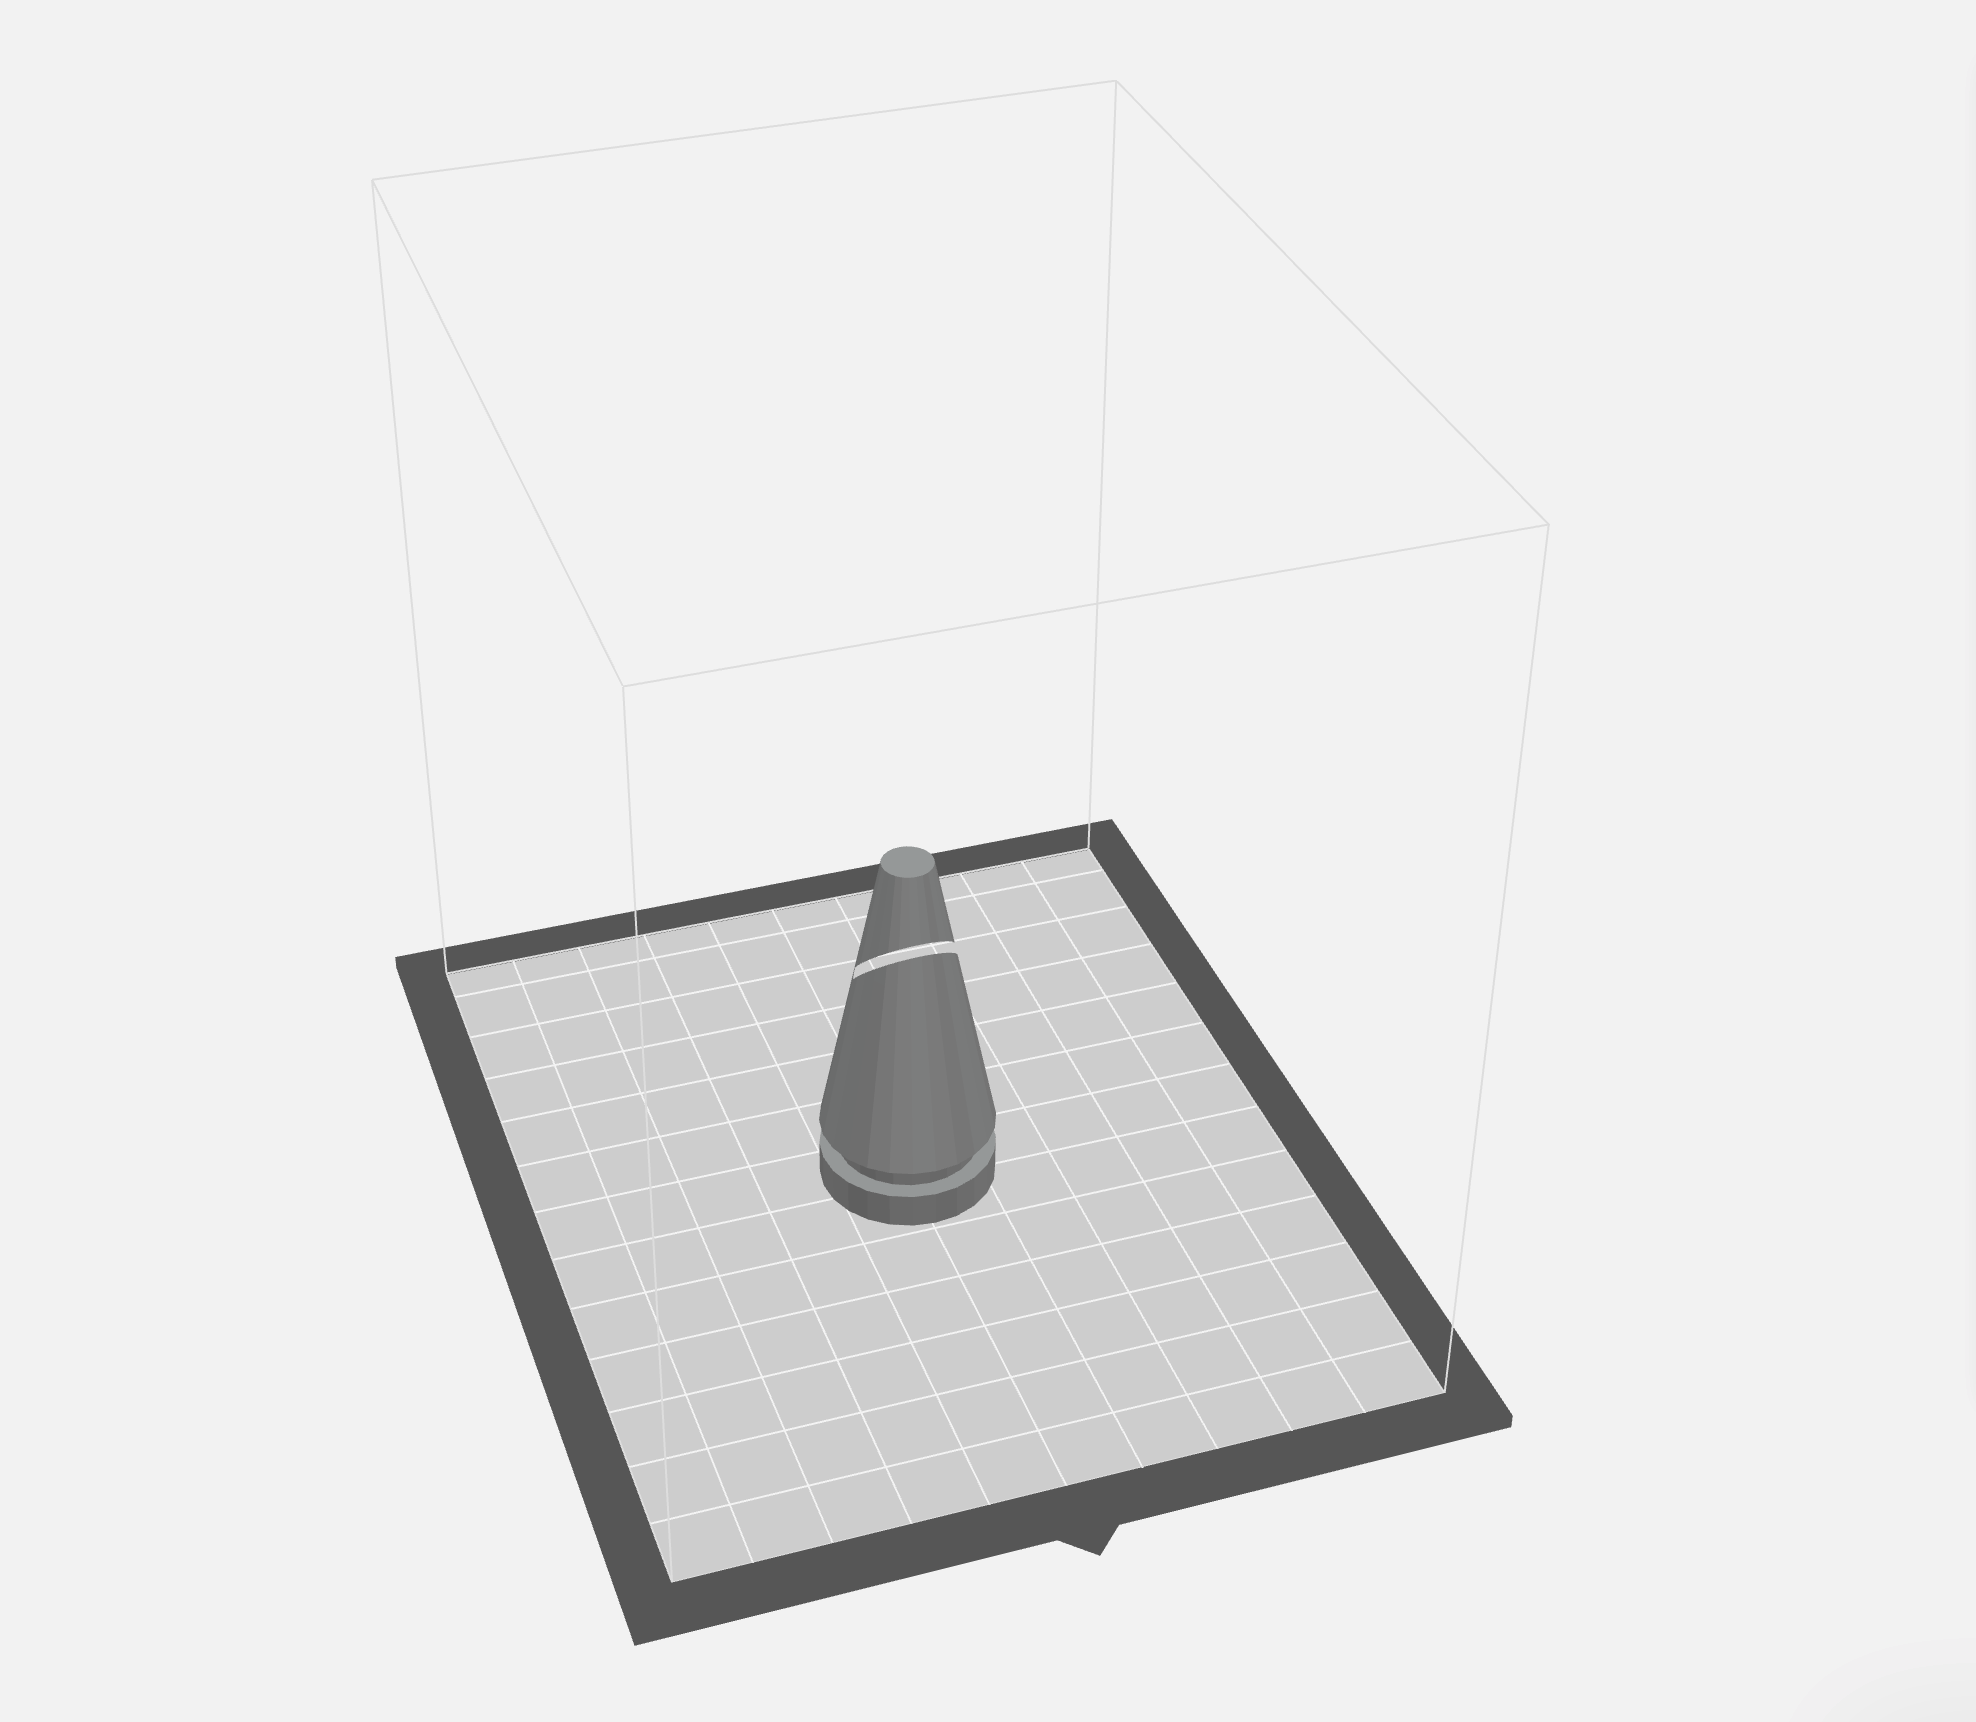
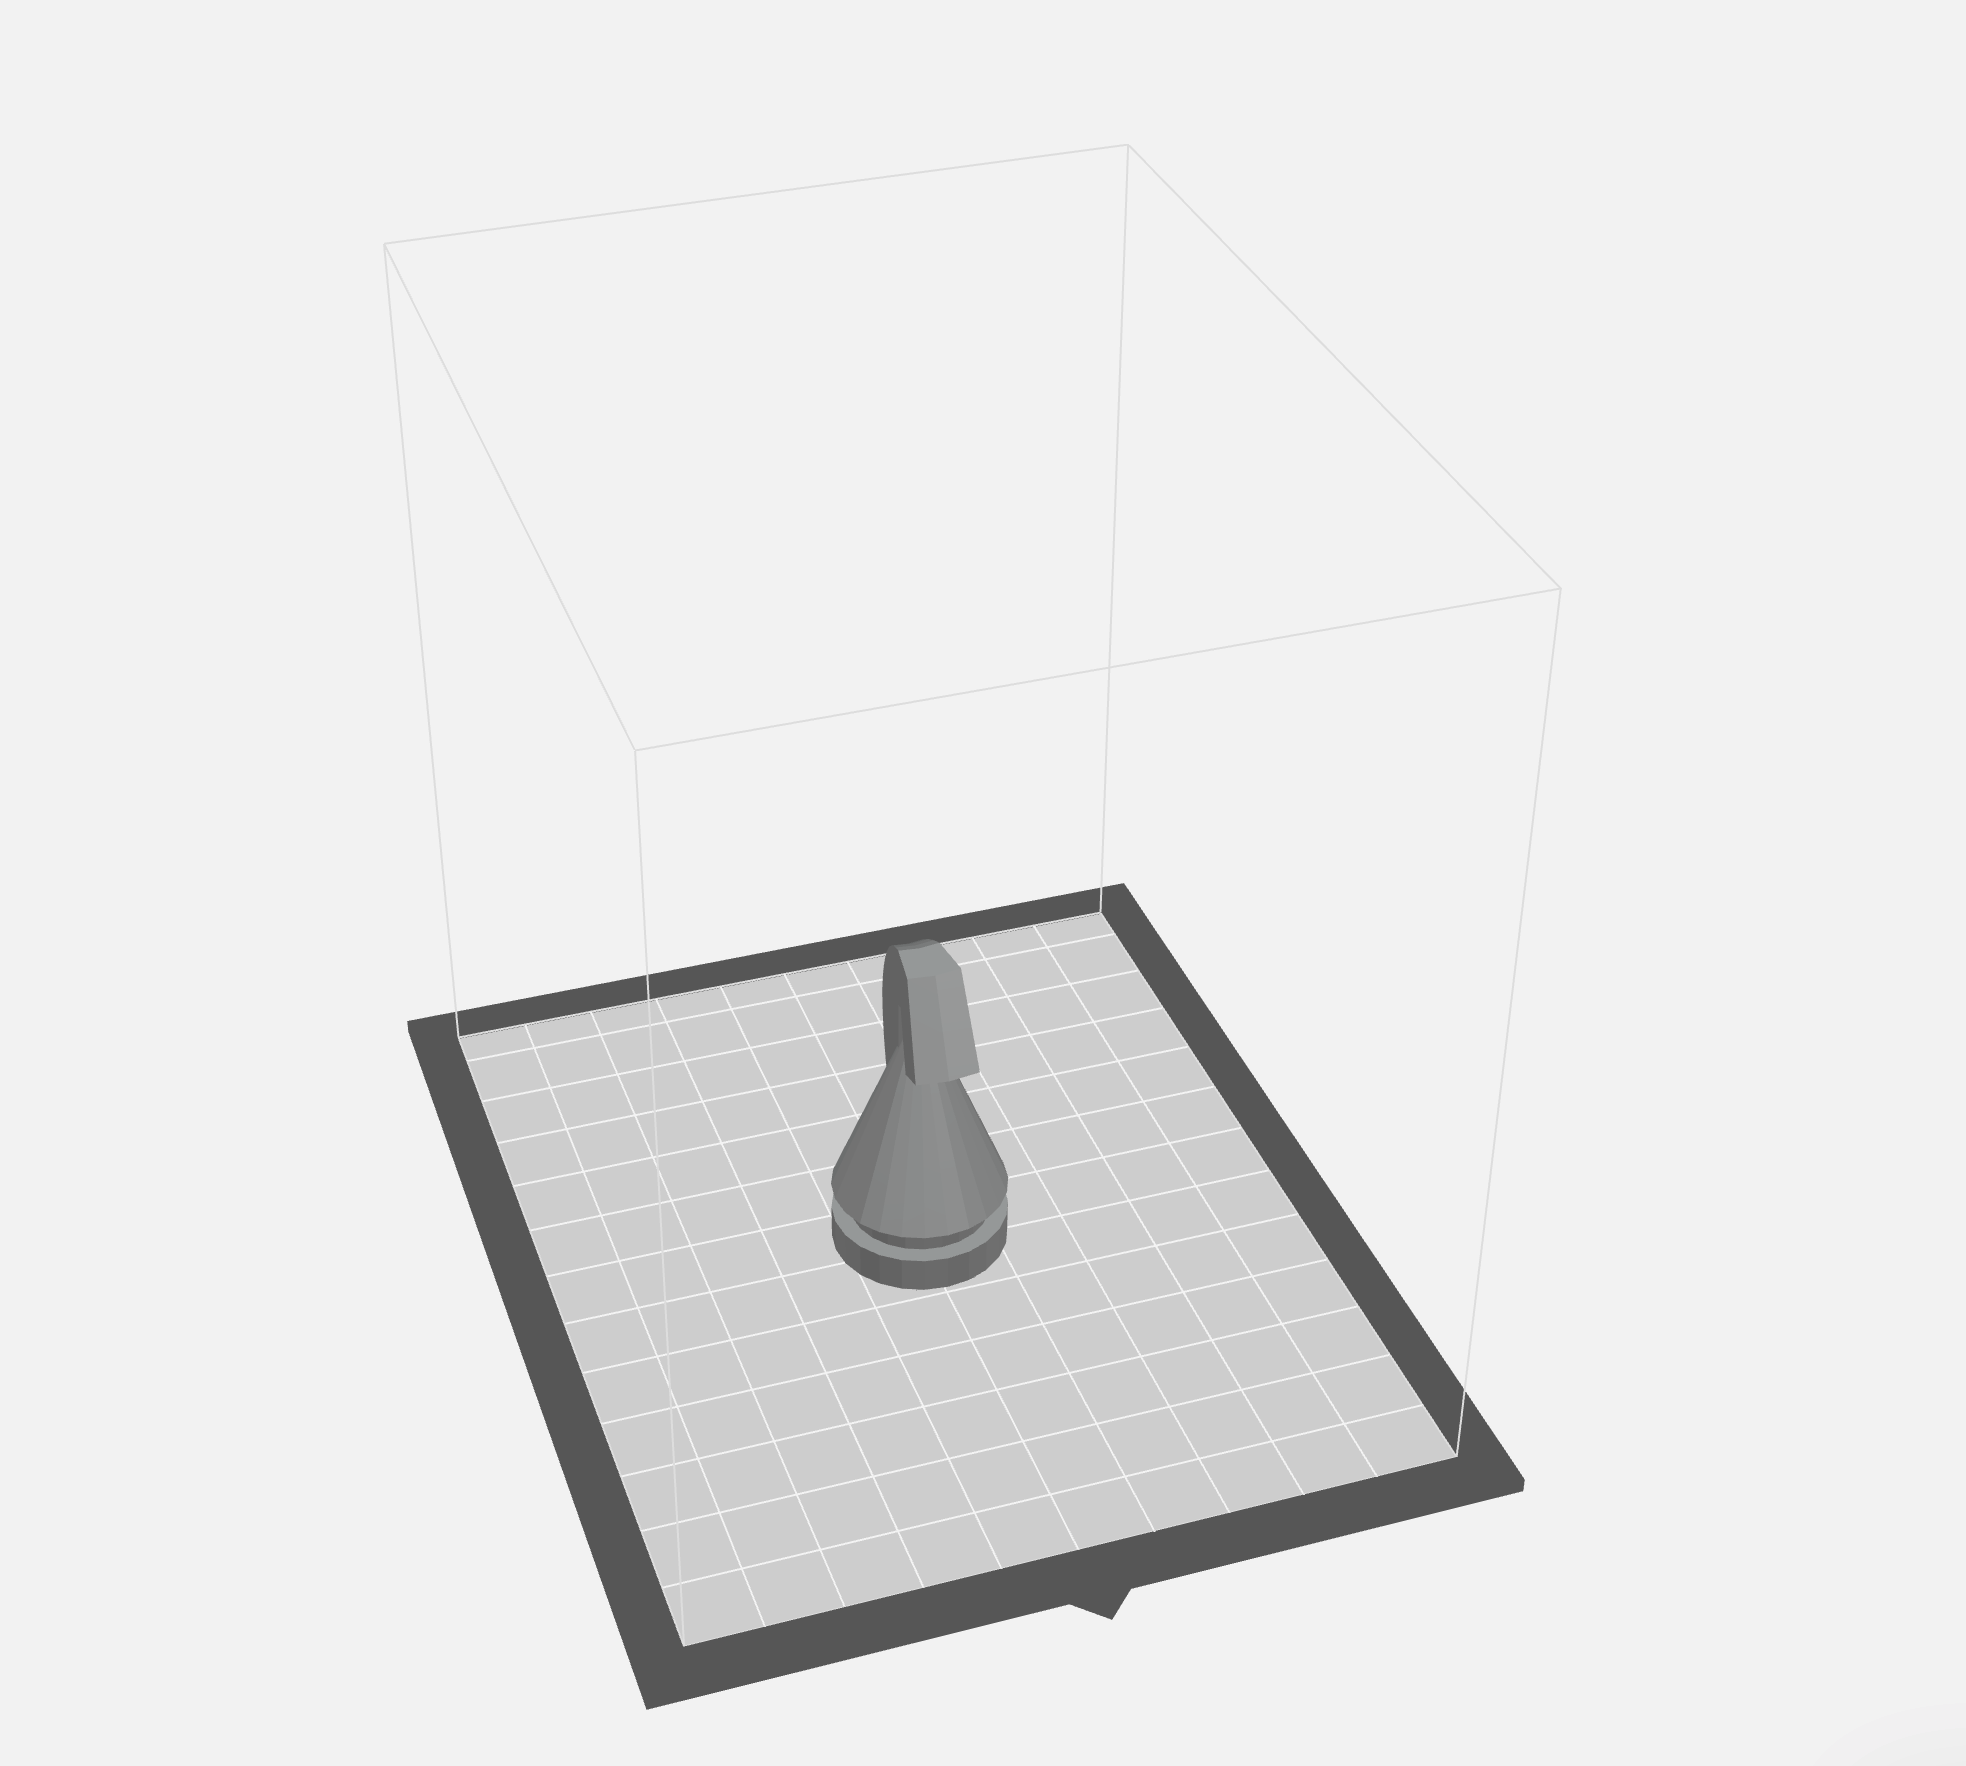
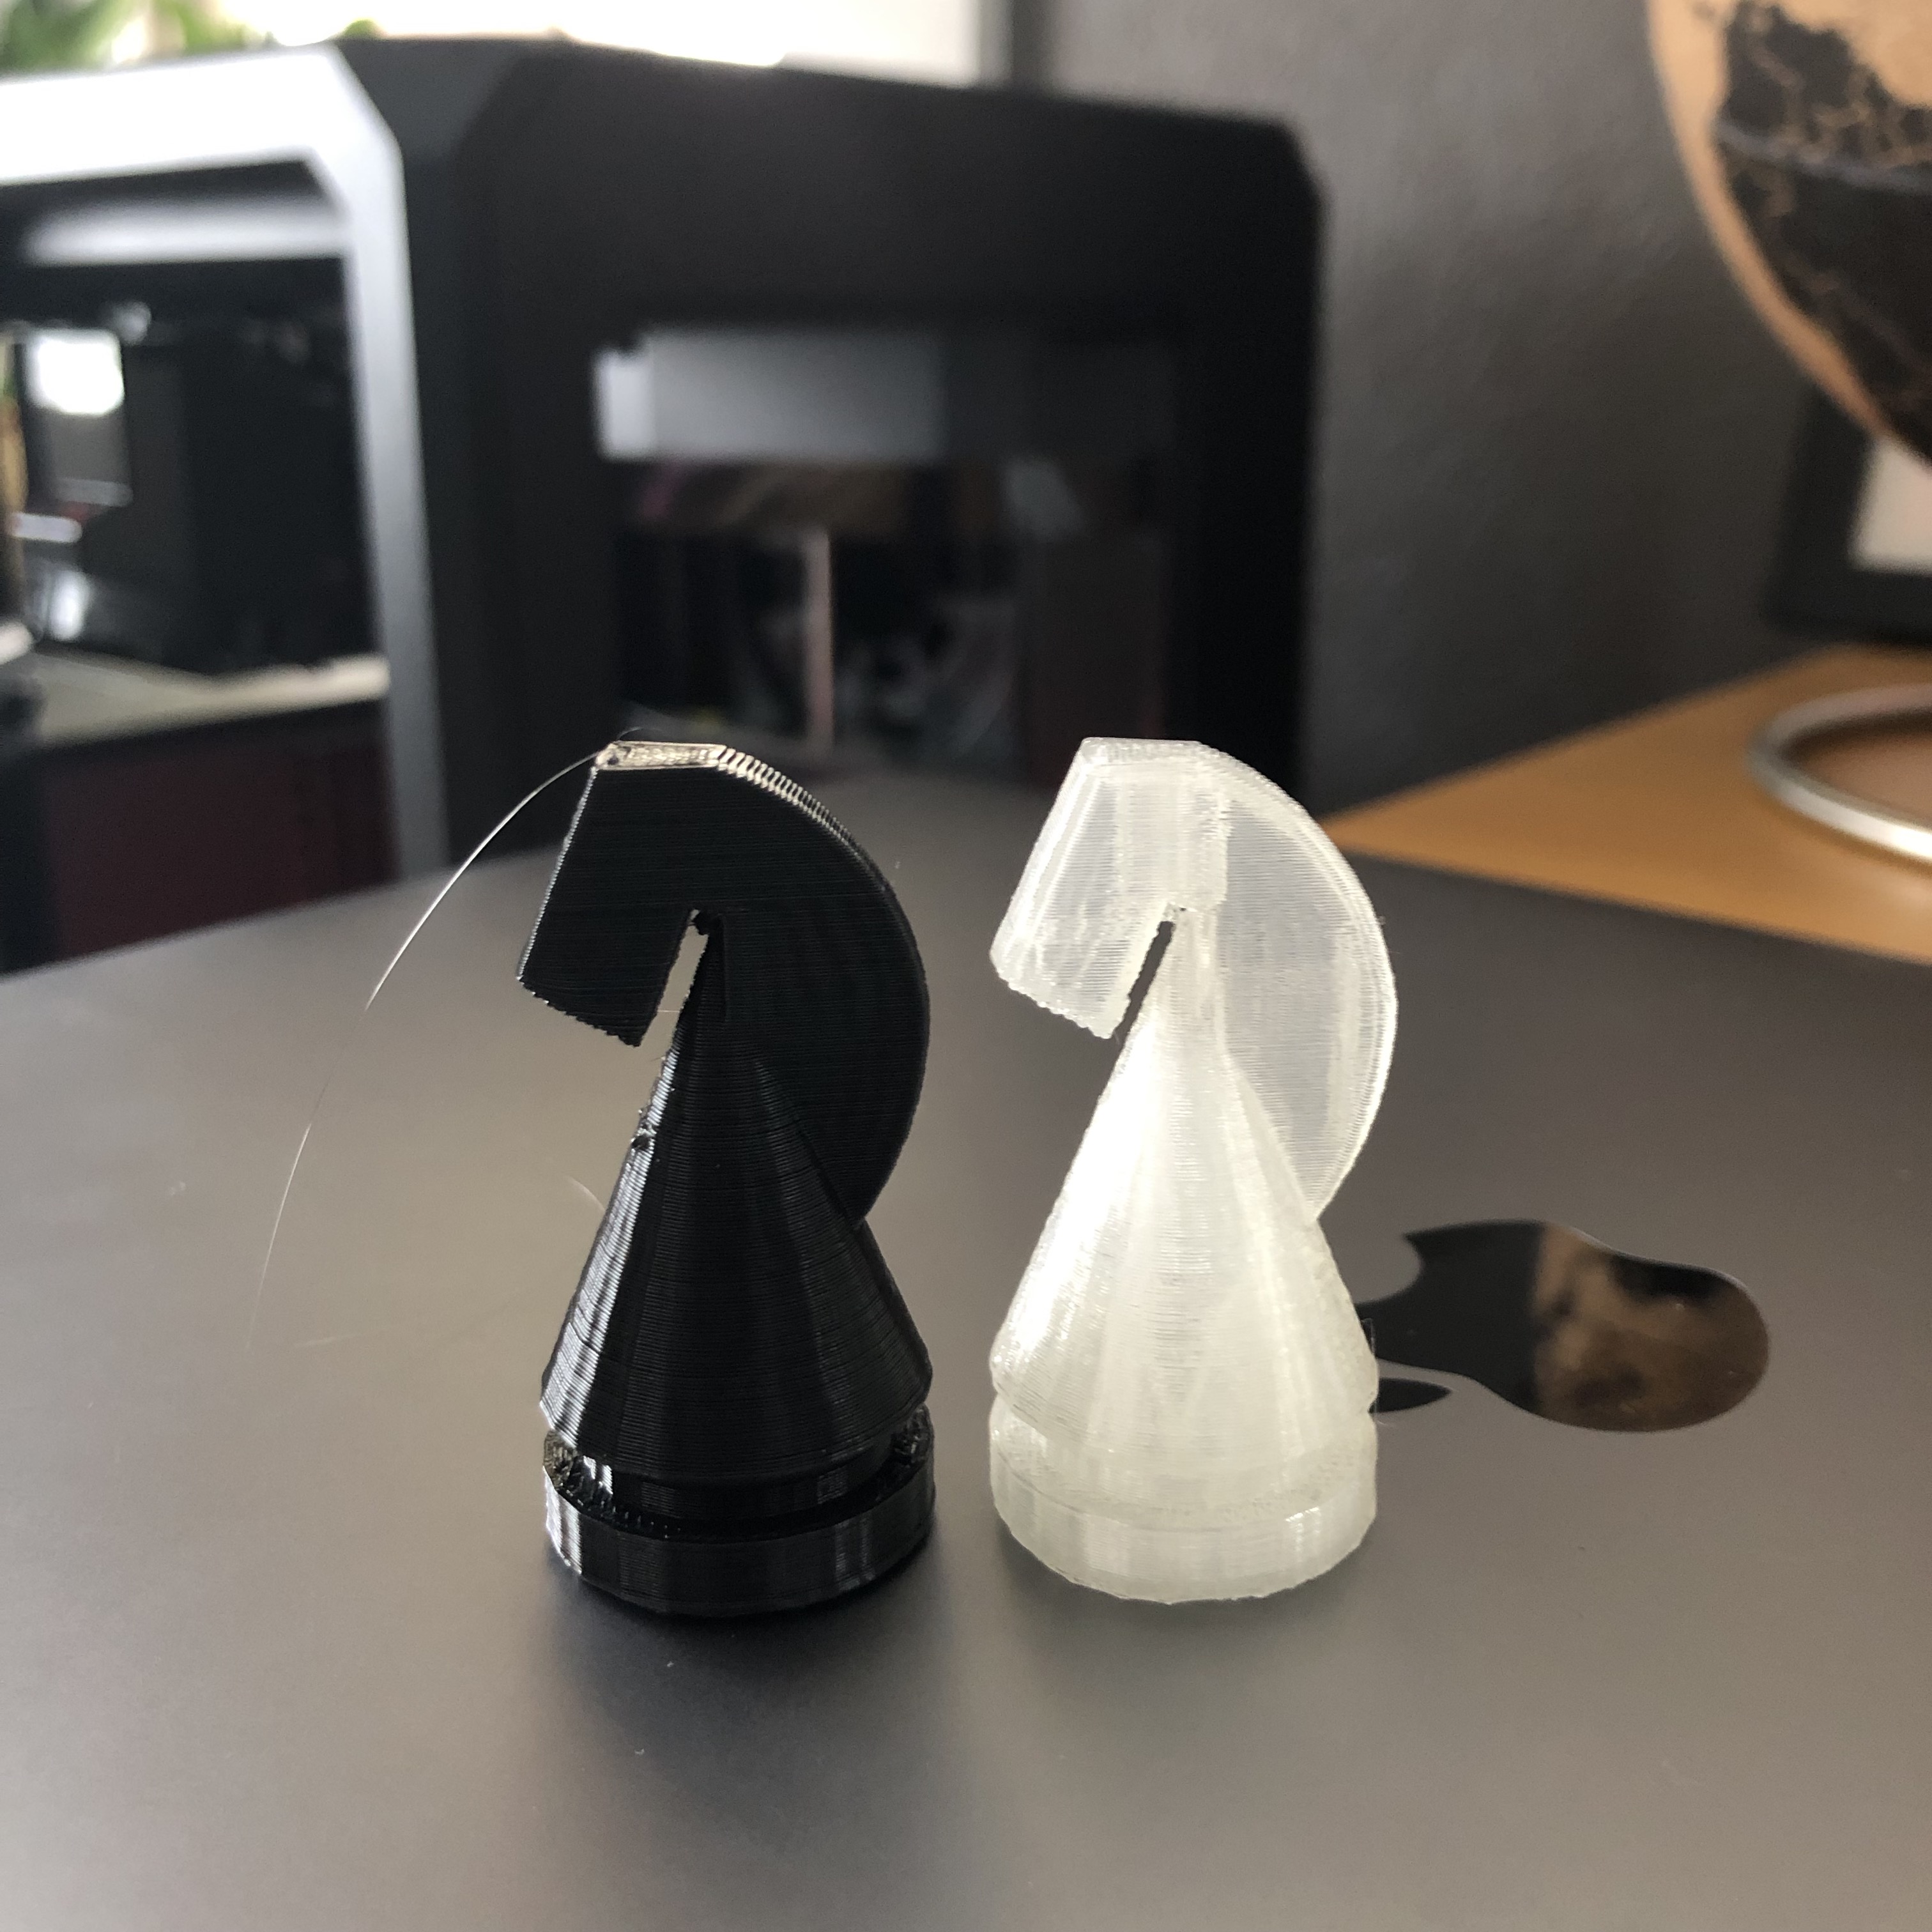
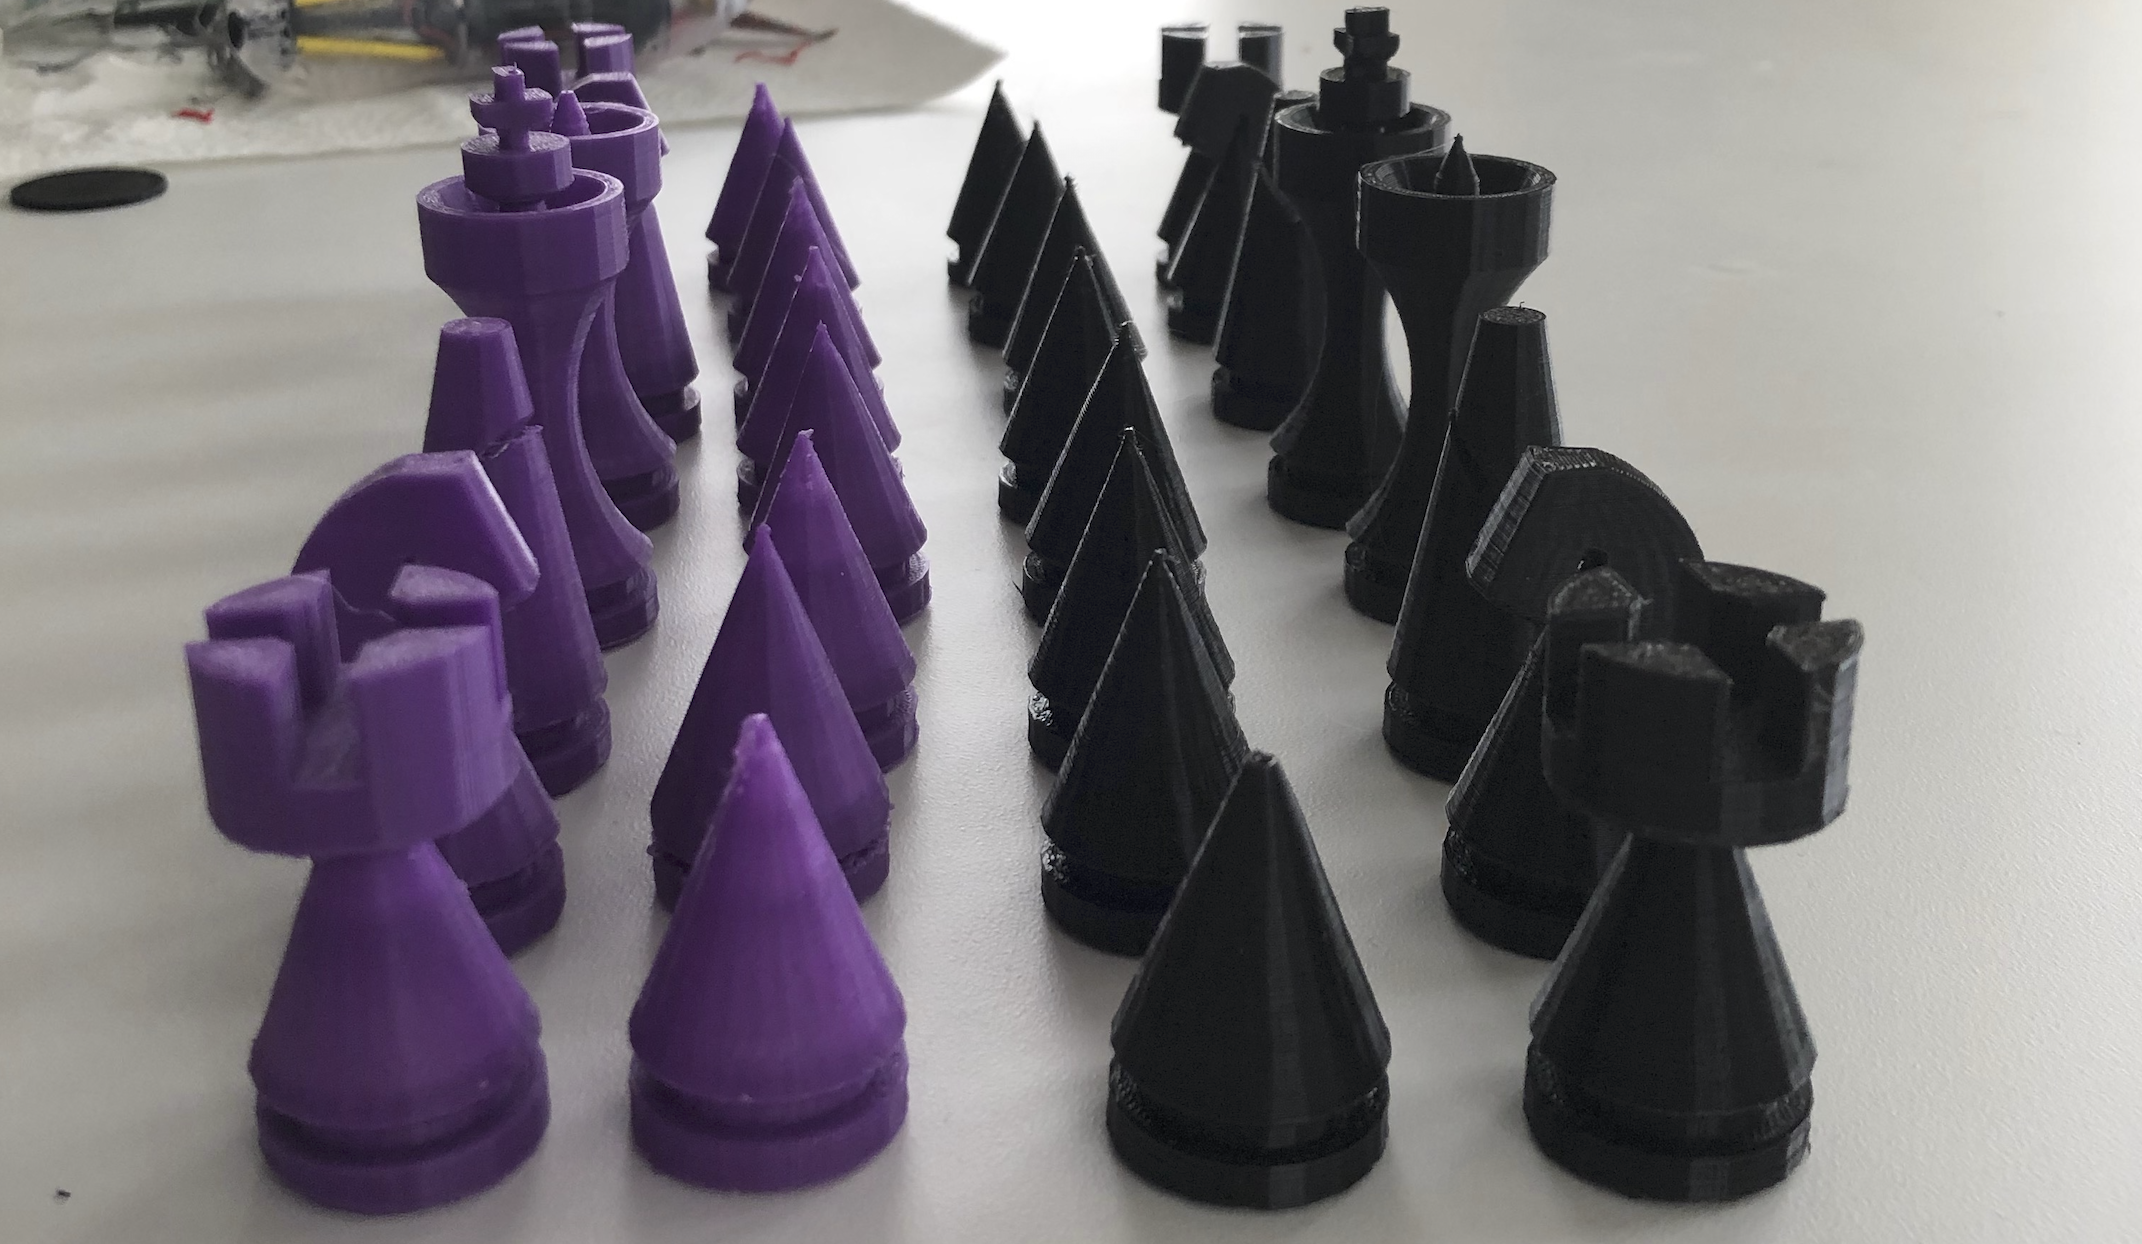
The Knight gave me the most trouble. I wanted to keep the number of actual curves to a minimum where the height and shape set the pieces apart. In the end I’m really proud of how it turned out.
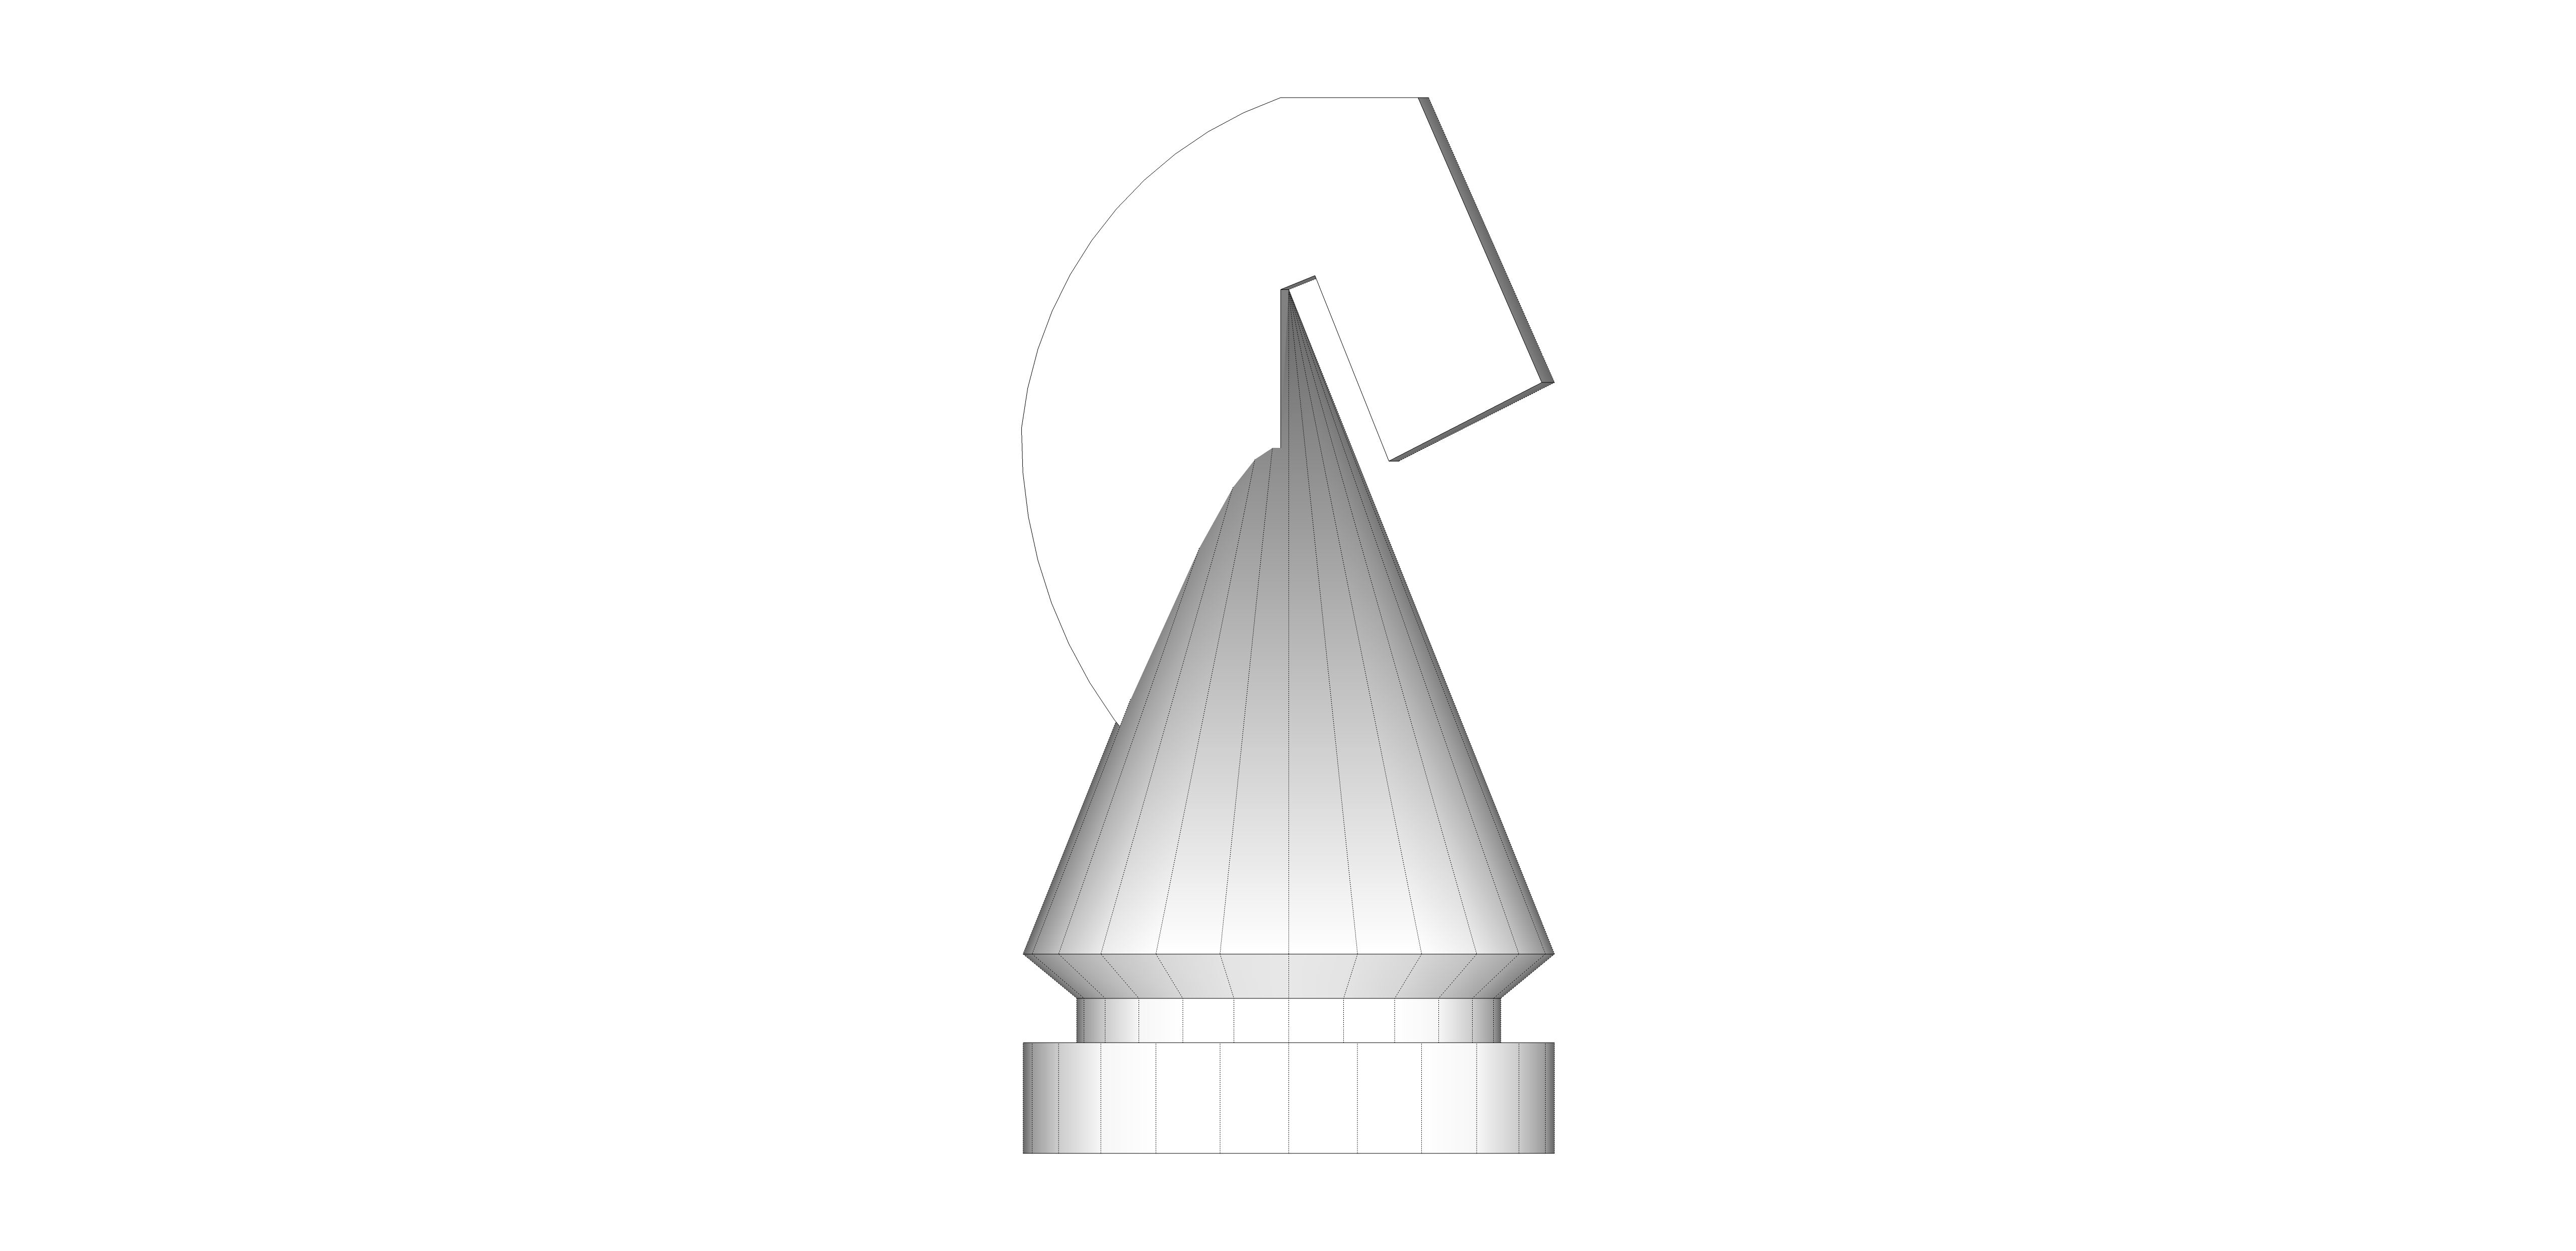
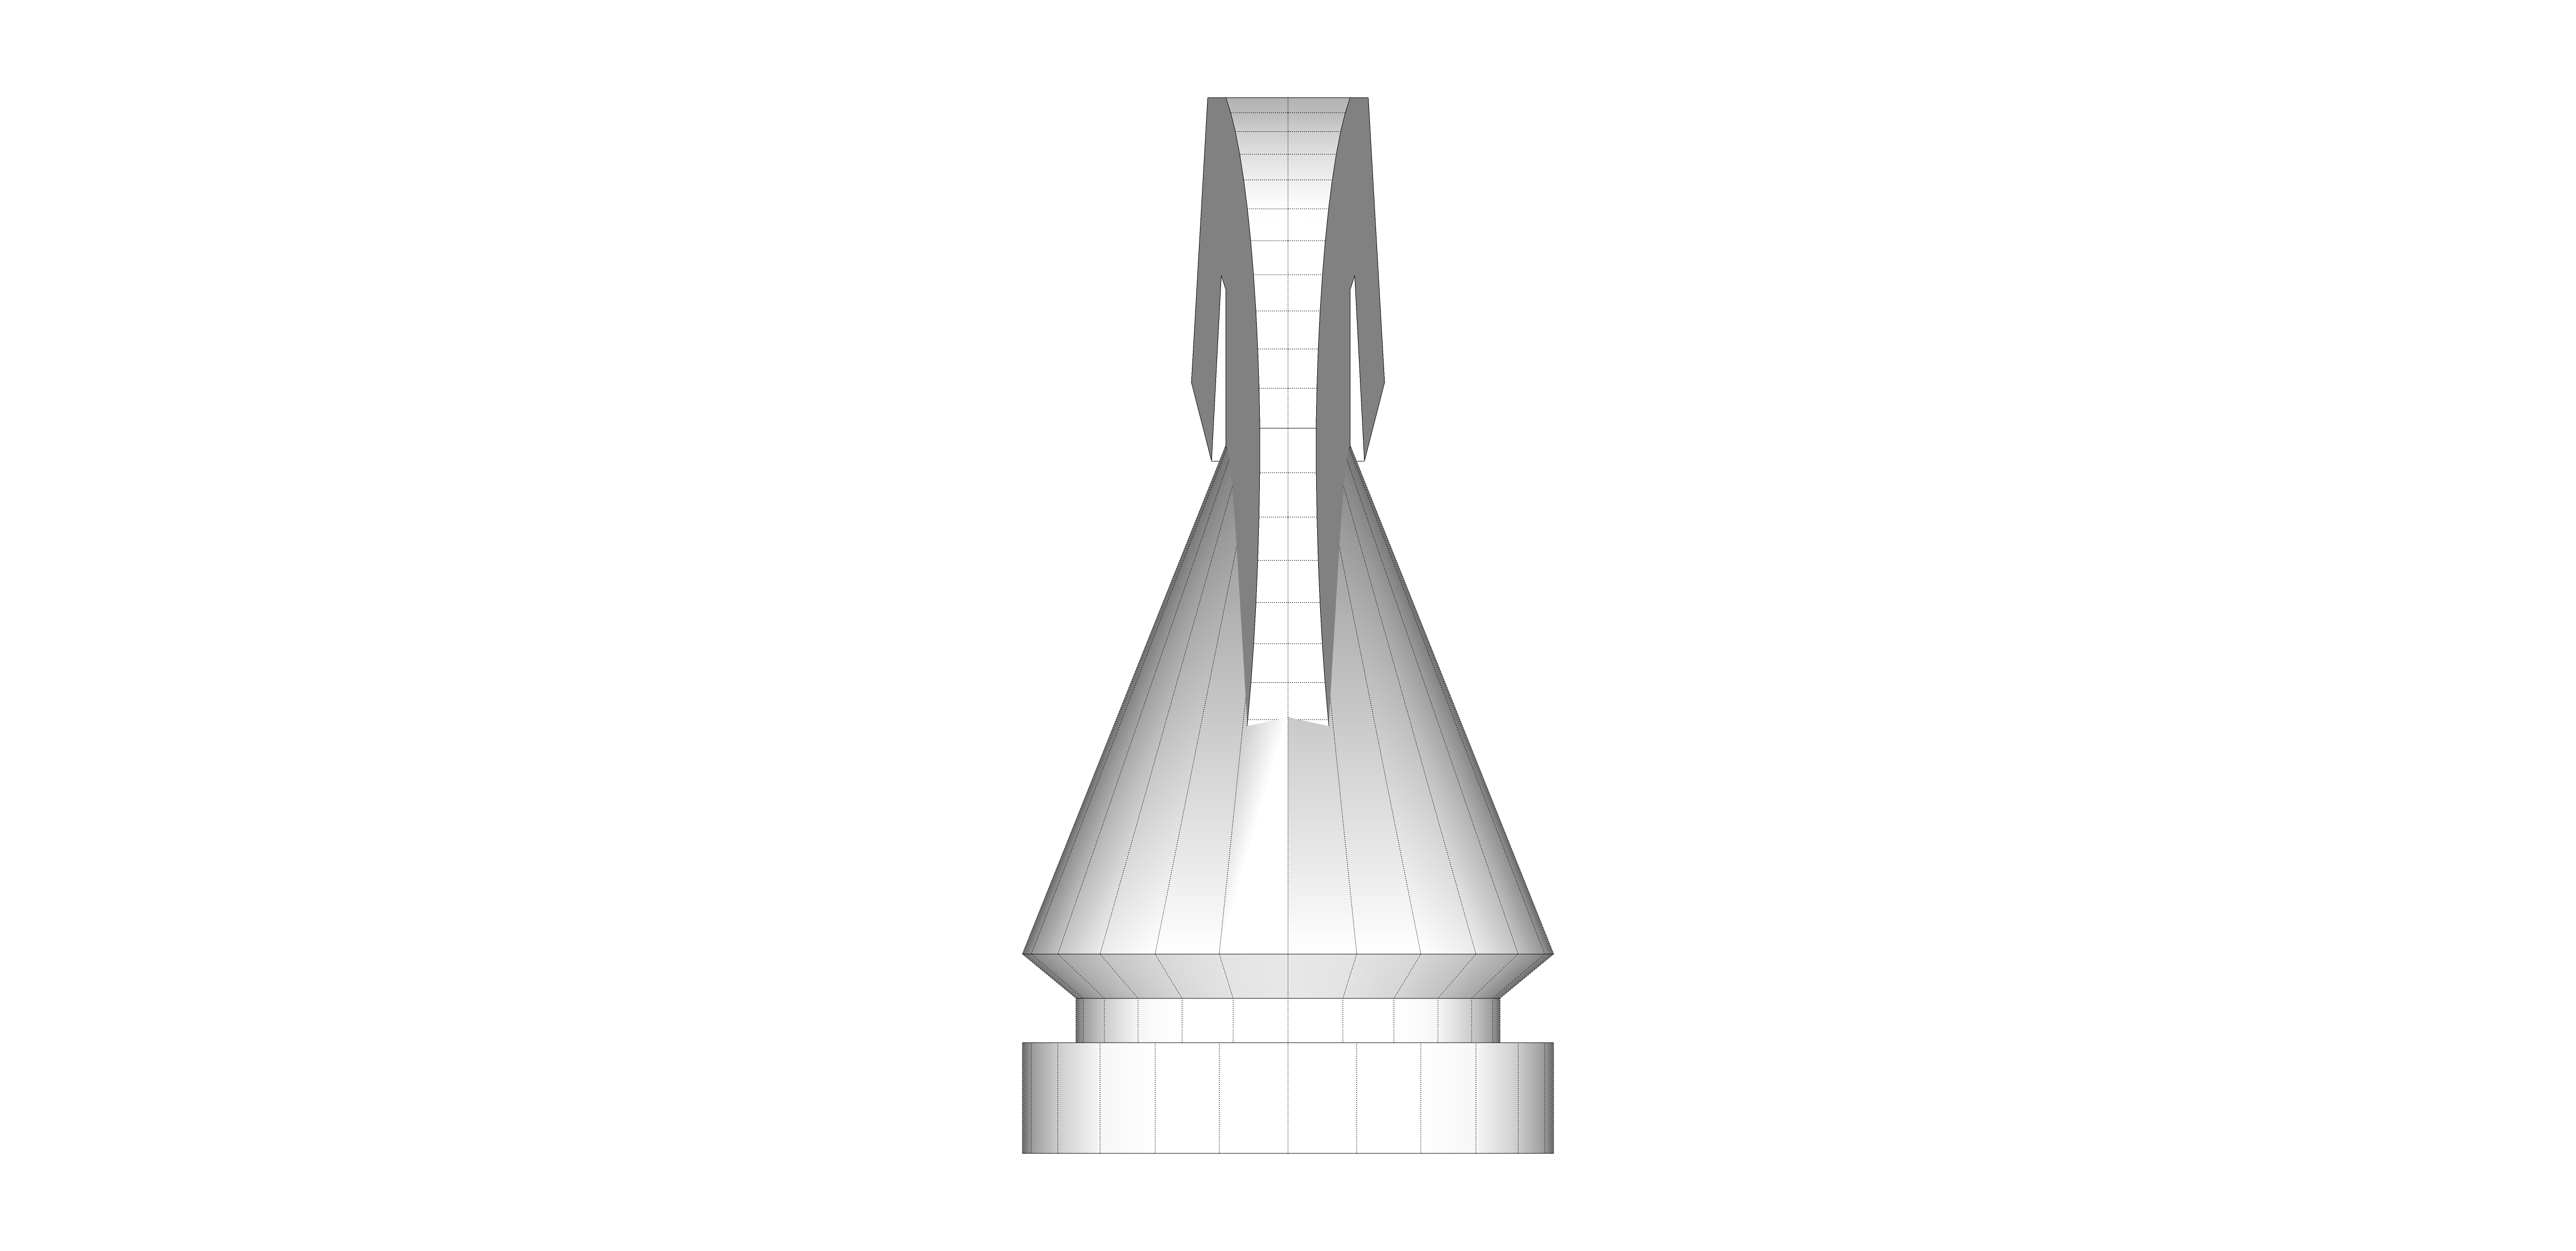
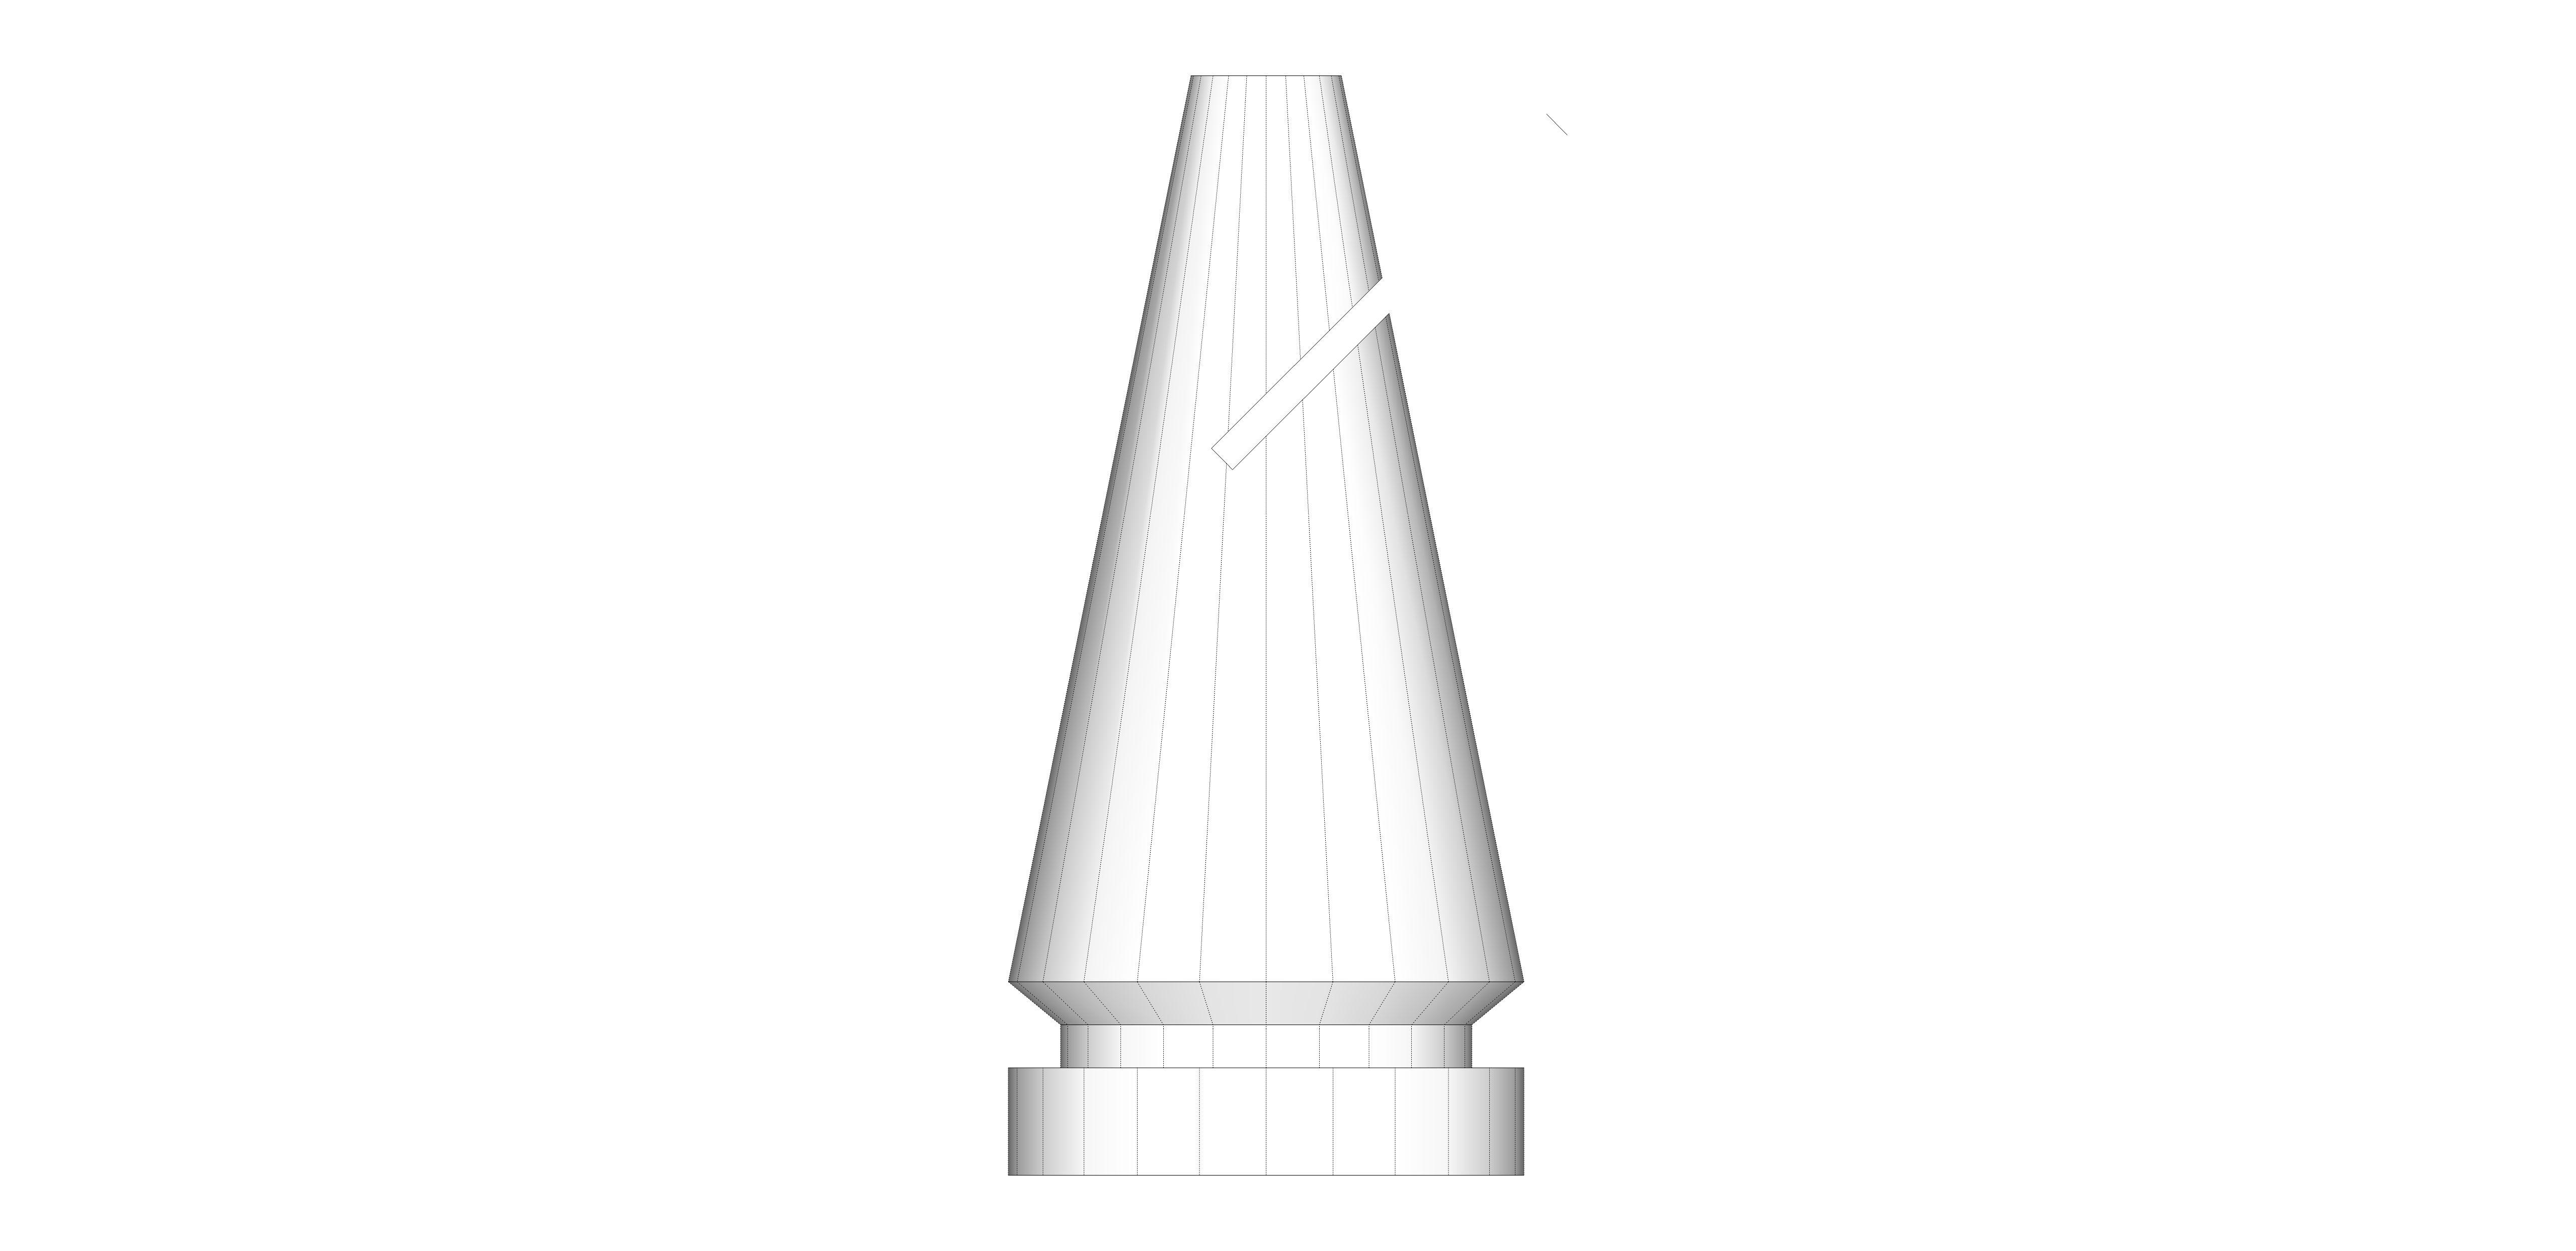
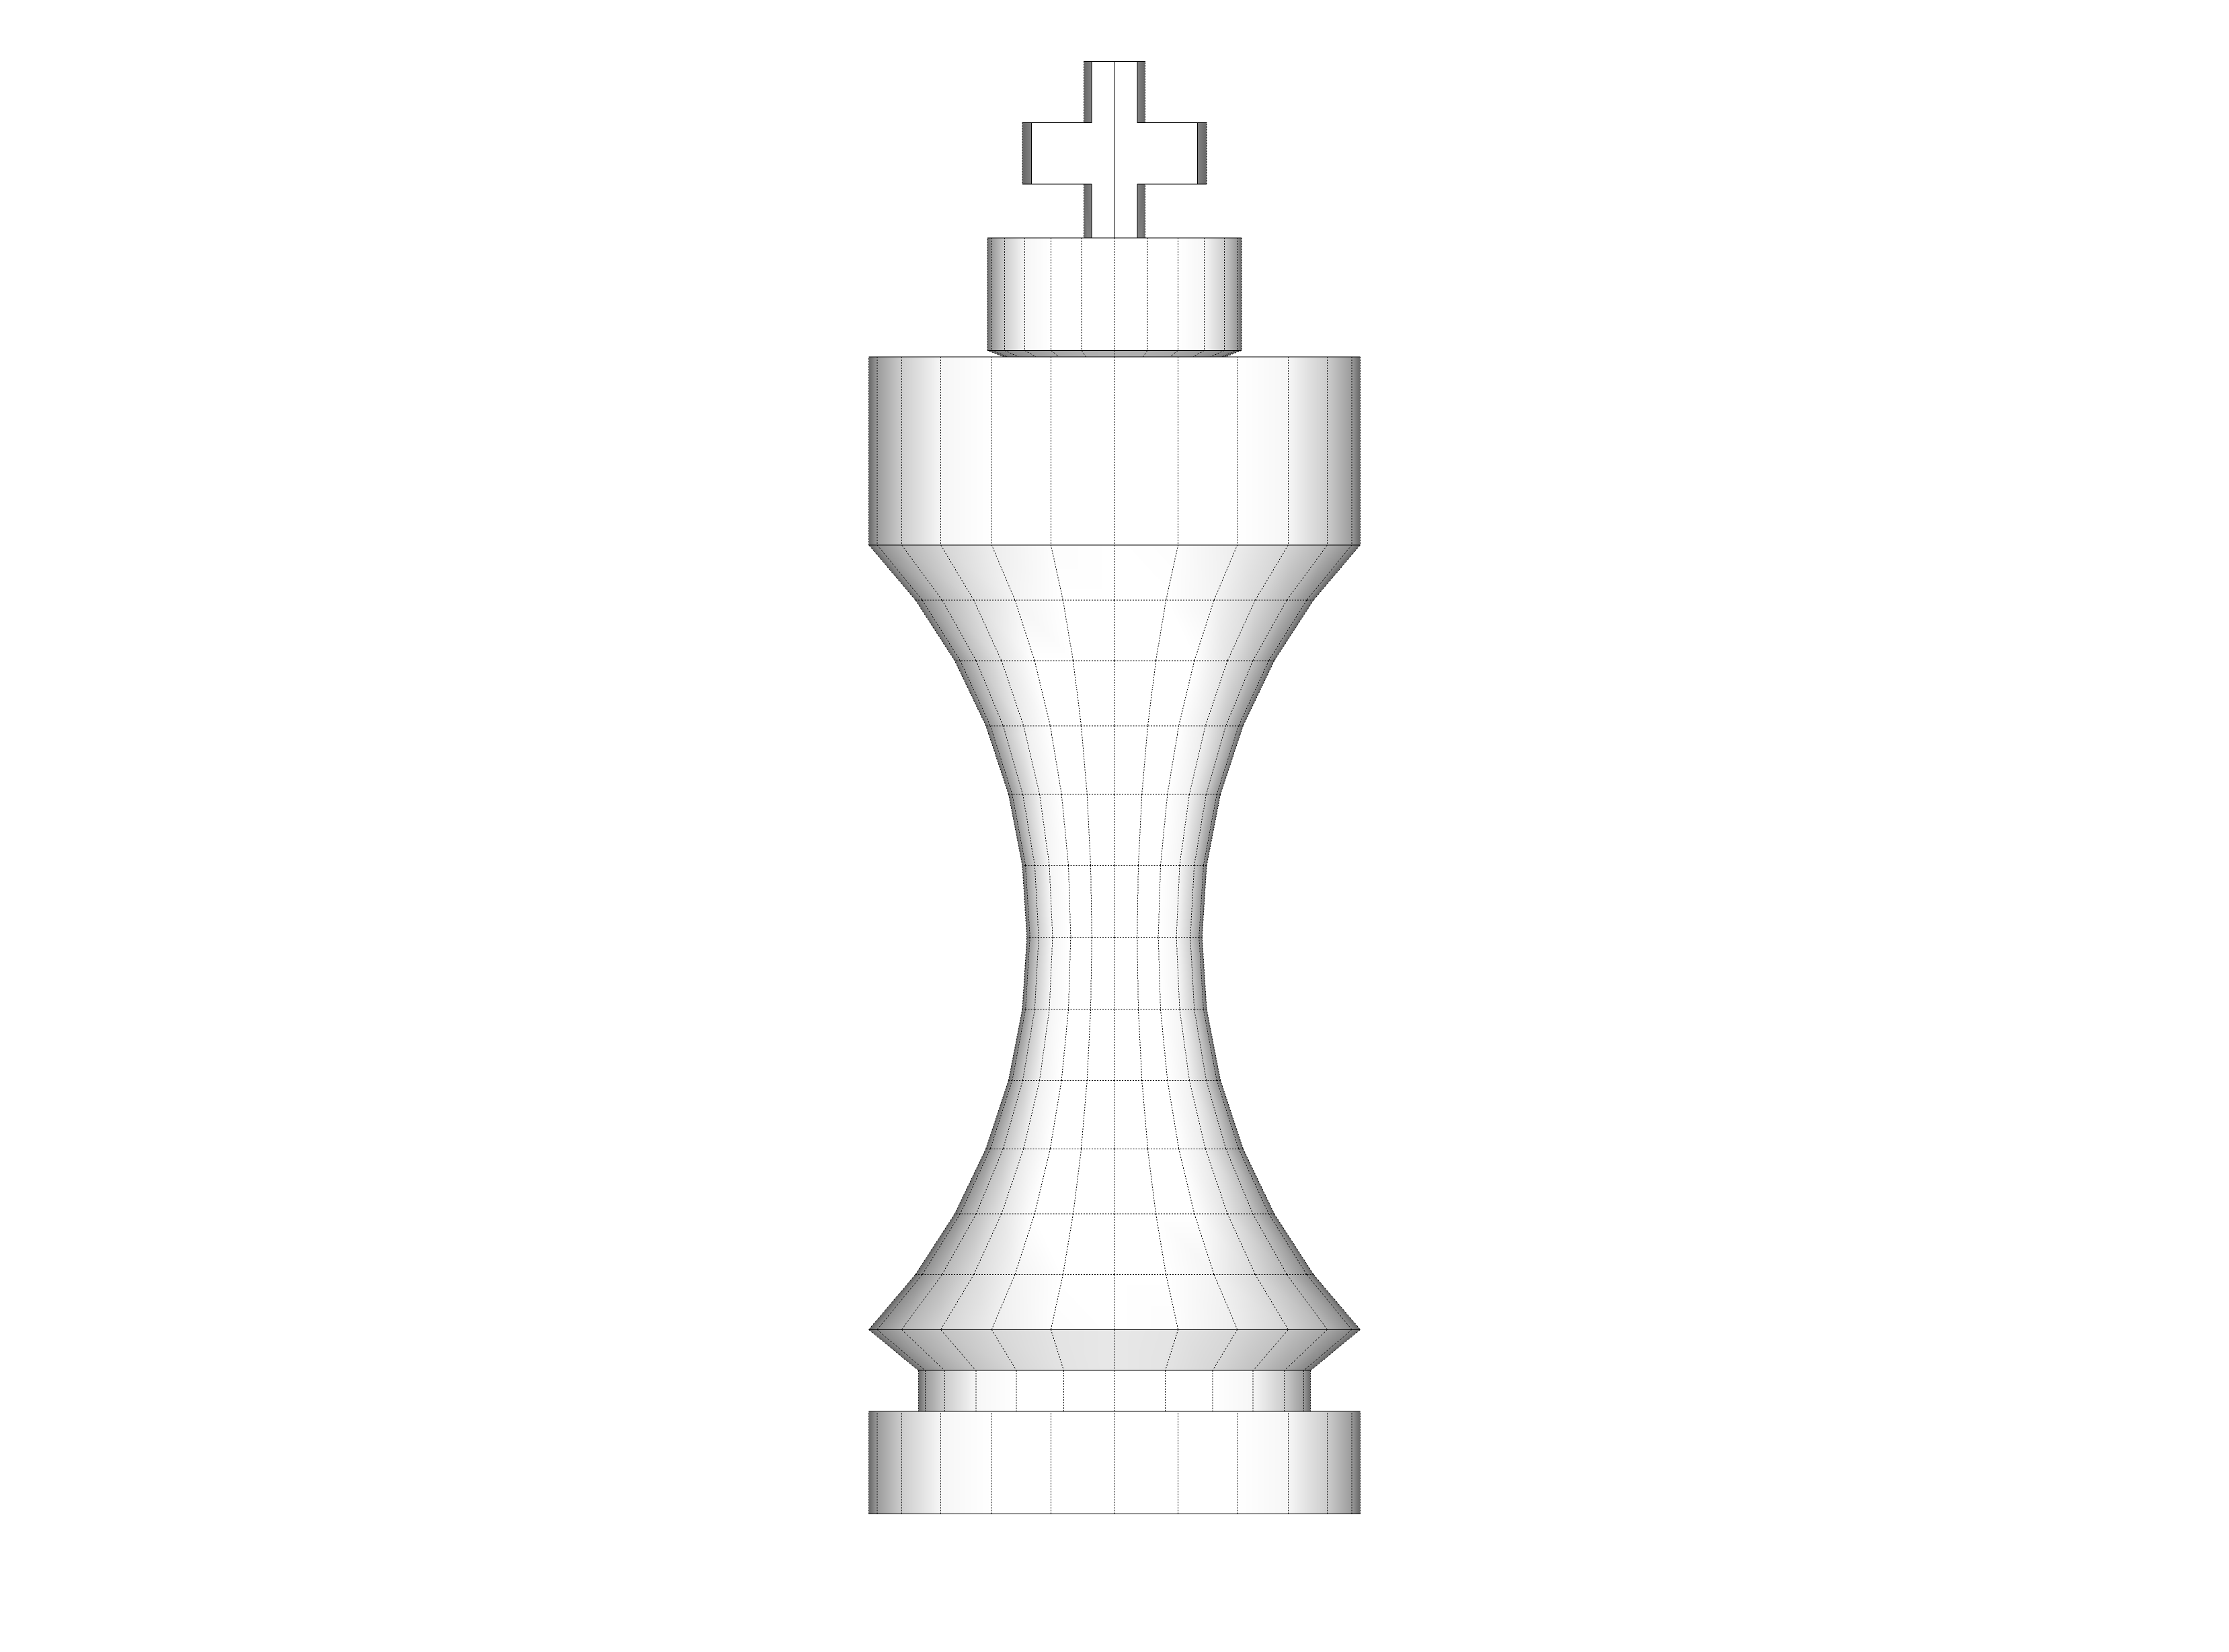
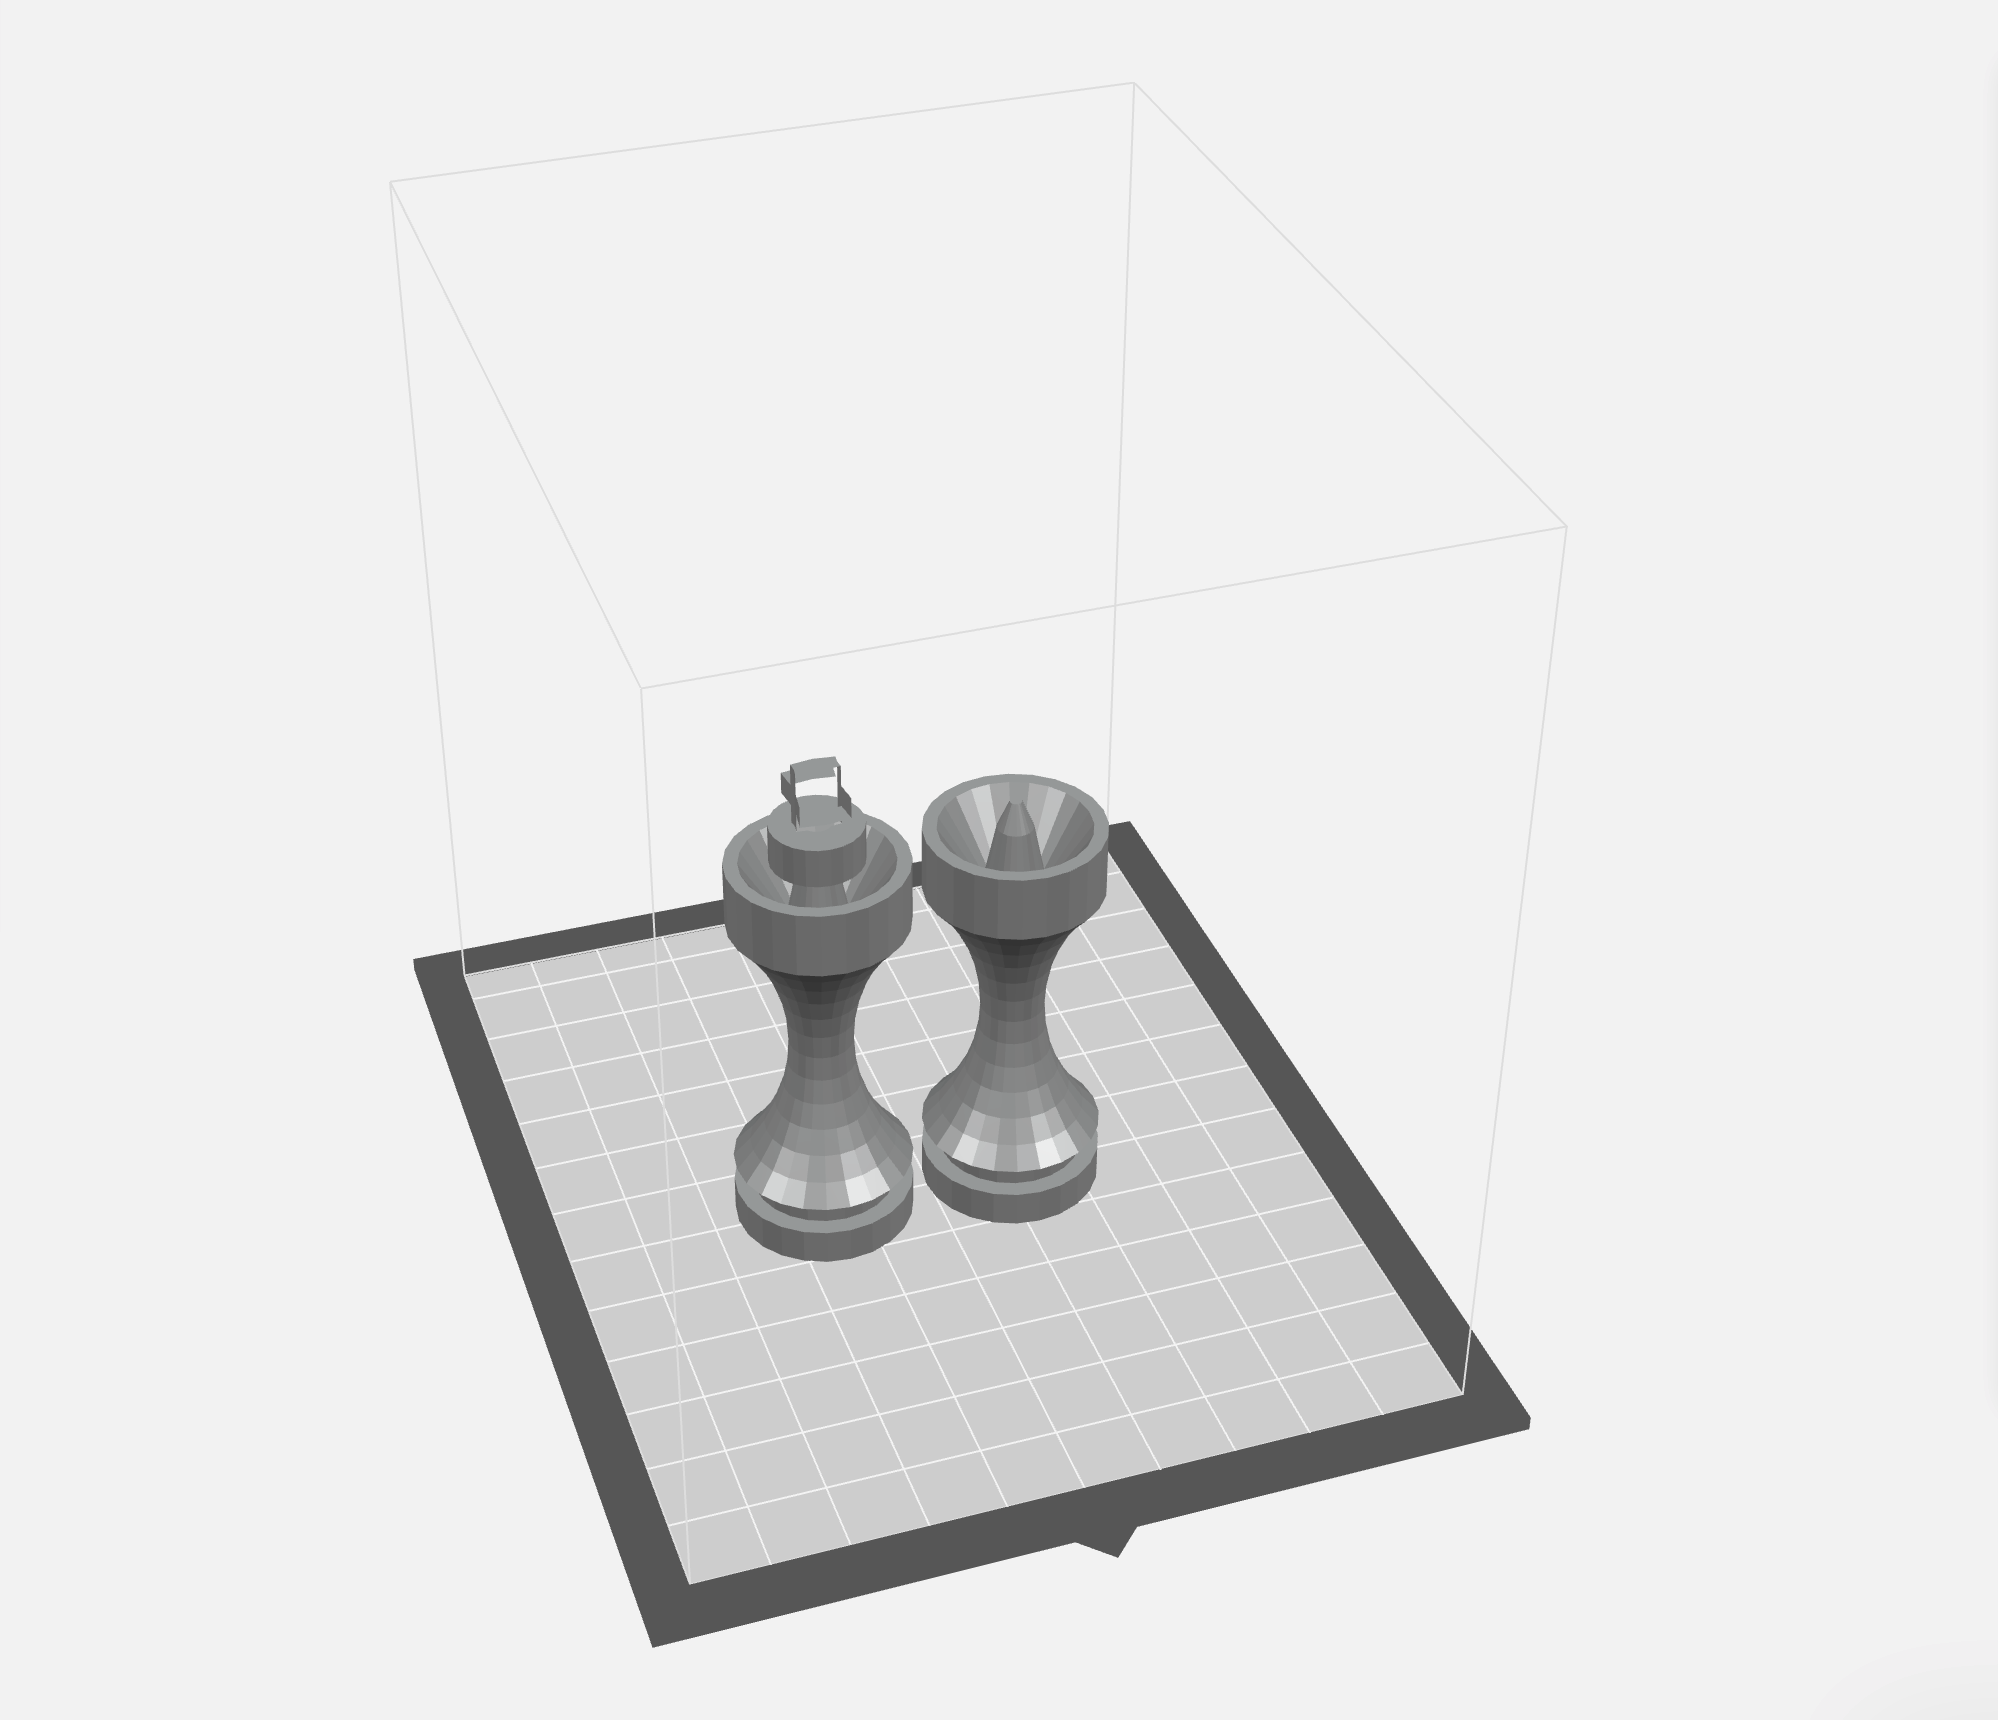
The .SKP files from Sketchup were exported to .STL files so the Makerbot software could render them. Sometimes the files rendered funny.
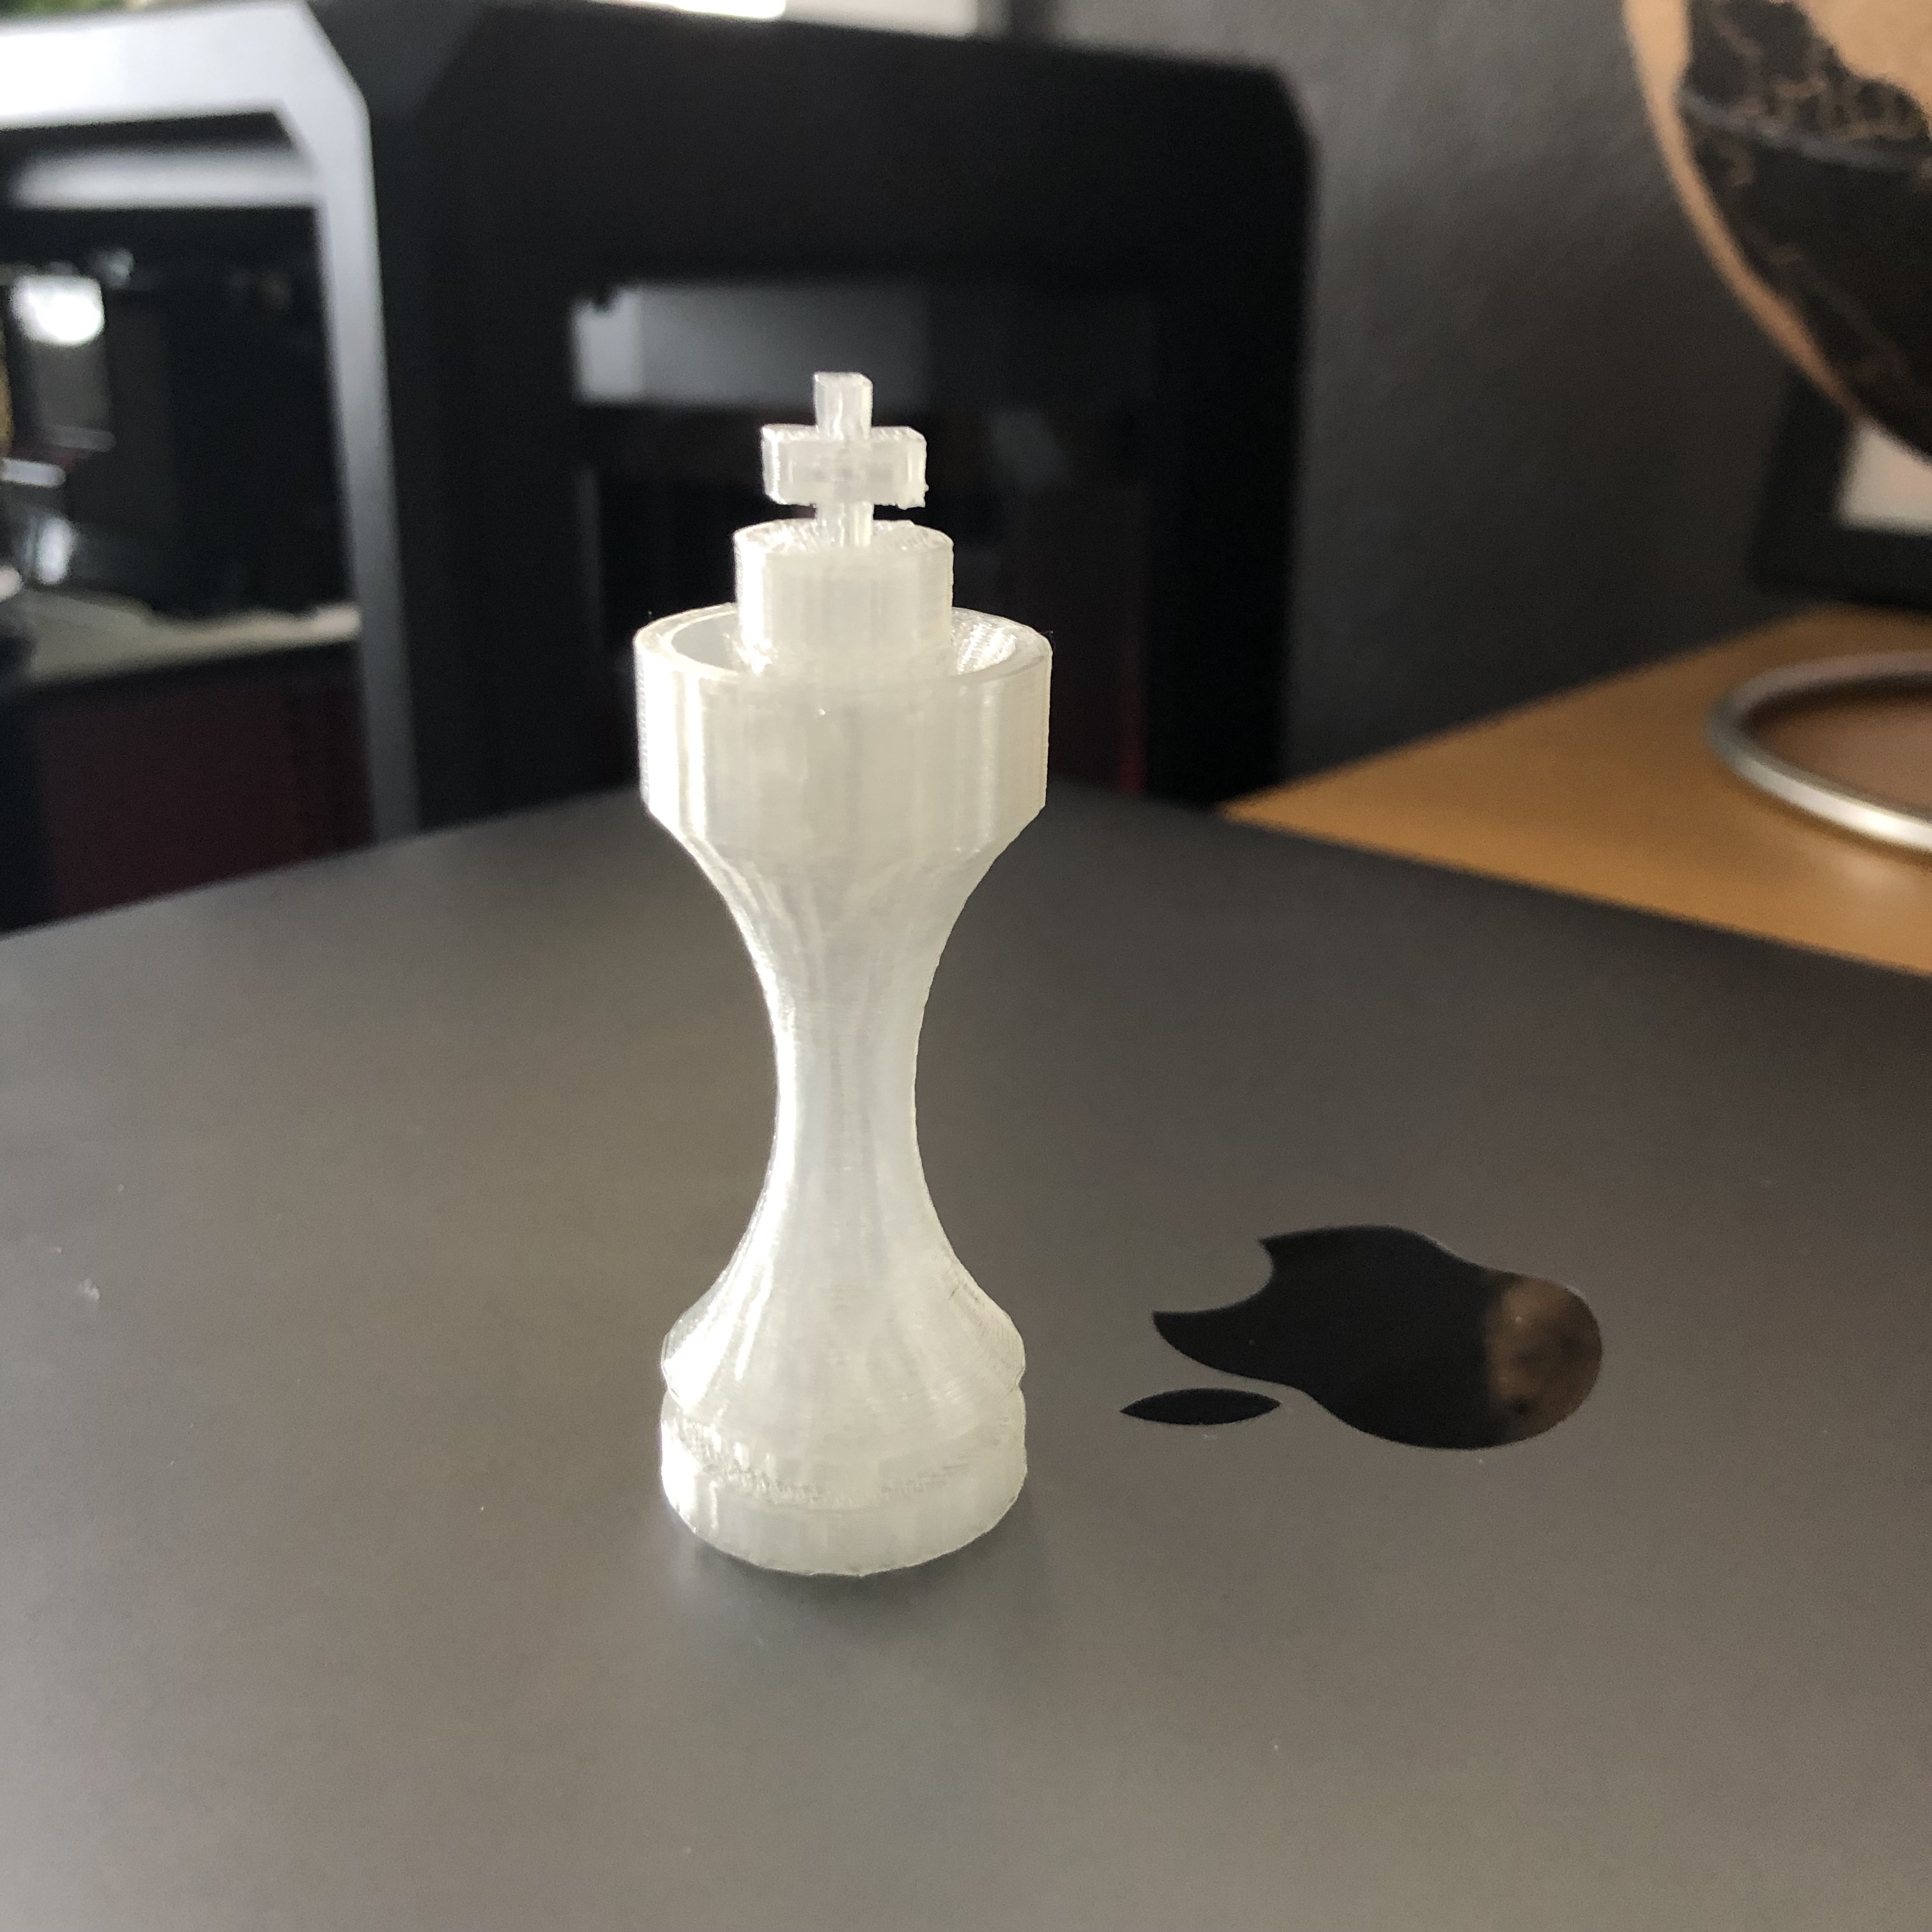
A pro would probably tell me that the software isn’t rendering funny but the problem is that I’m designing the part wrong. If anyone reading knows the fix for the open spaces in the bishop or the king crown please let me know. They print fine but they look weird in the software.
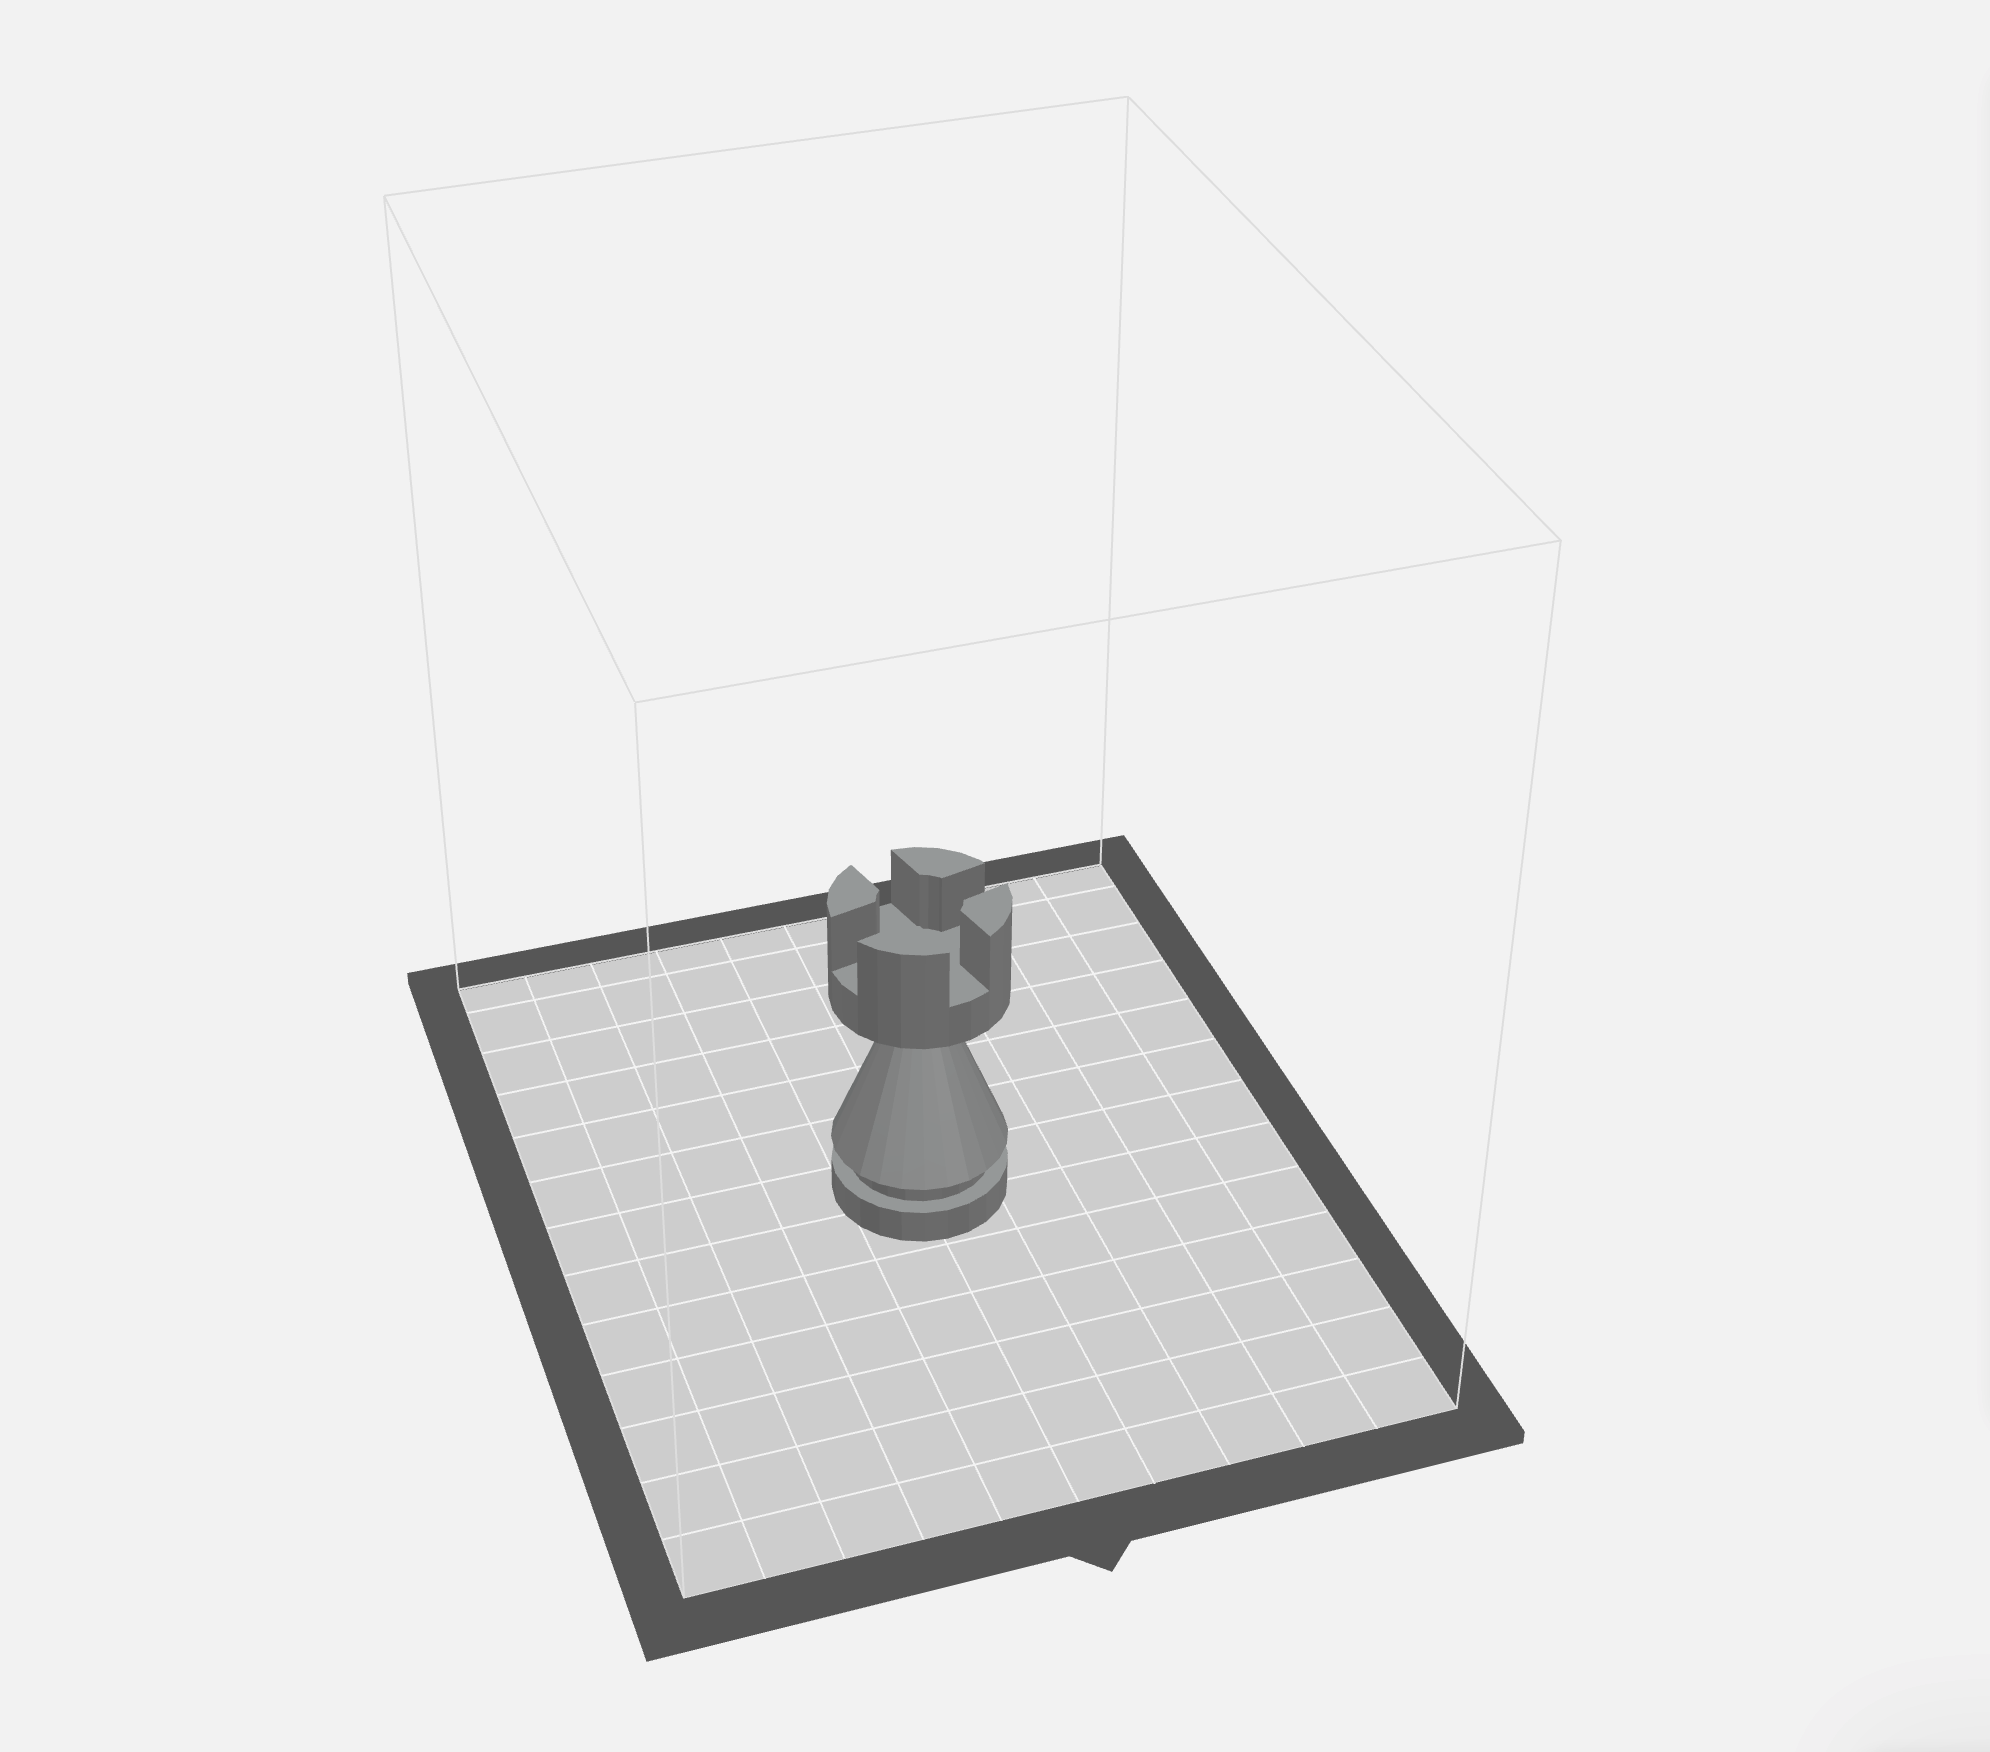
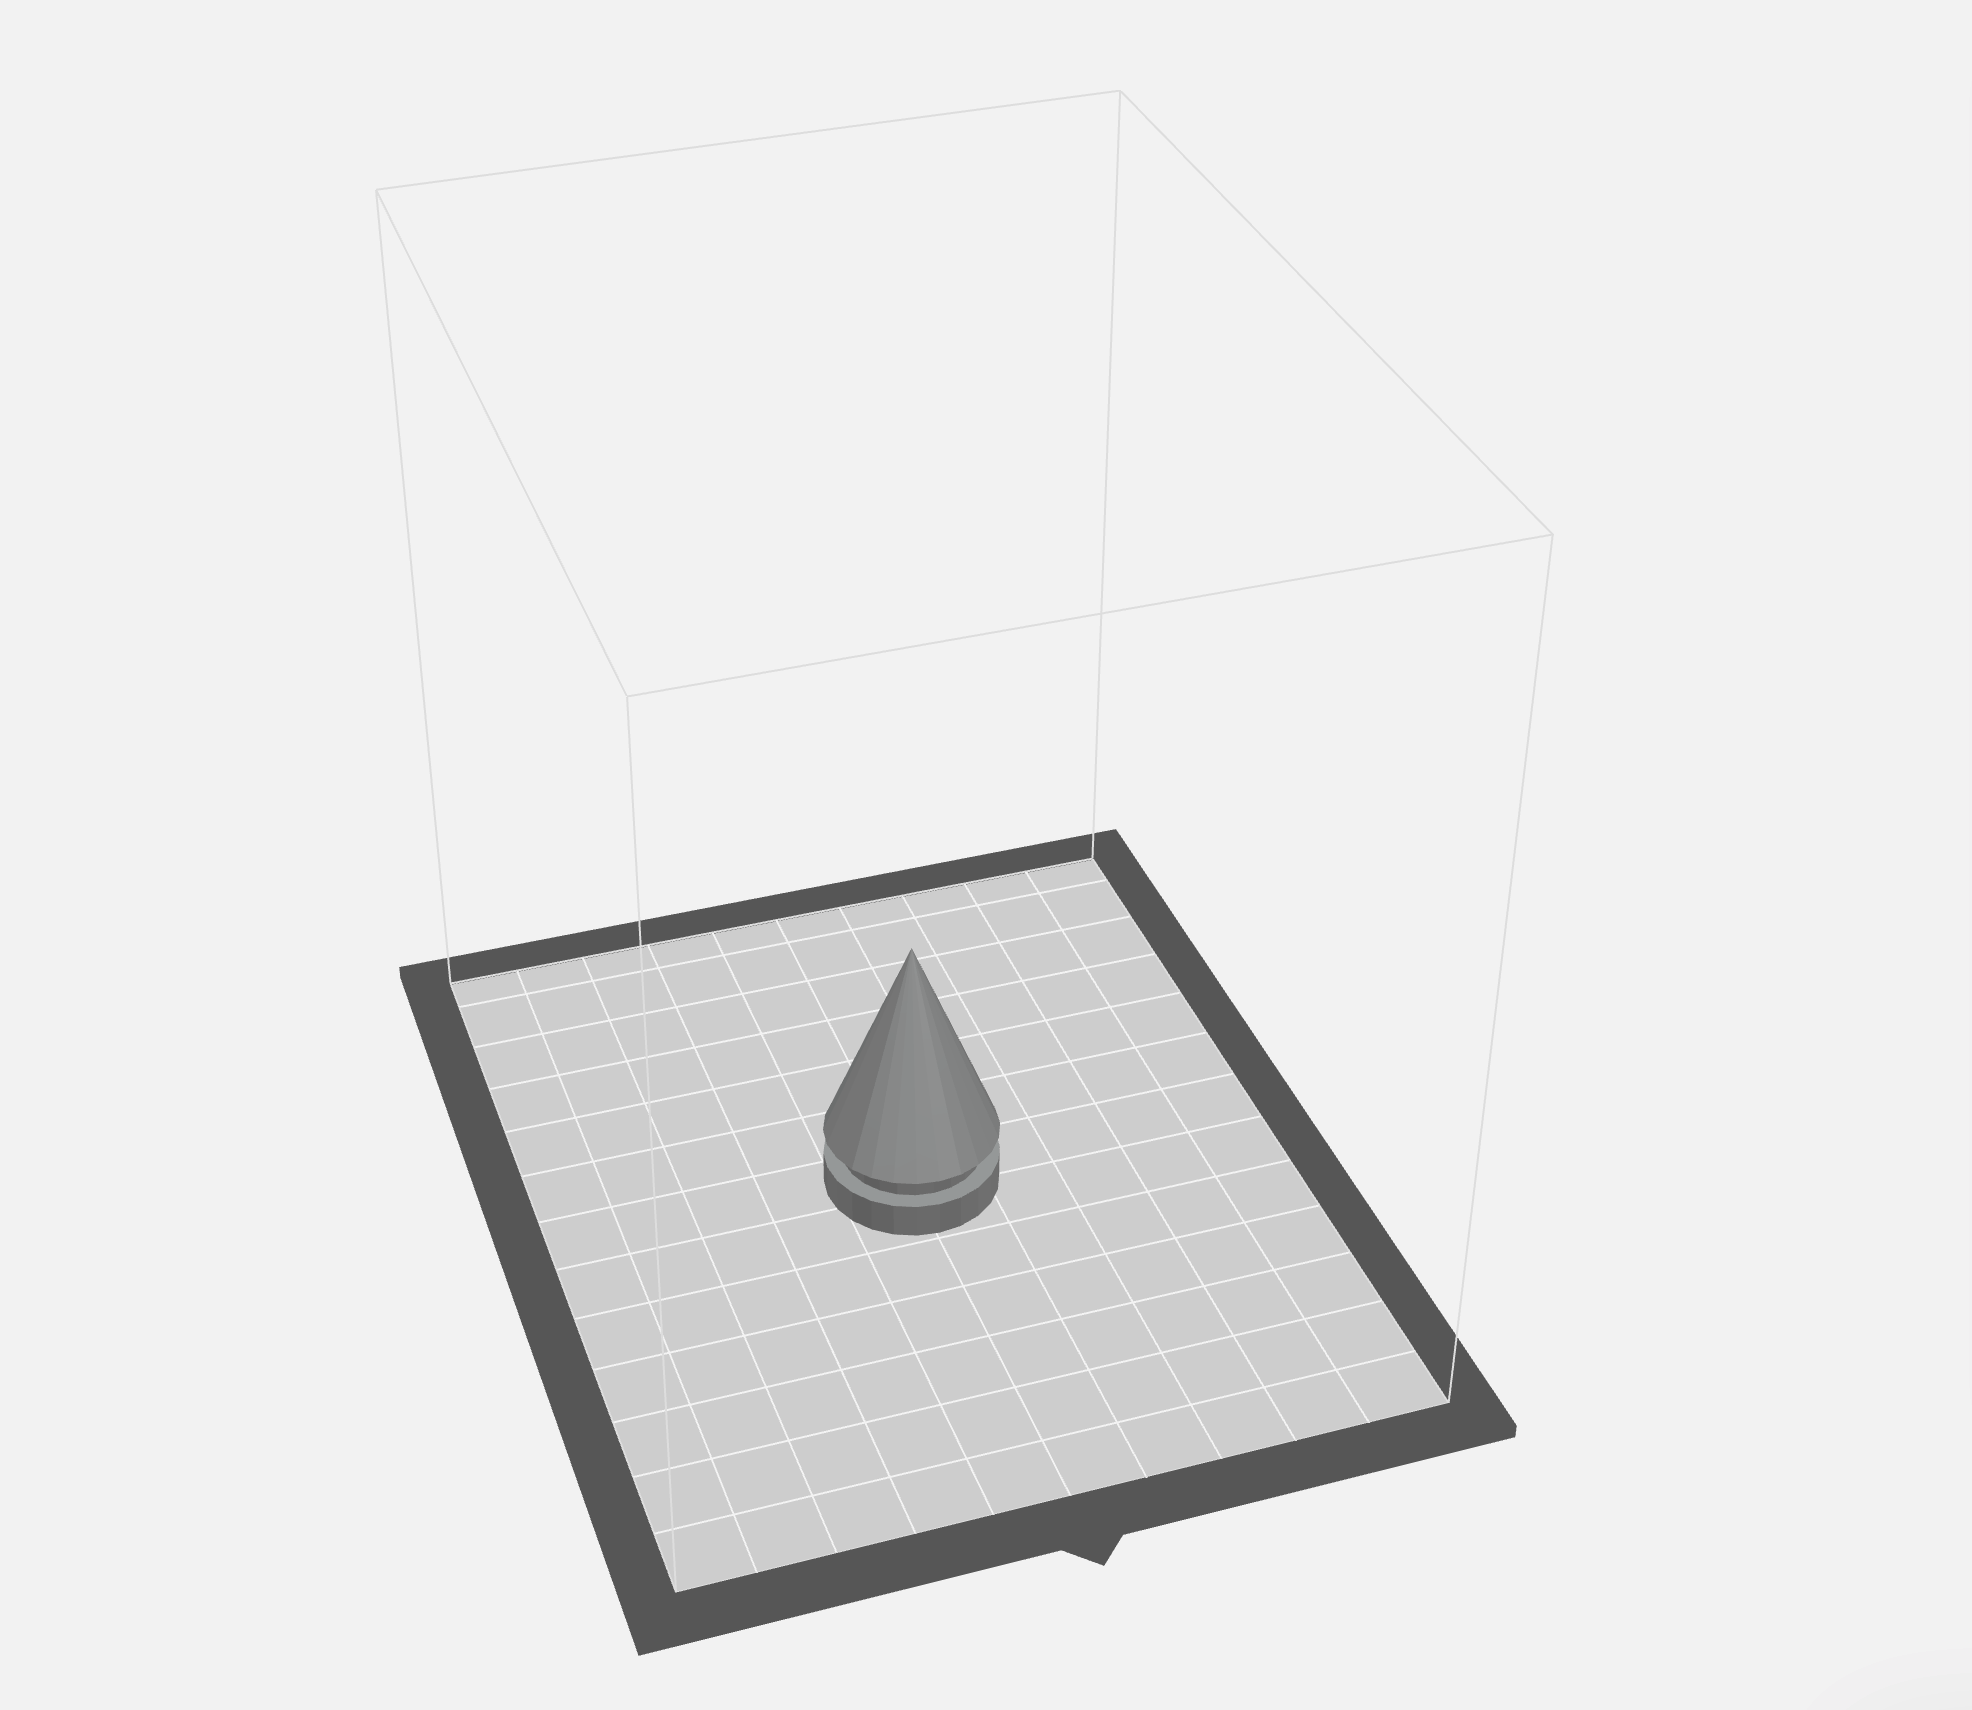
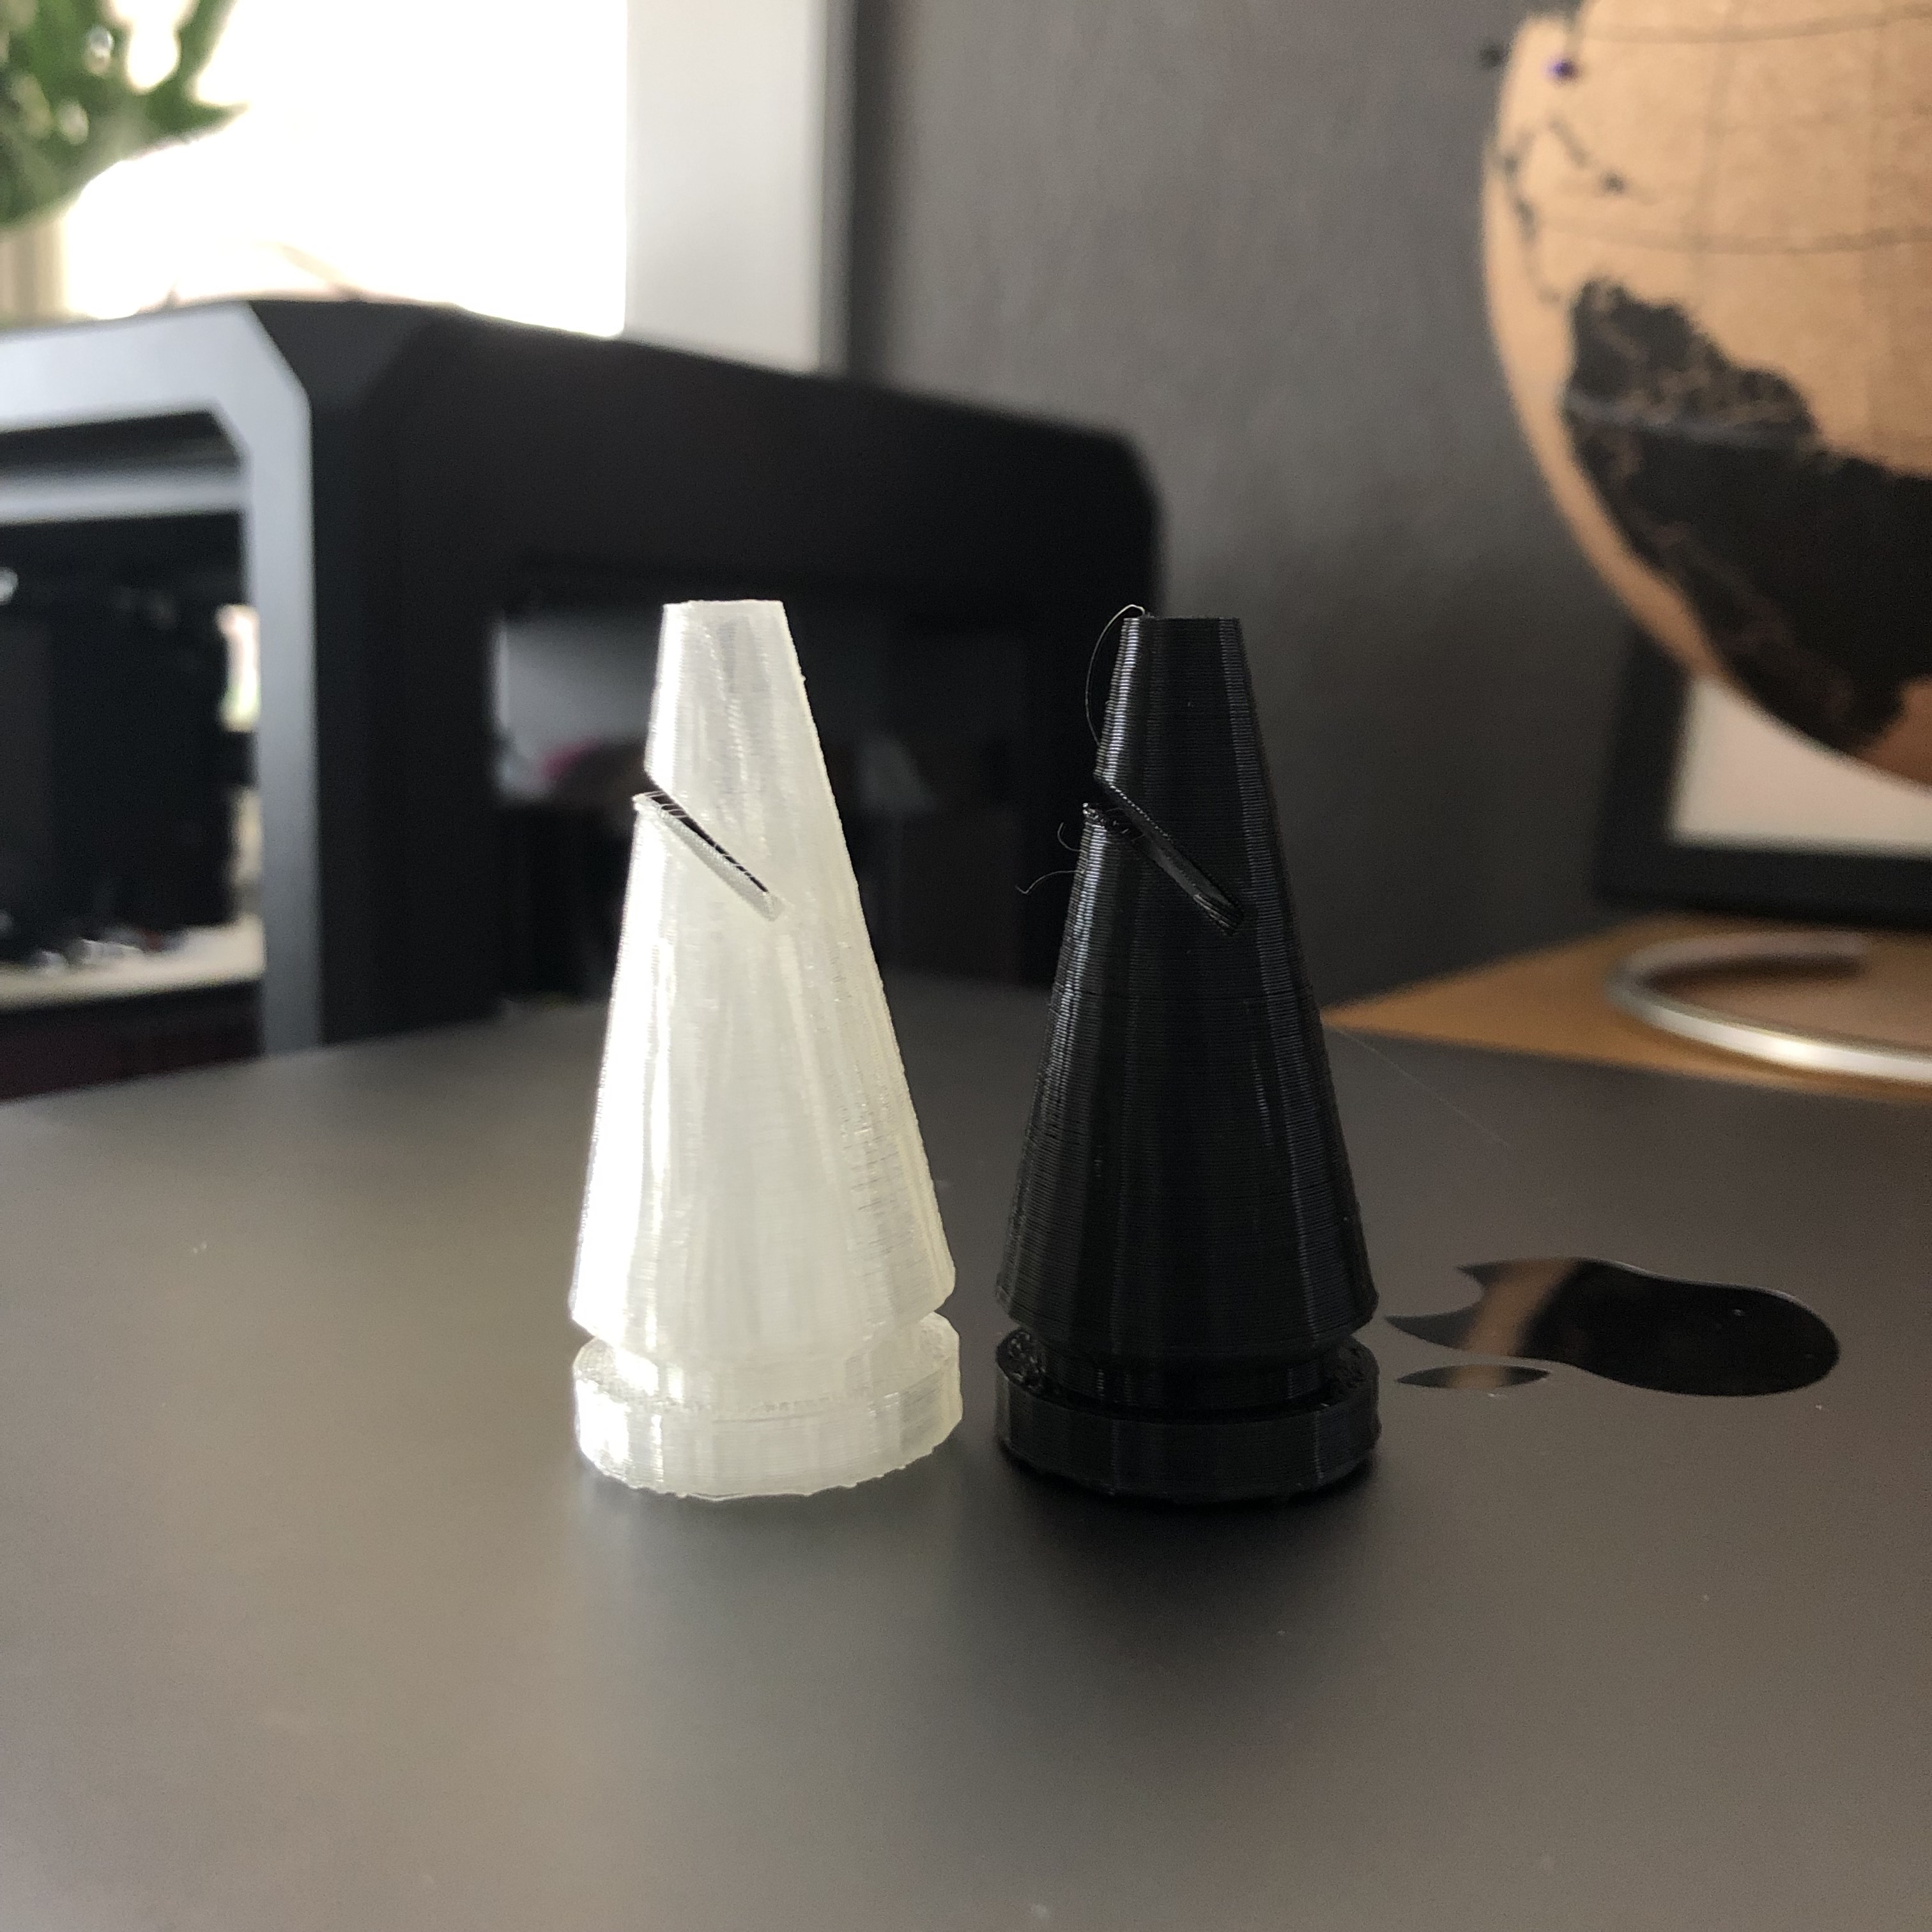
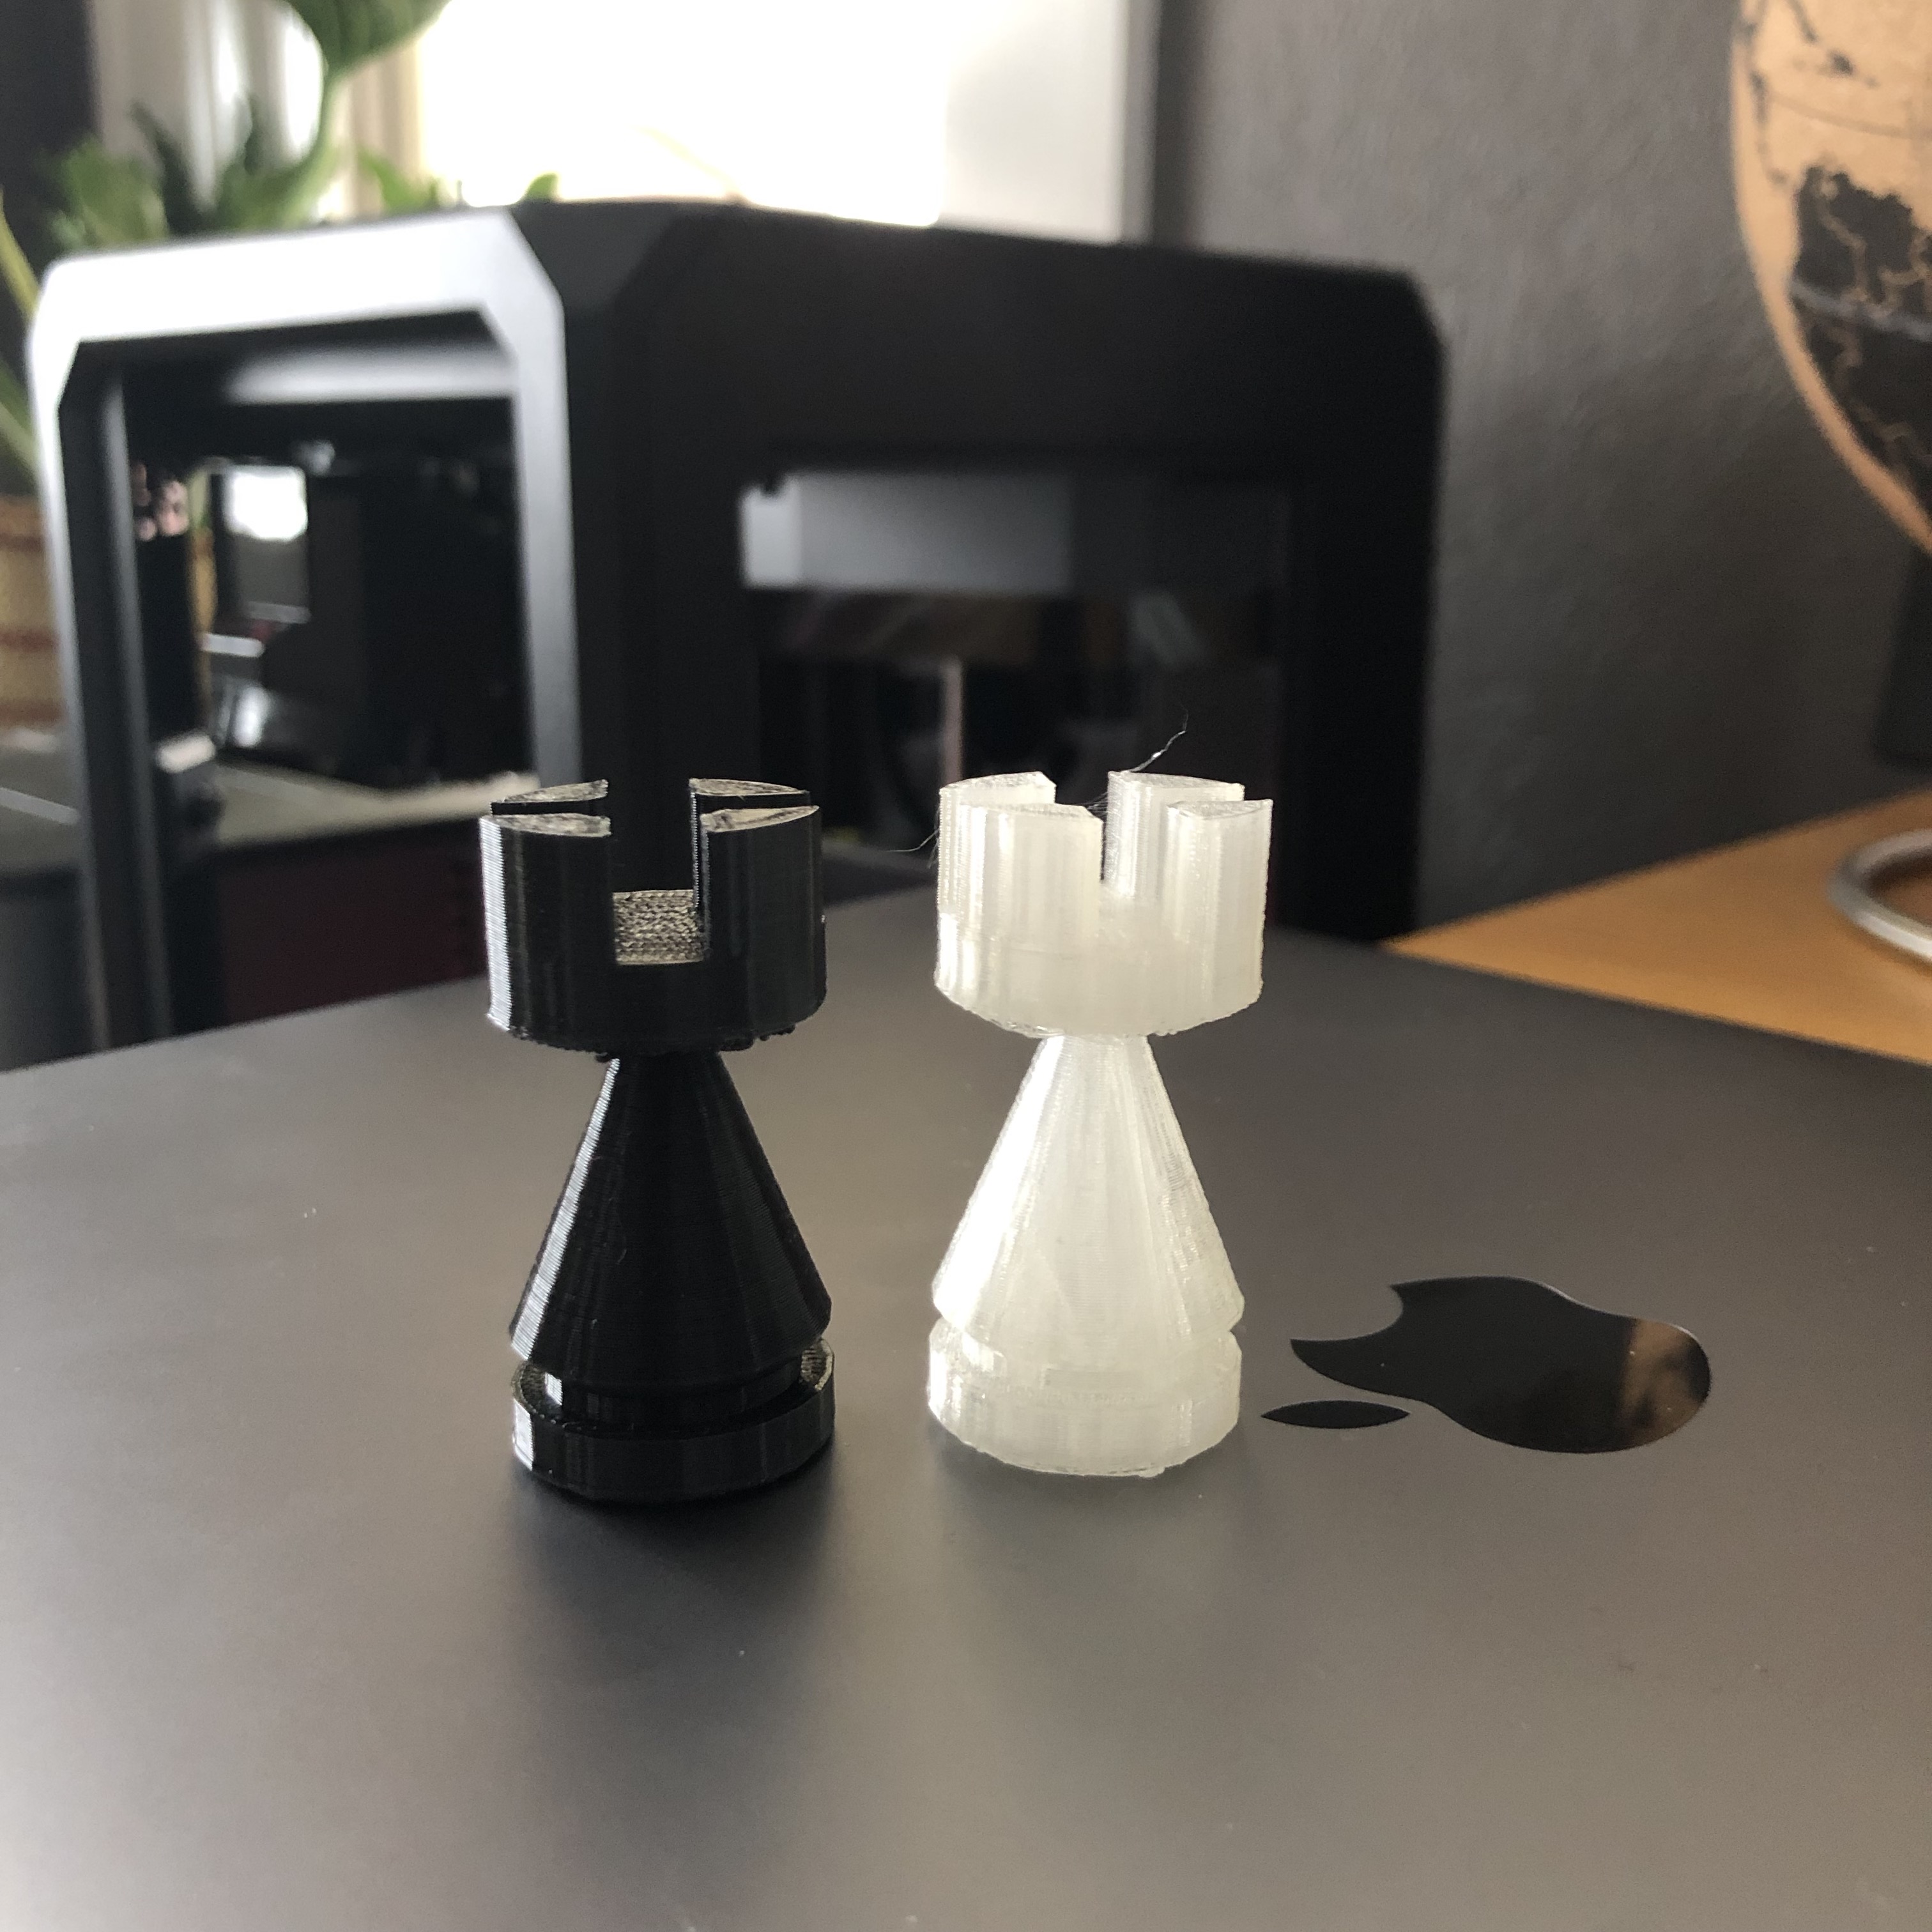
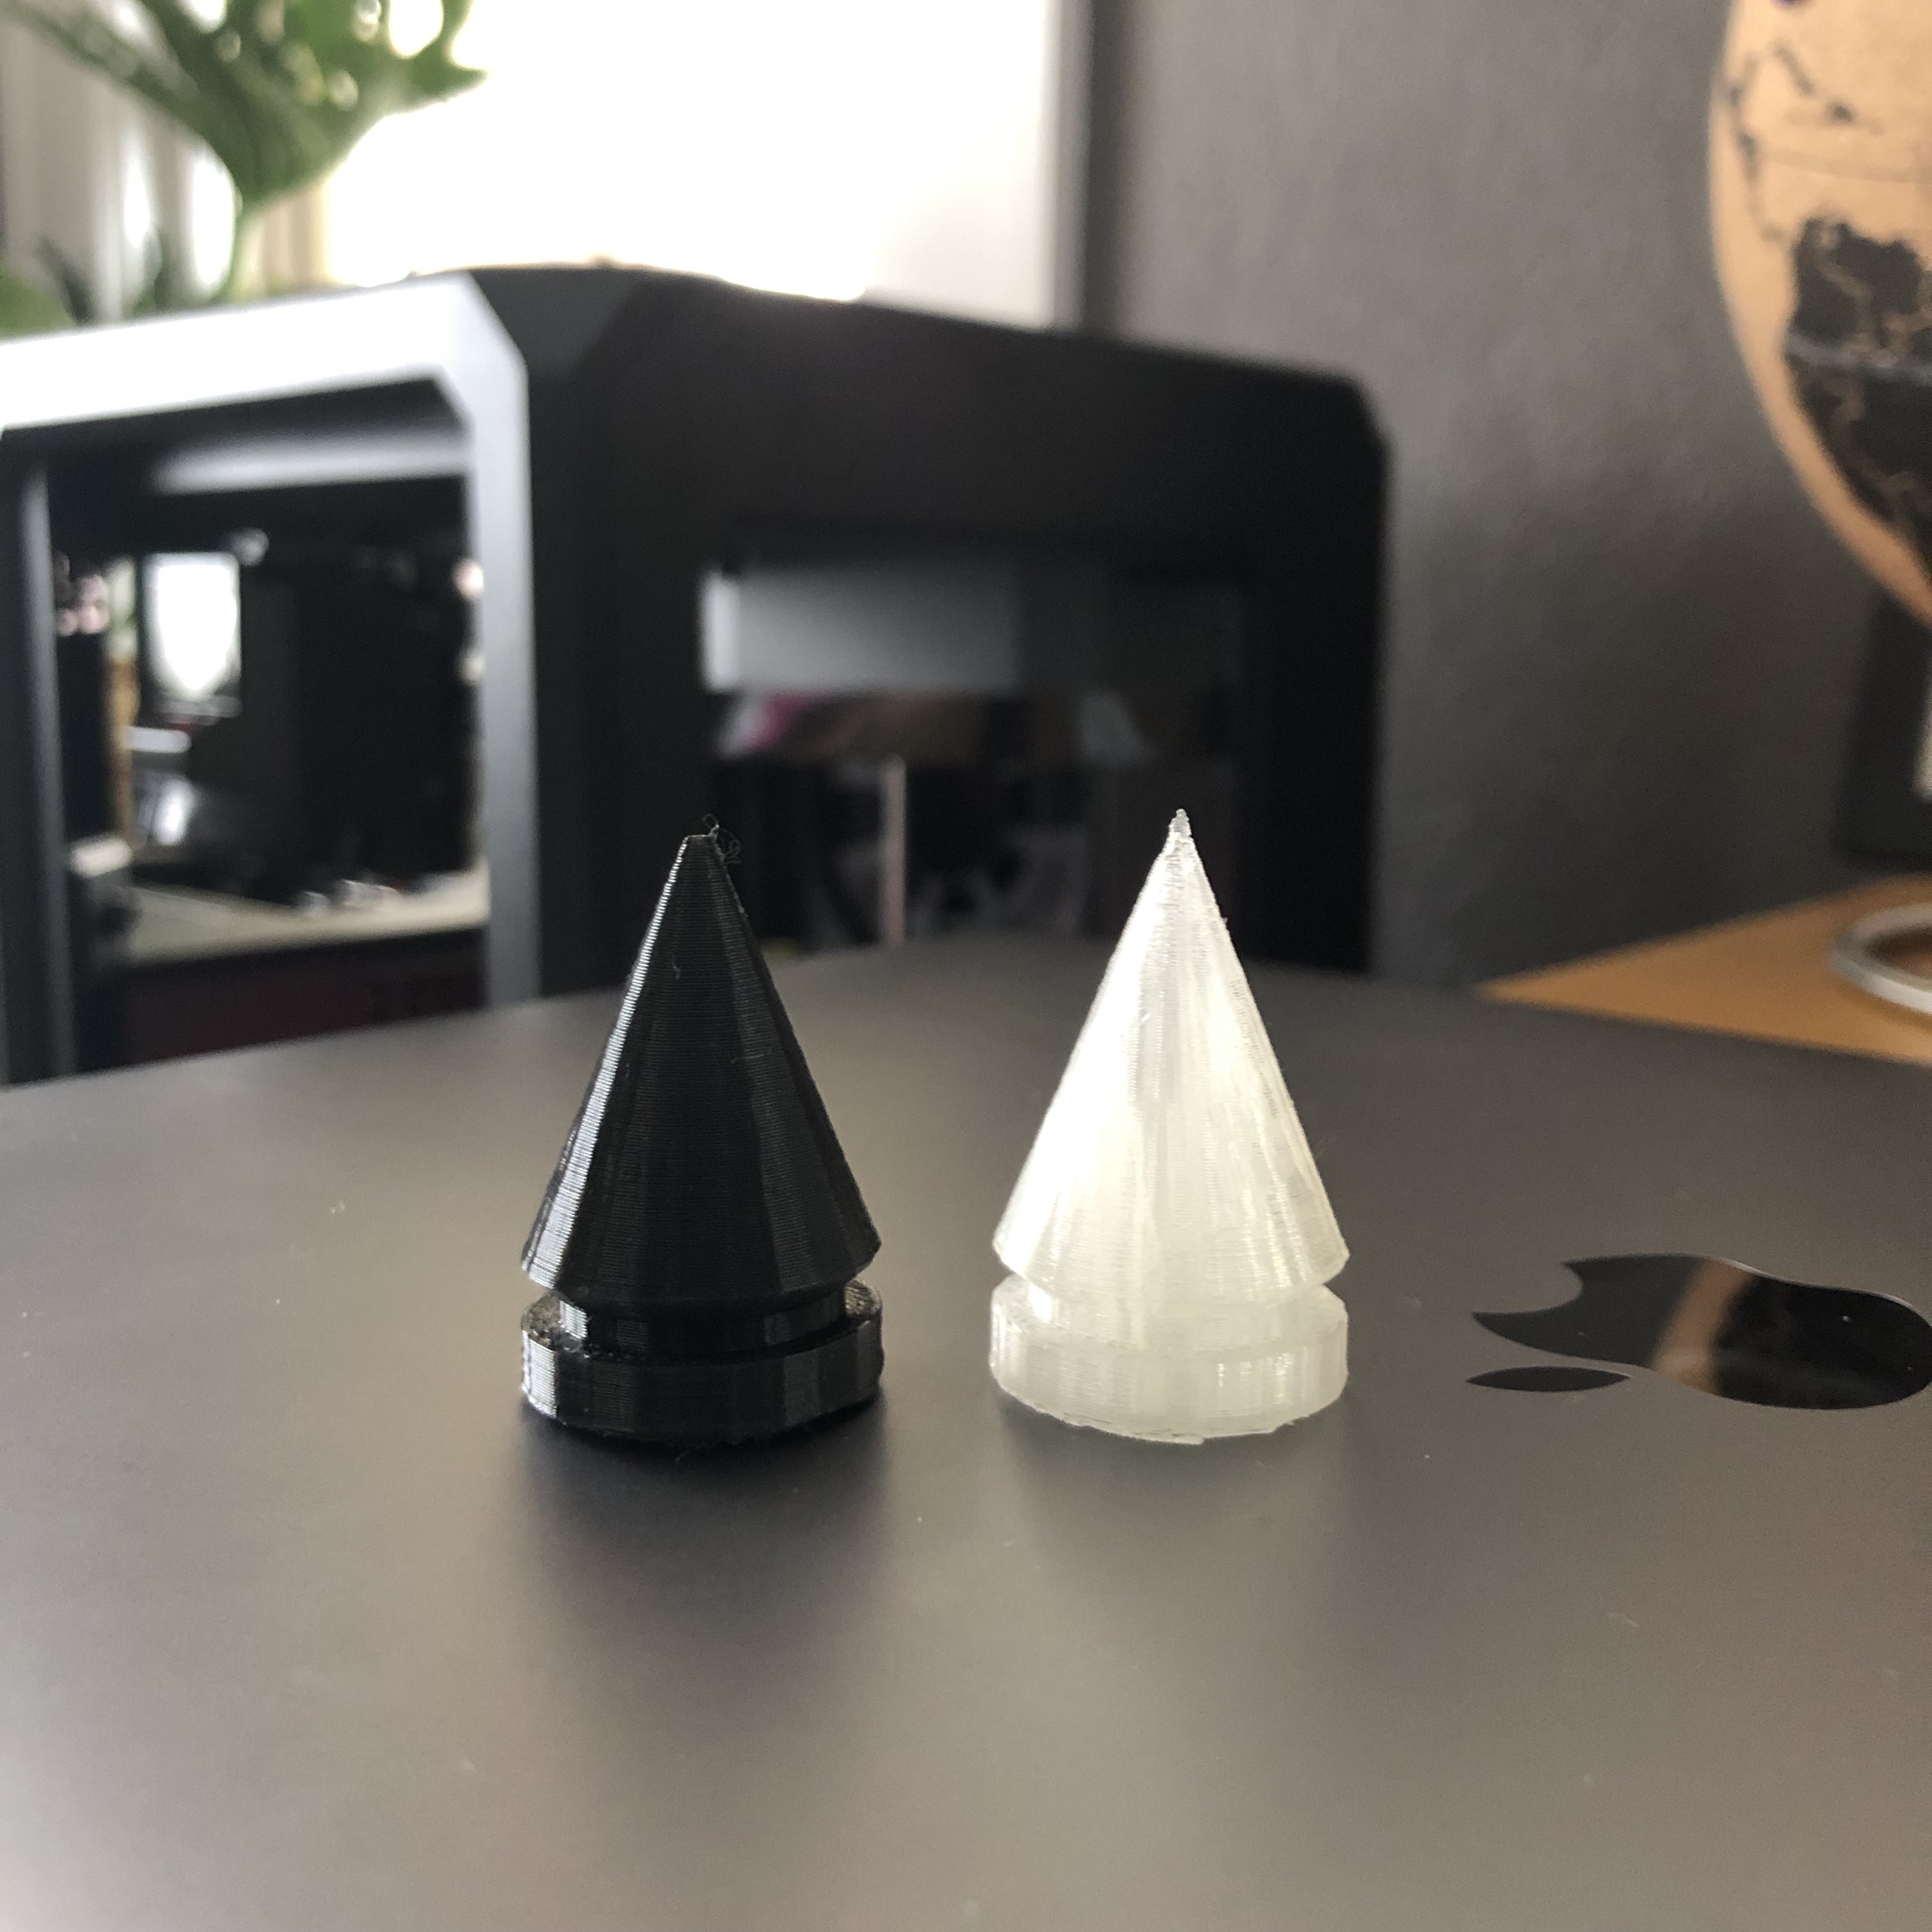
And then they were printed. The prints are far from perfect quality but for a first round, I’m pretty happy with how they turned out.
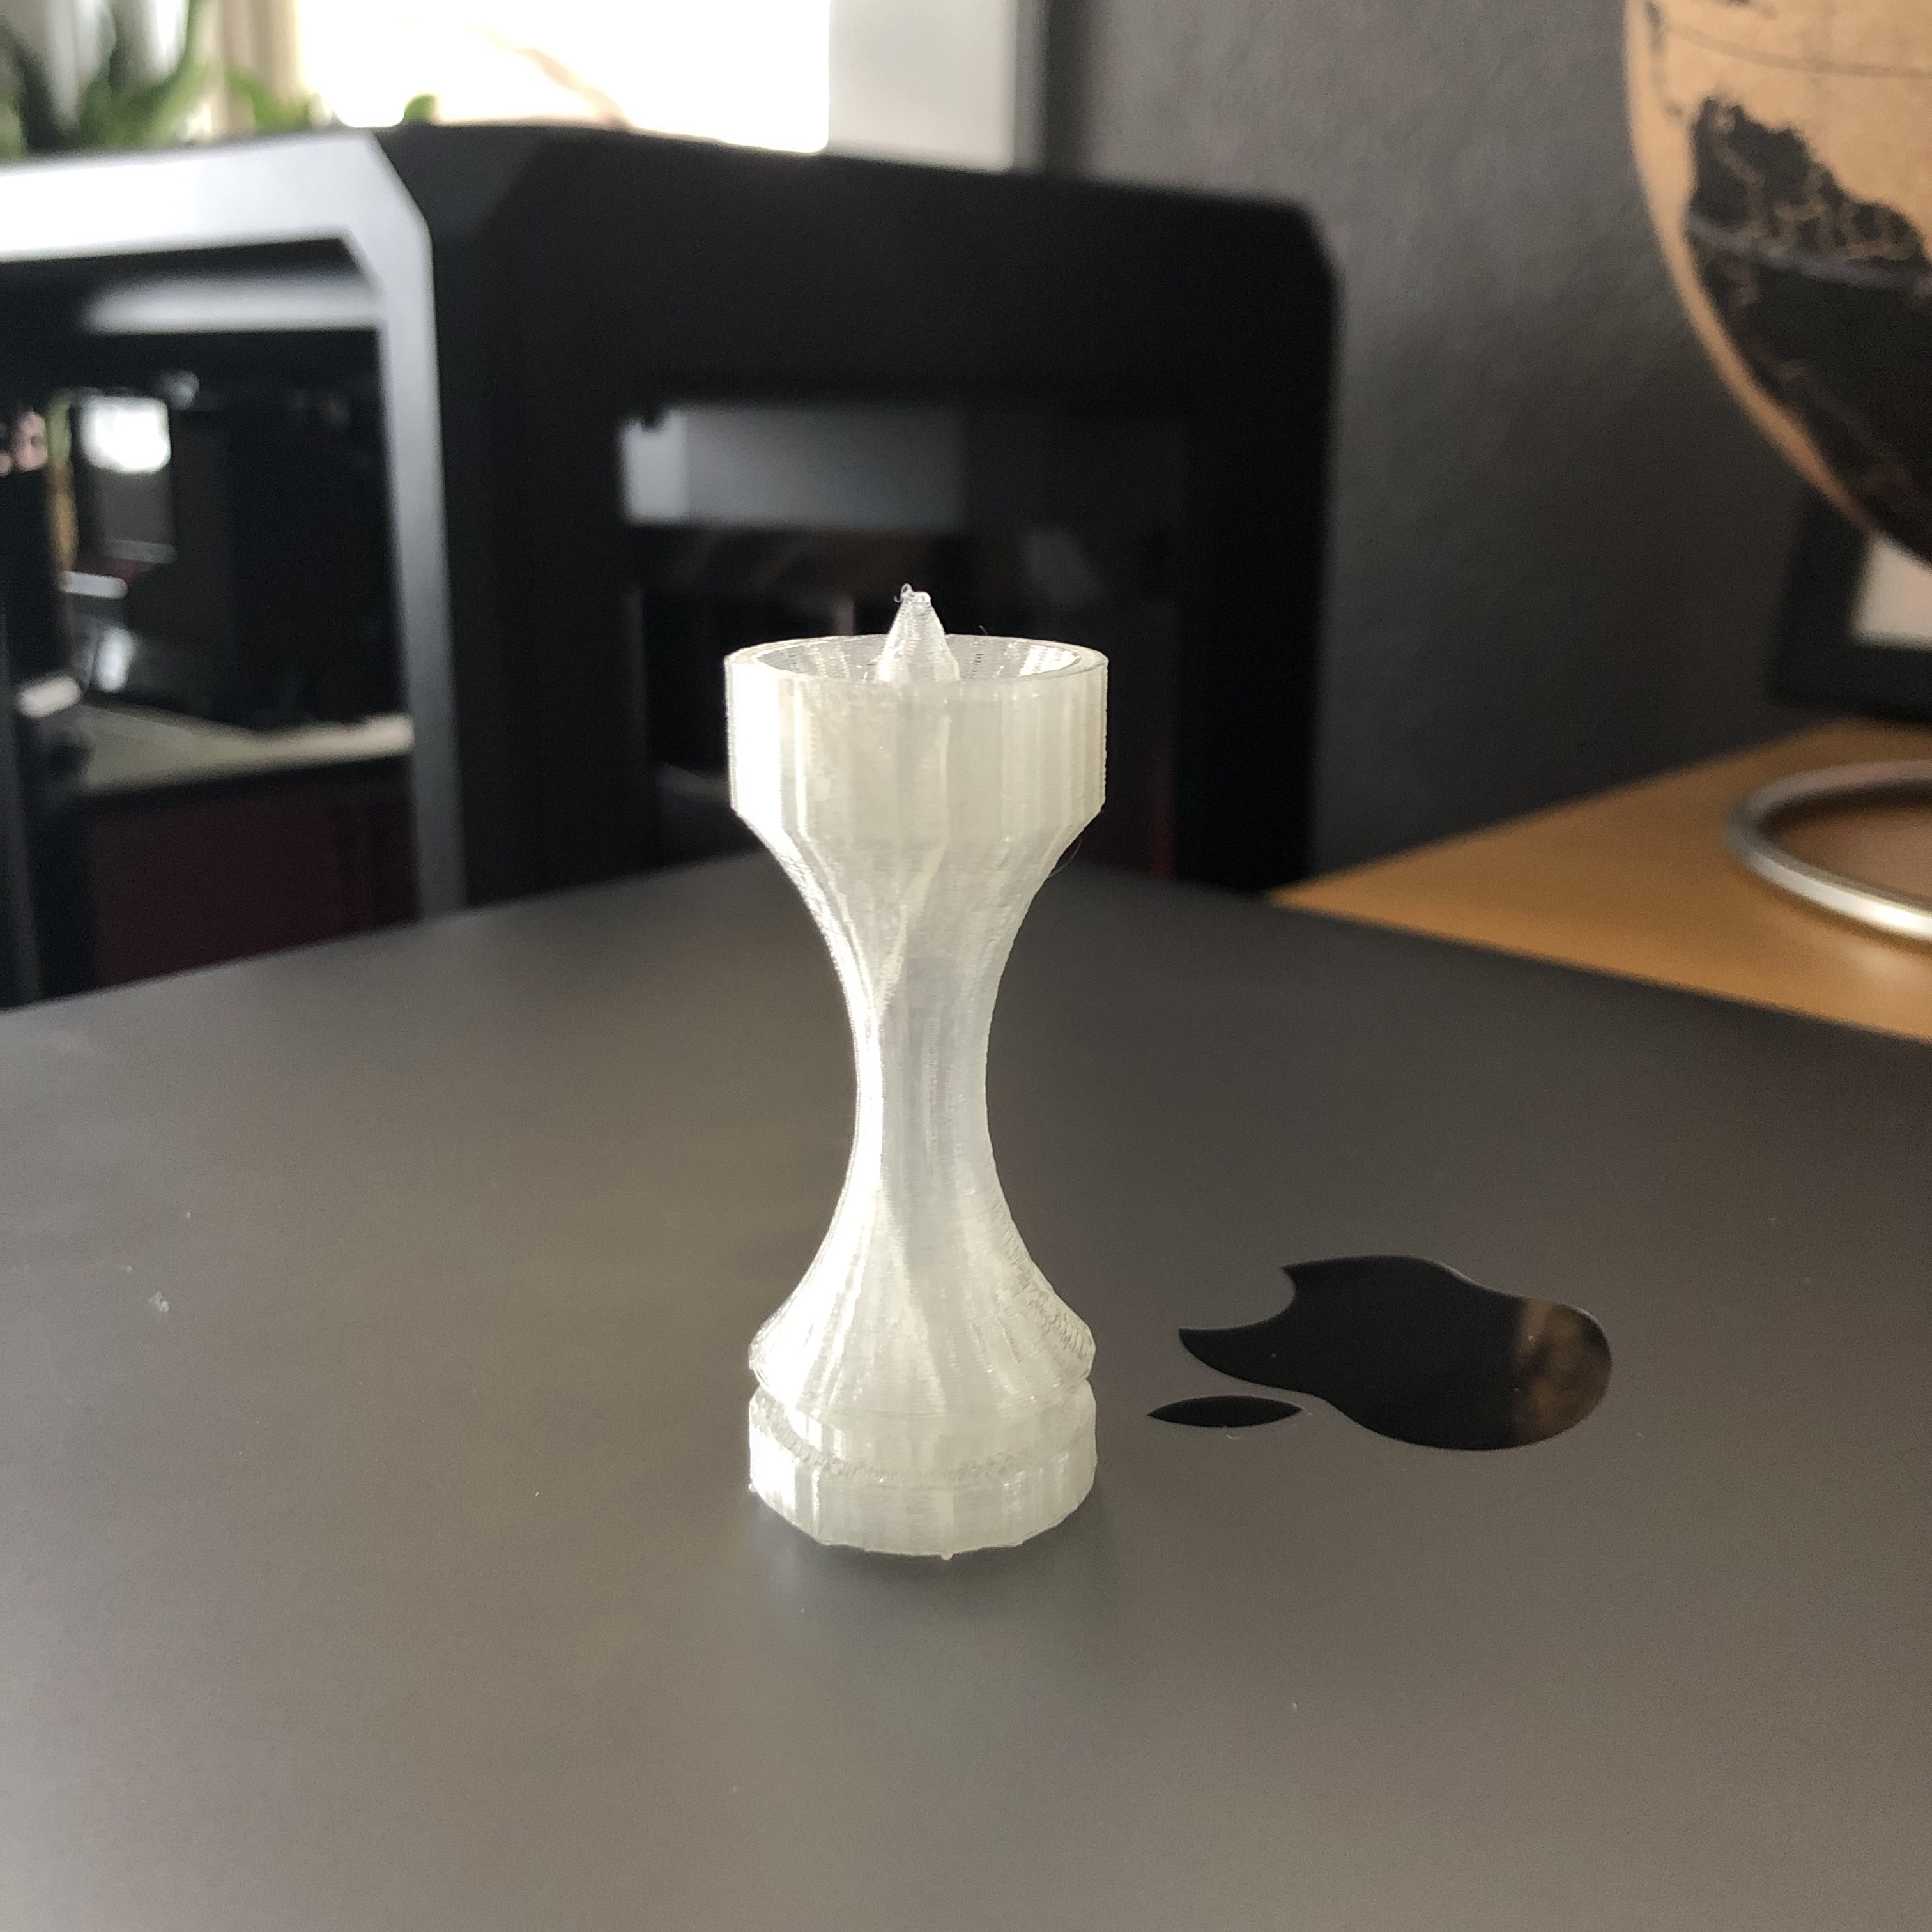
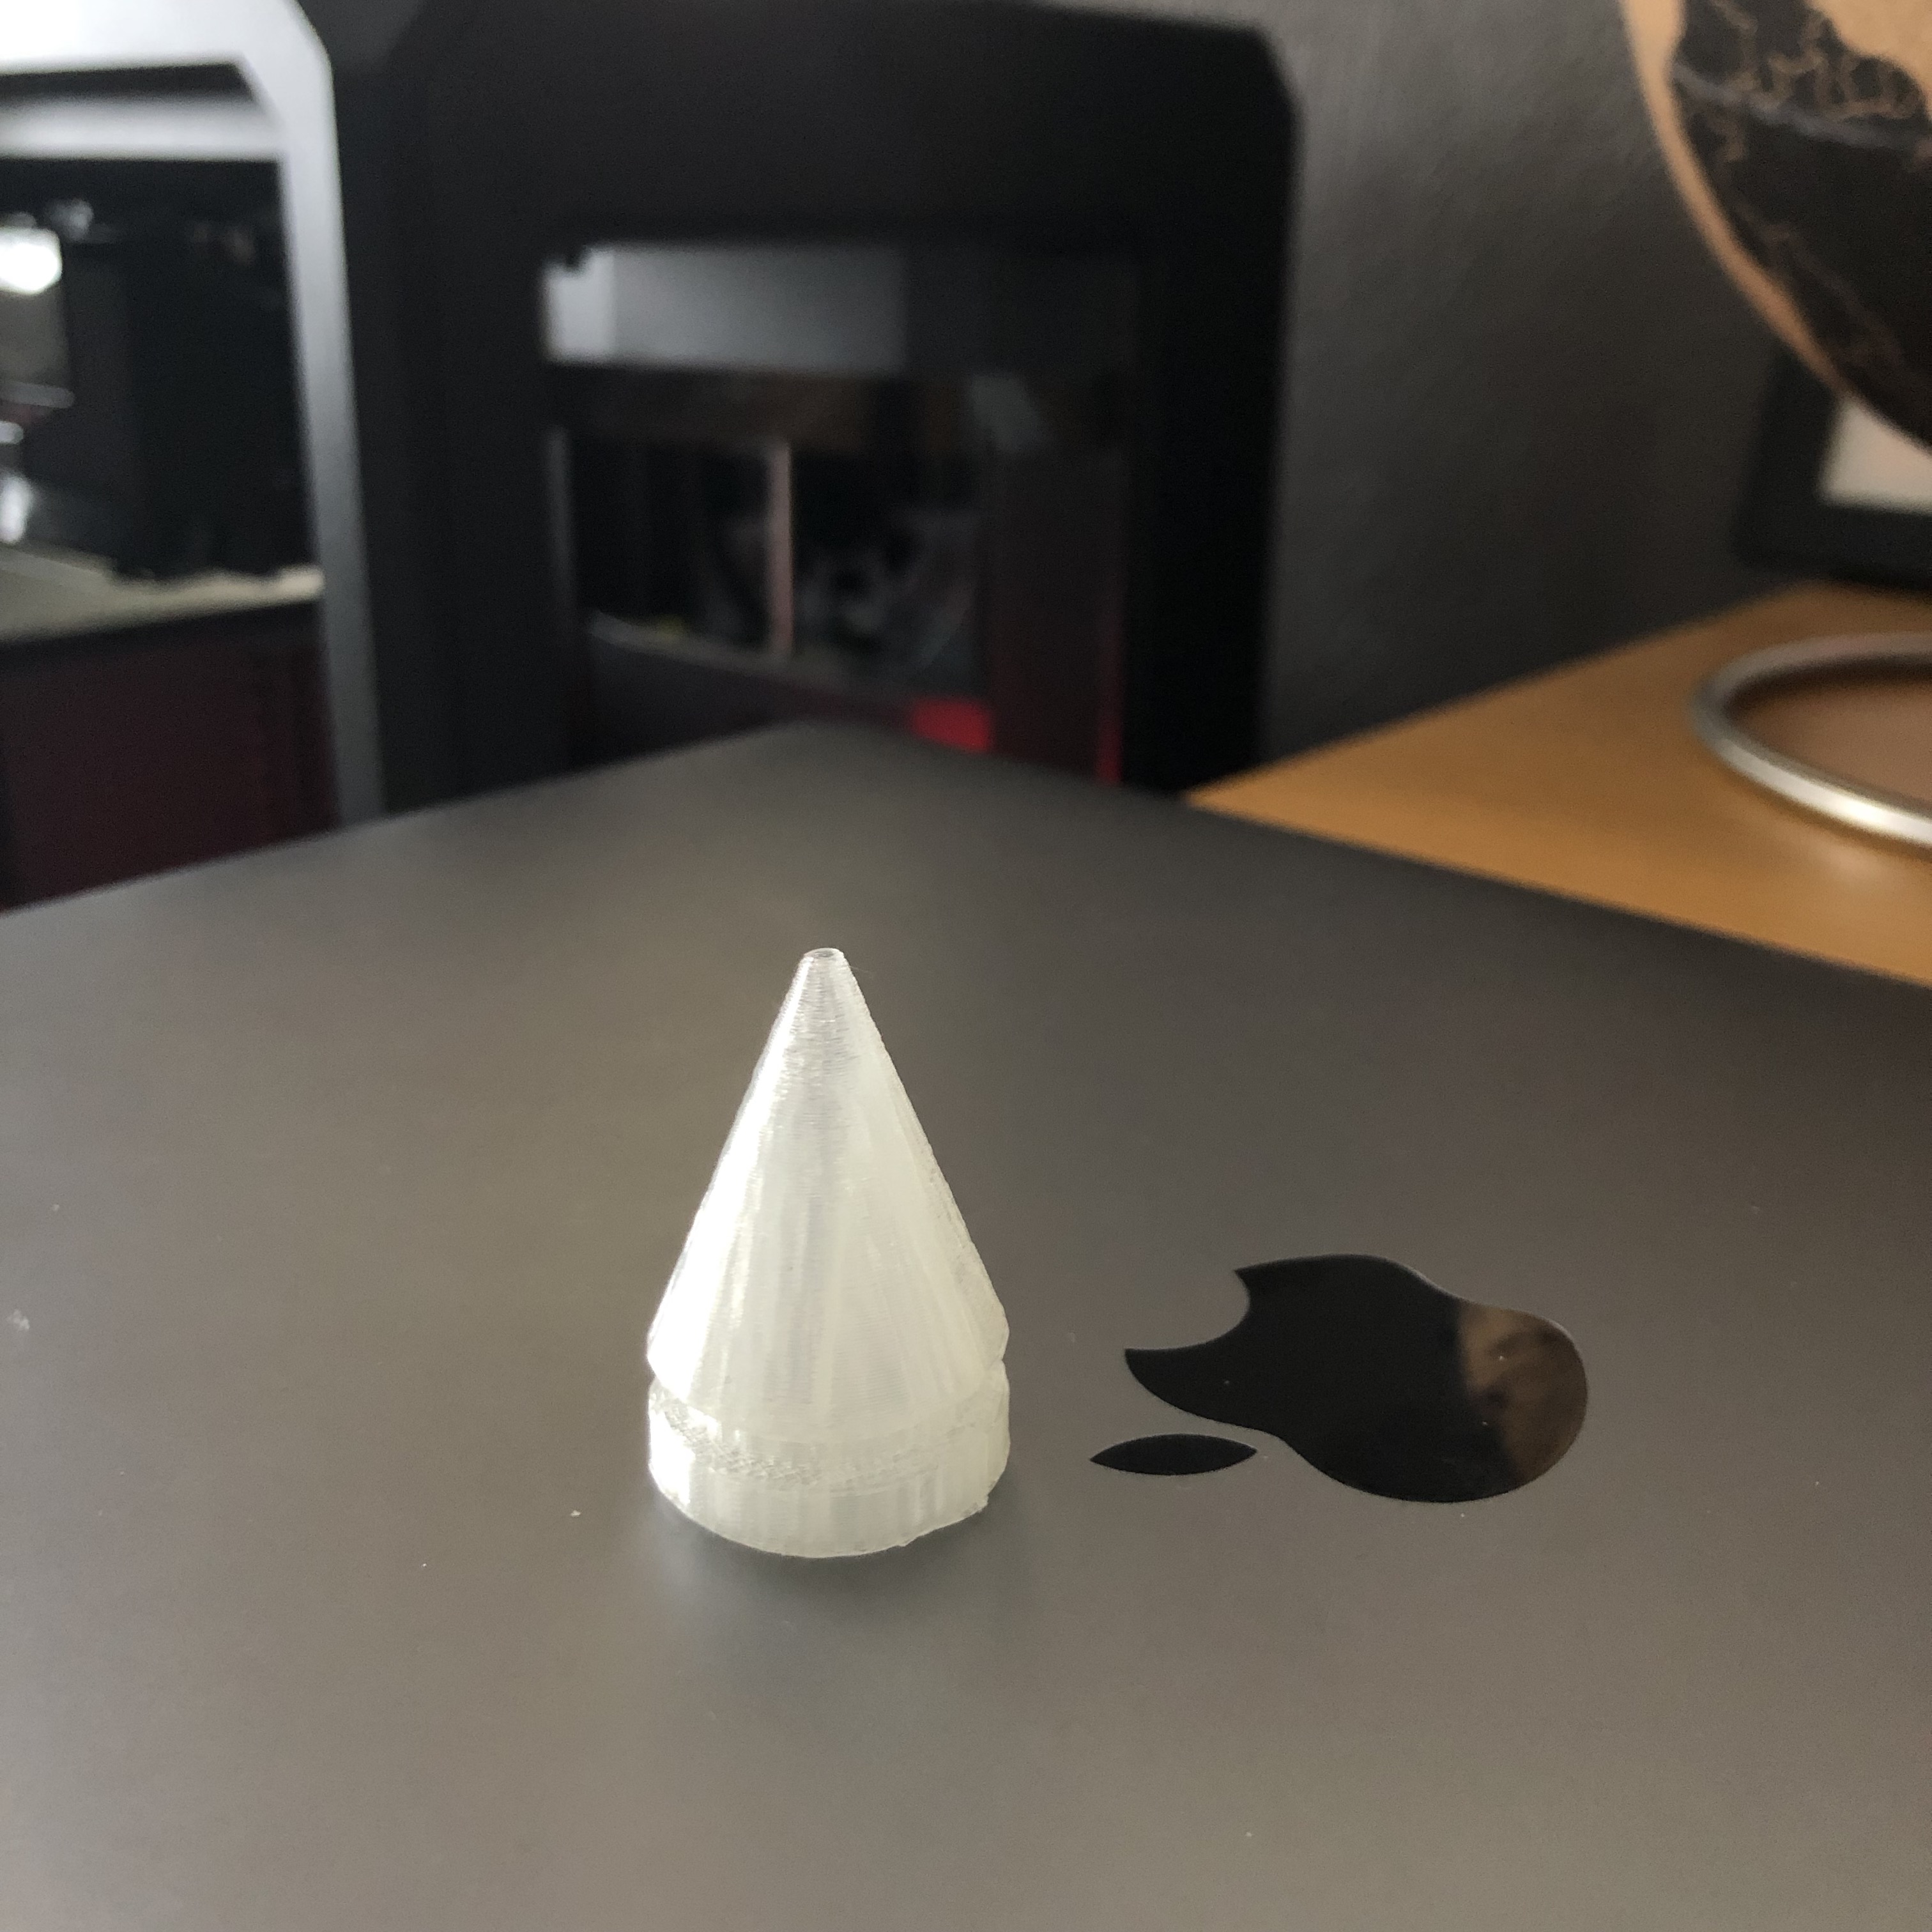


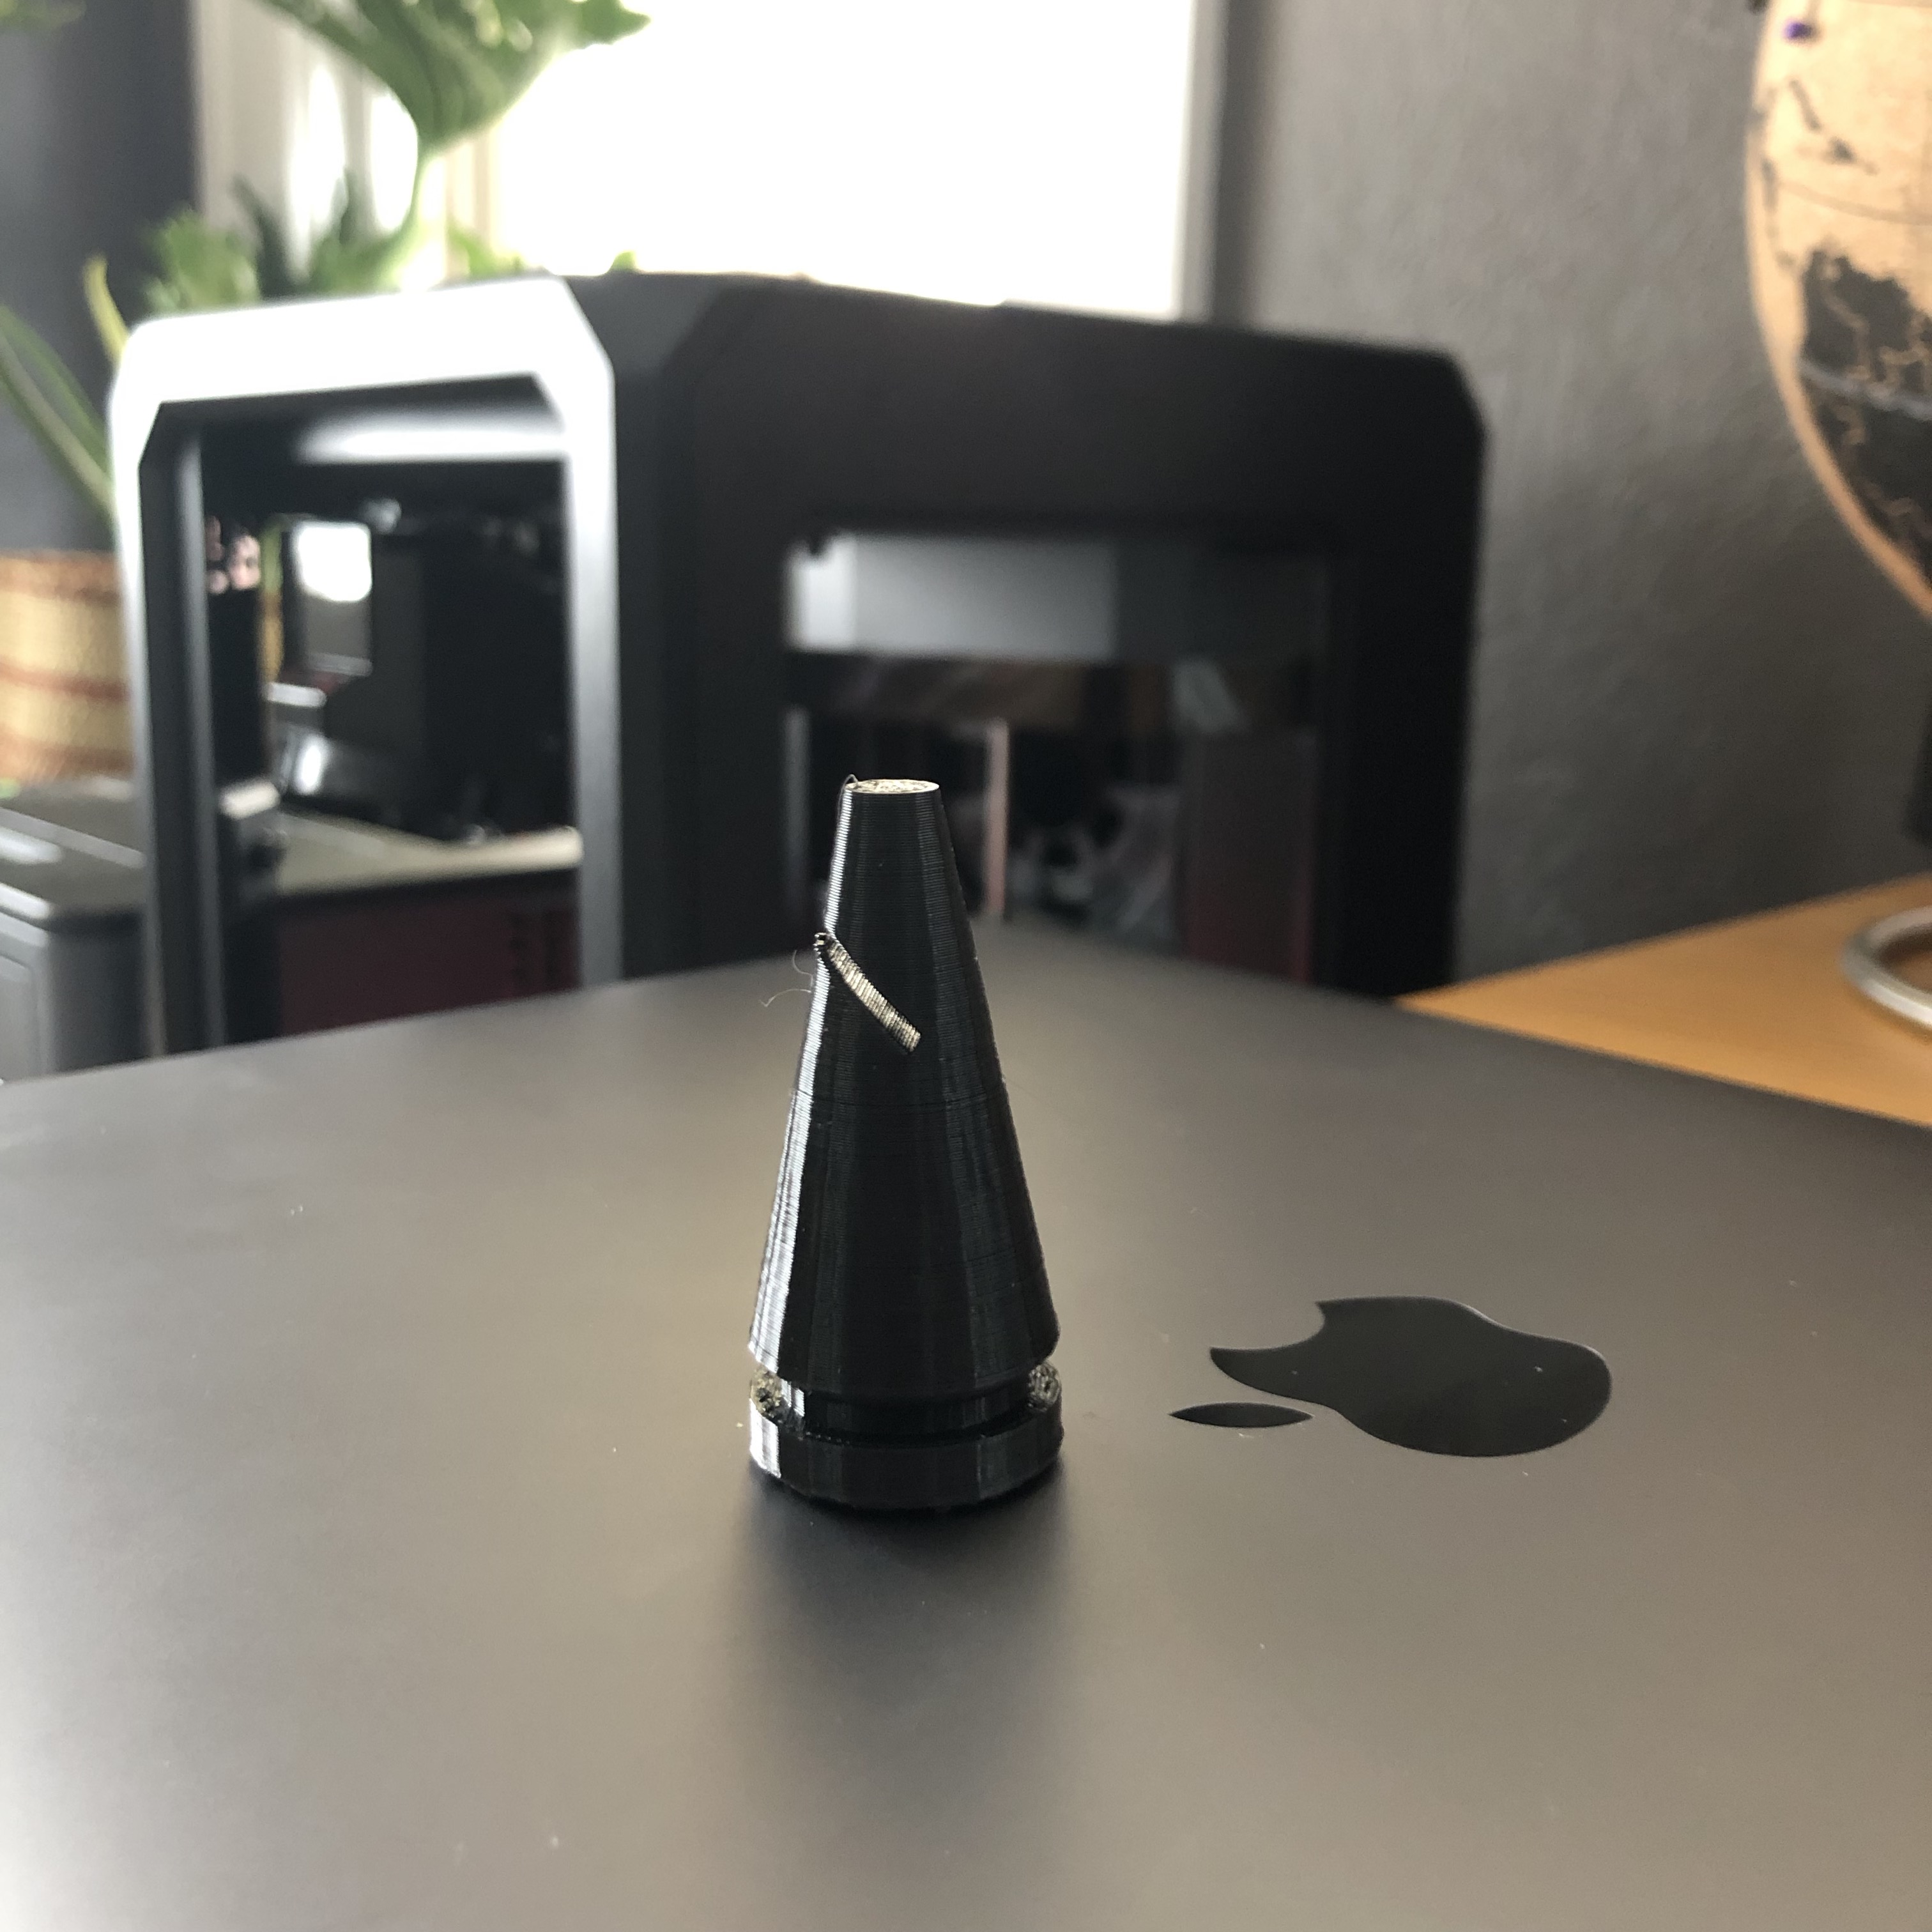
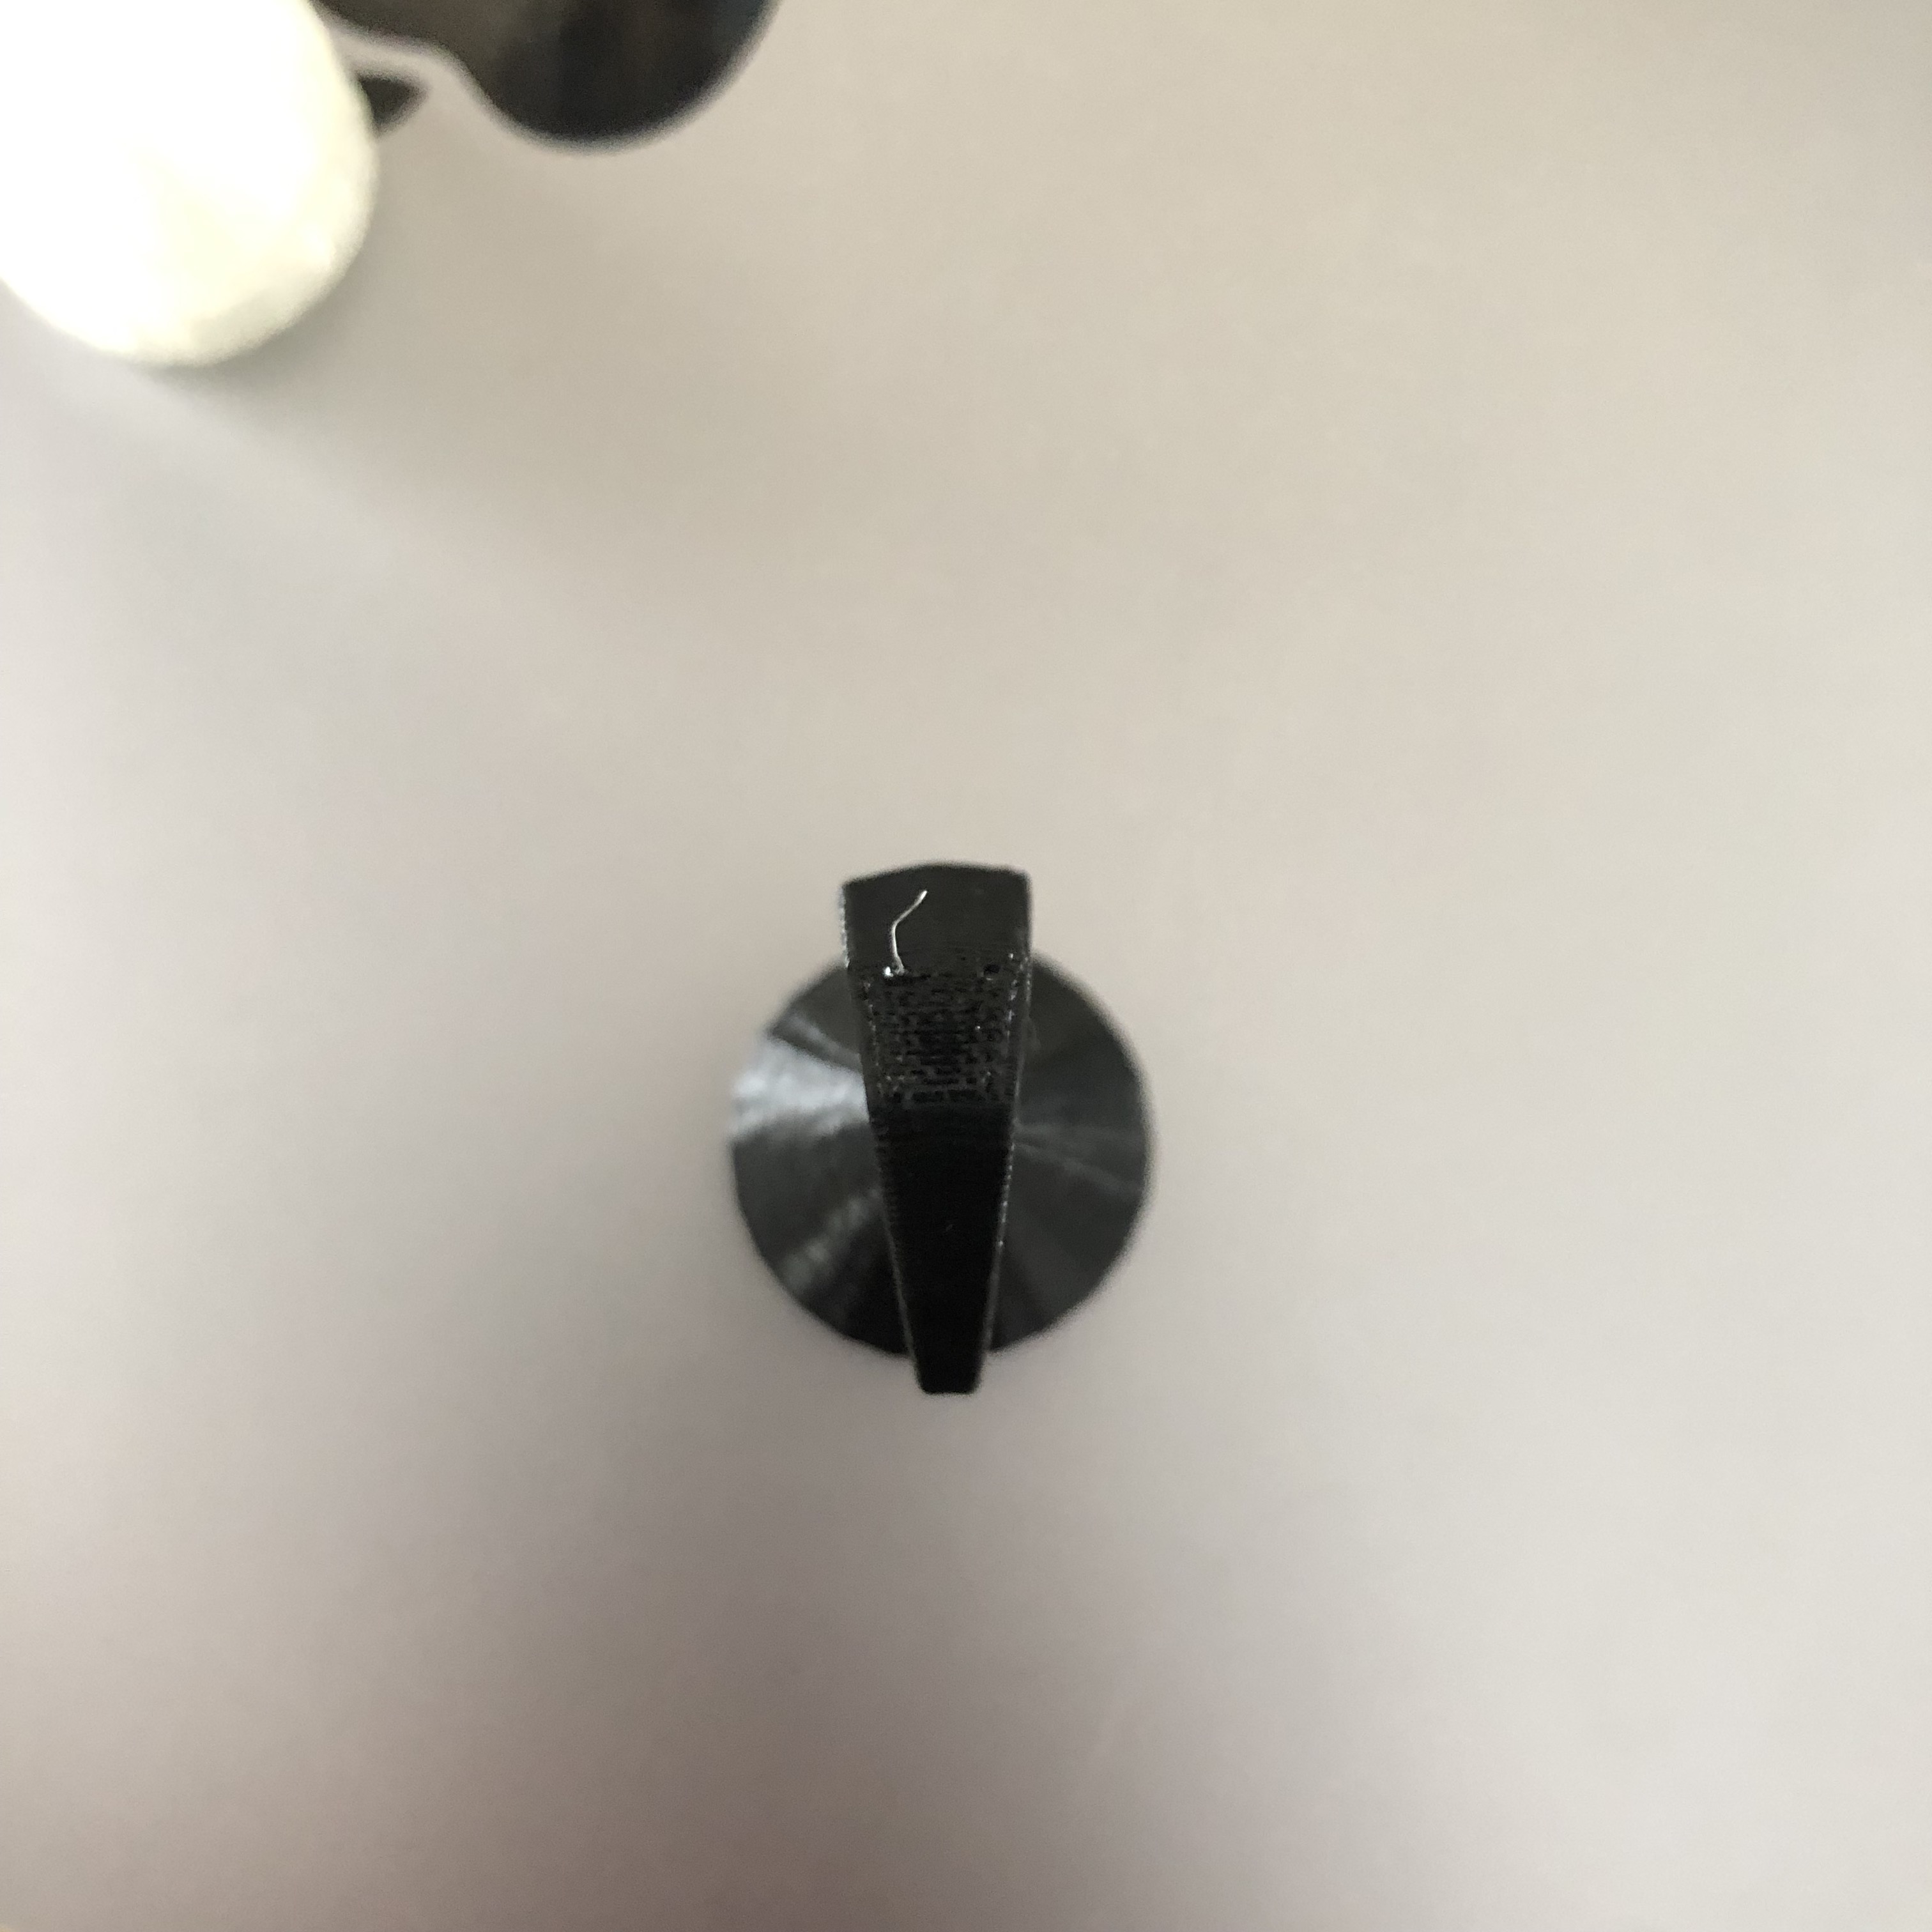
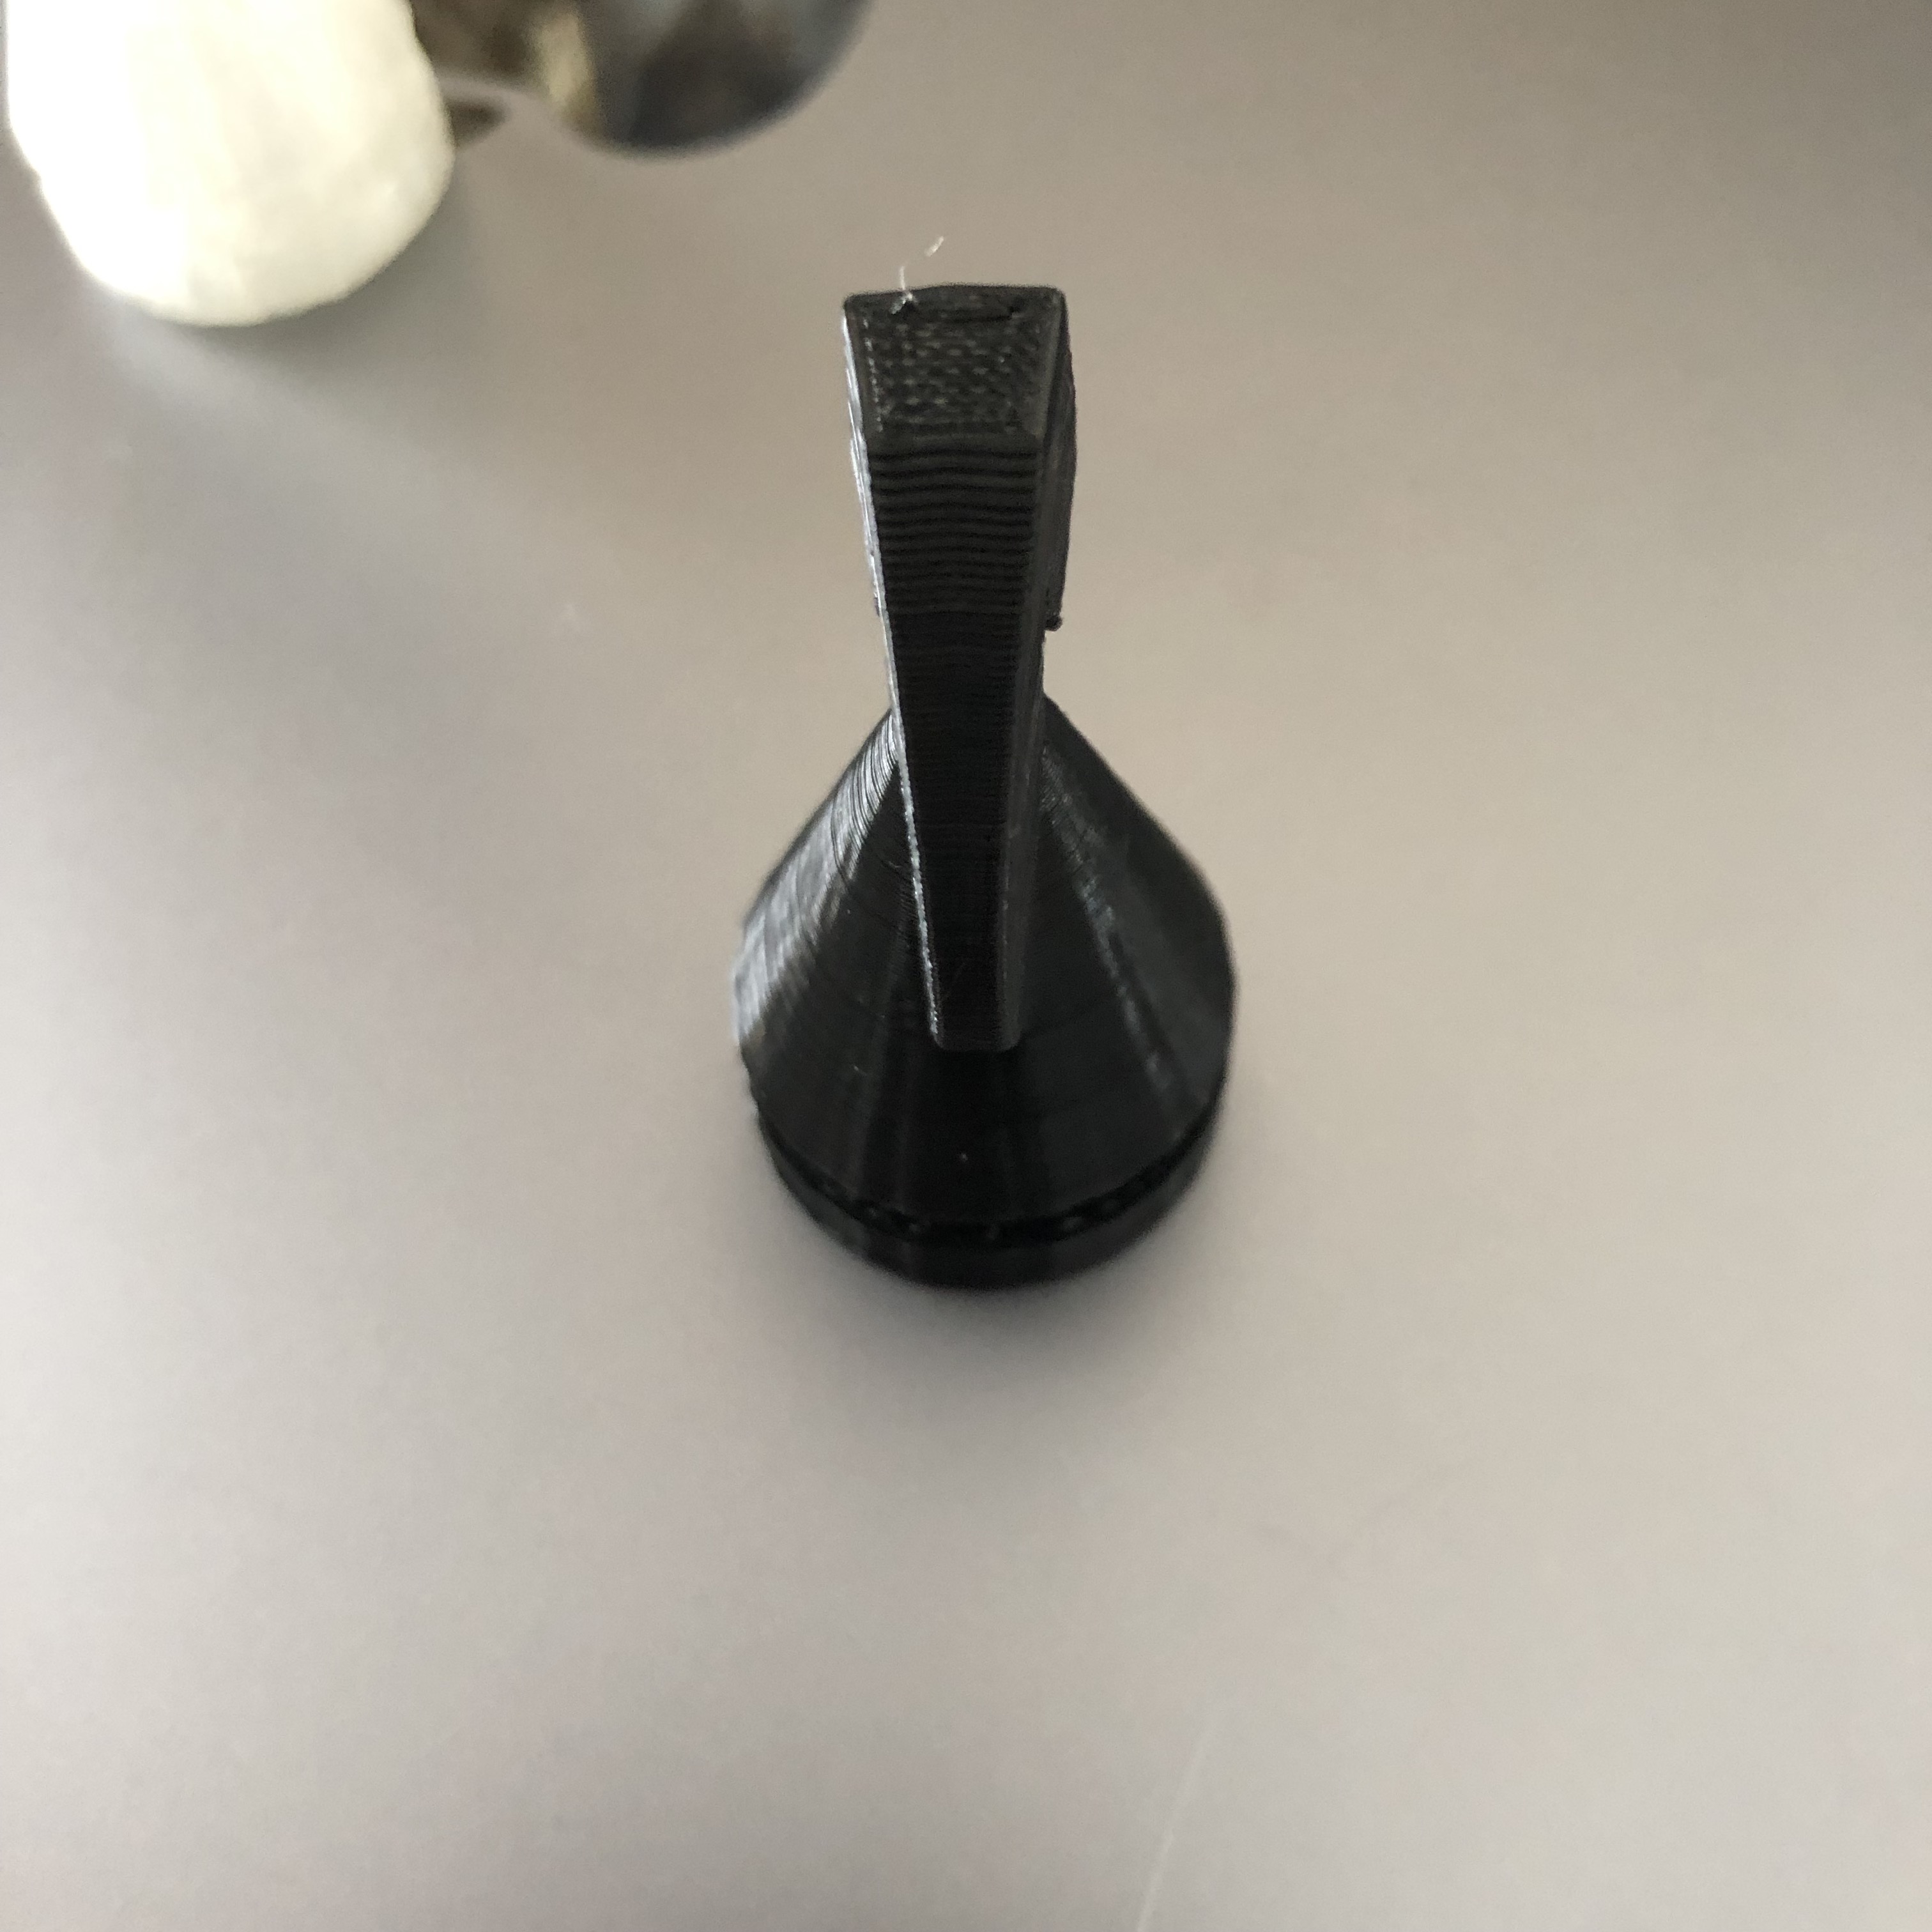
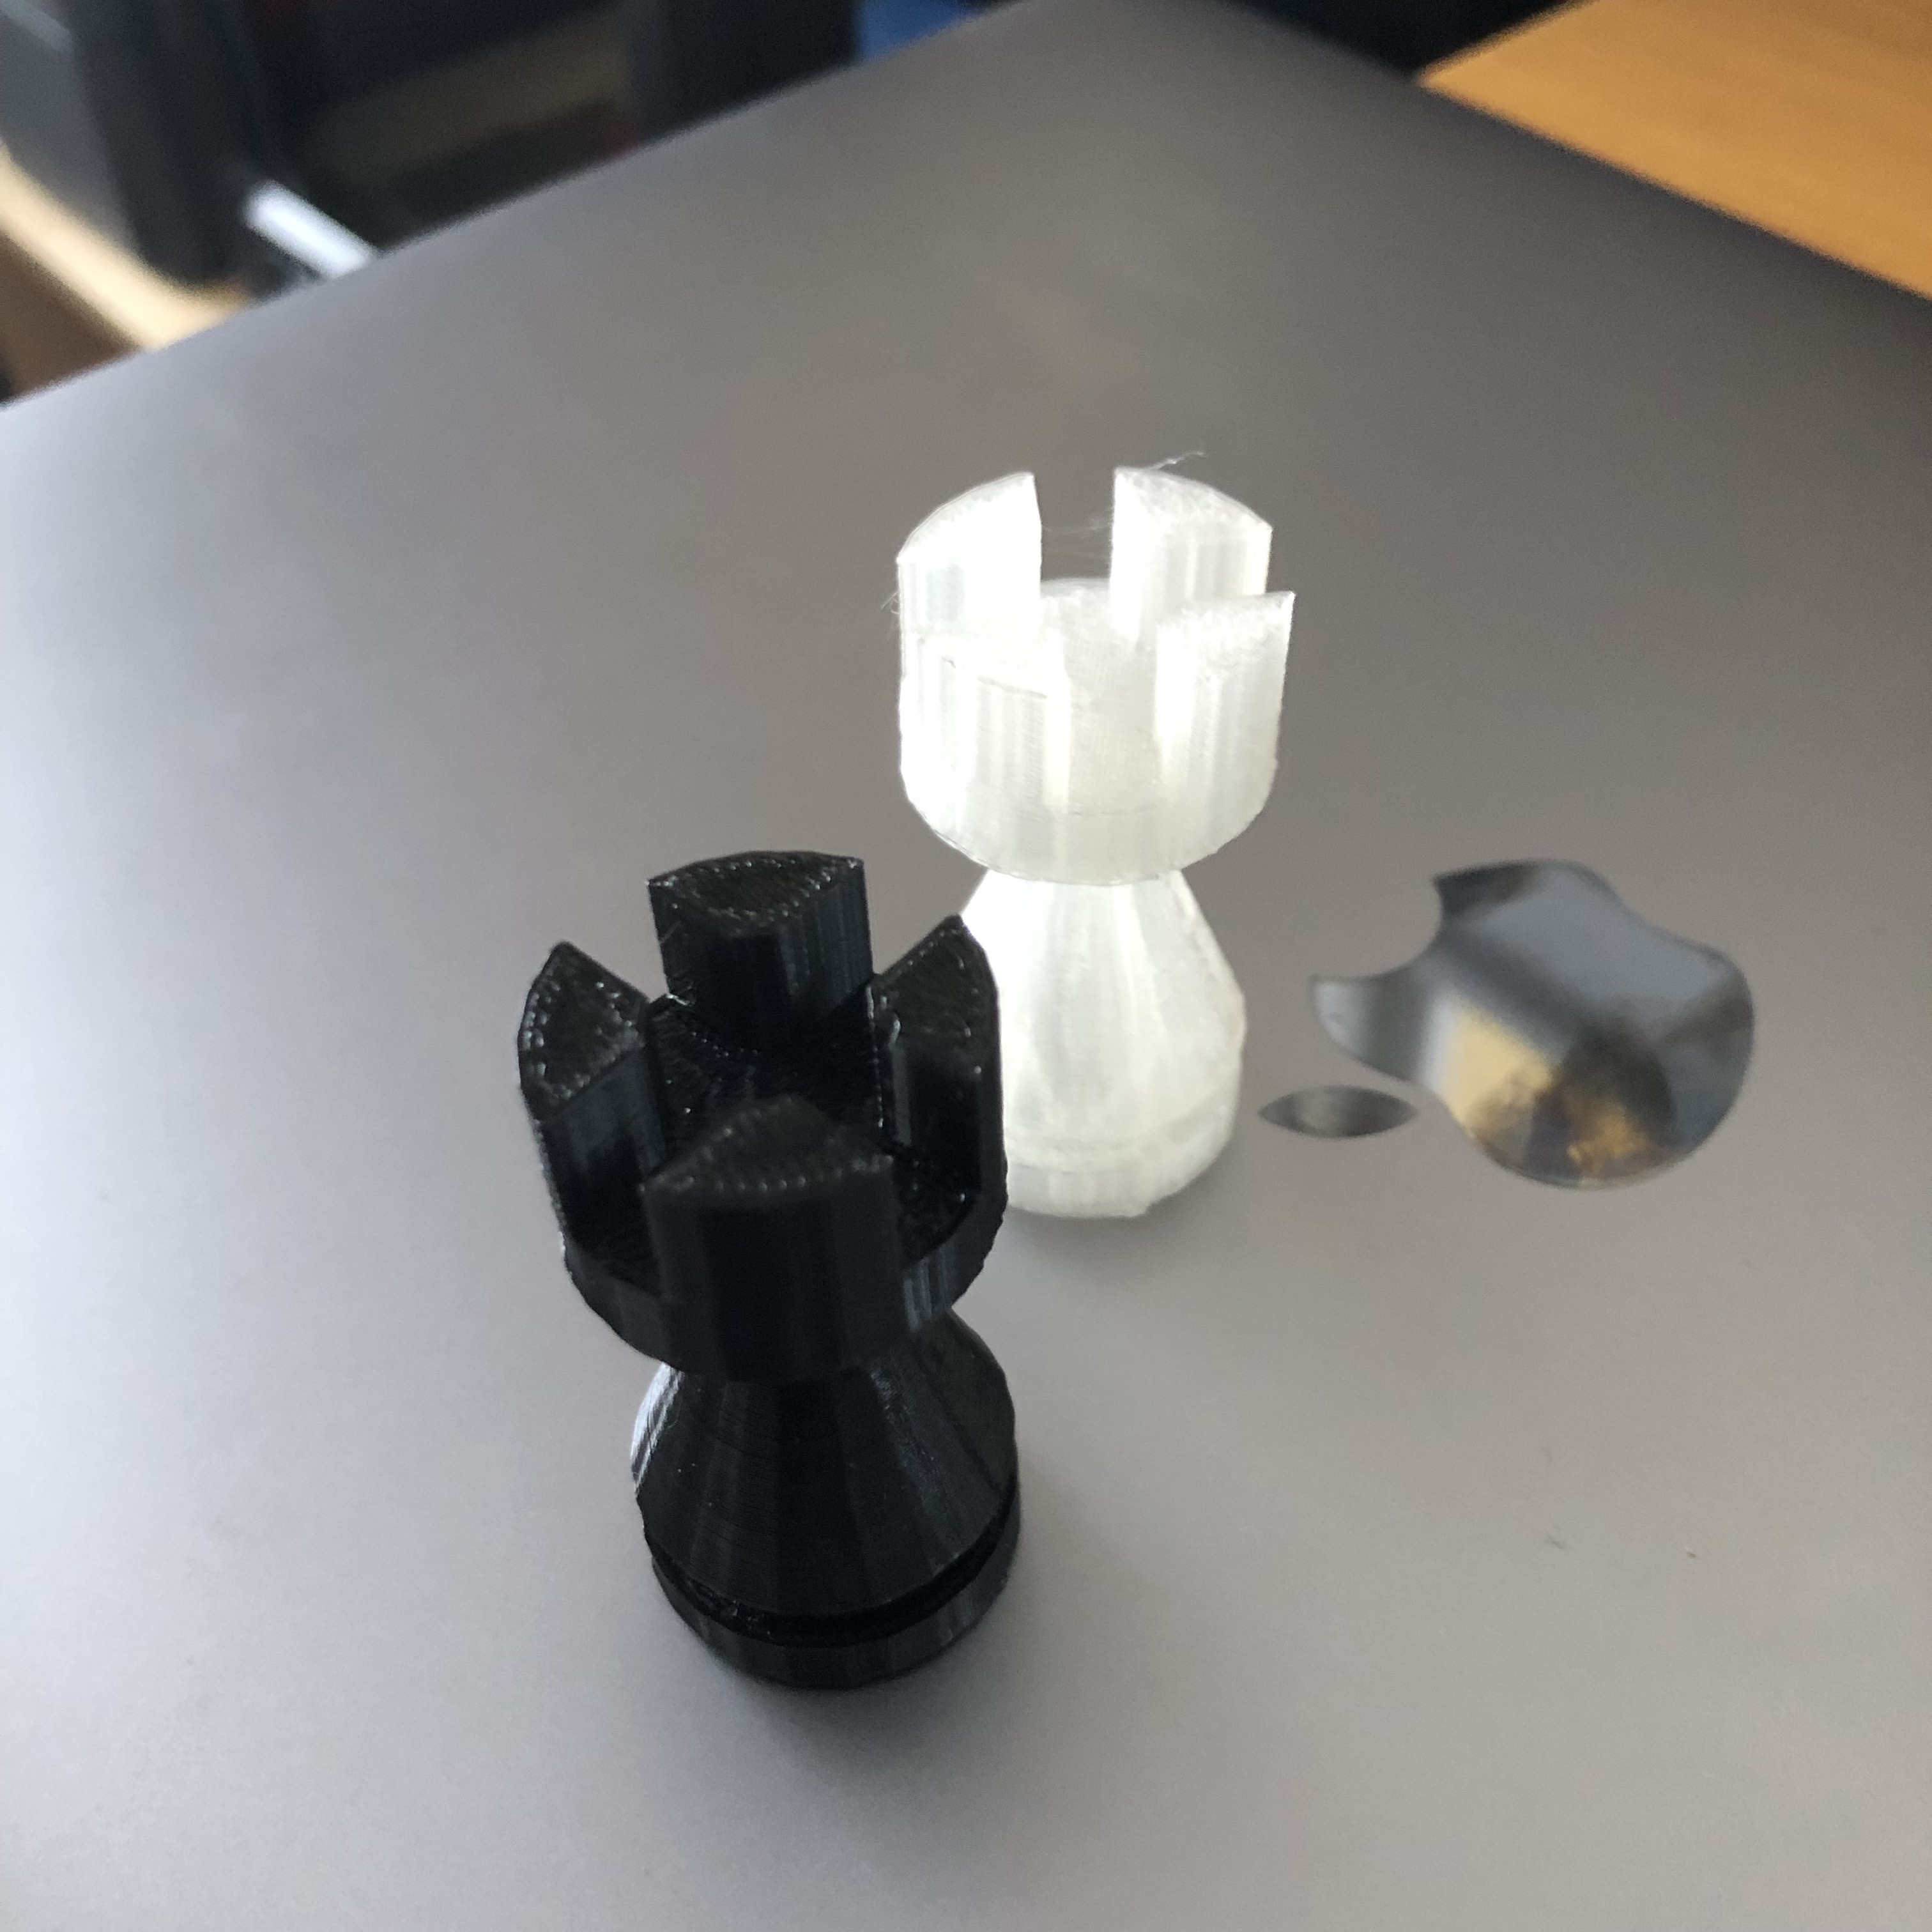
The first set I made took me about 2 hours per part to make. I modified the settings a bit and got the build time down to about 40 minutes each.
I had so much fun doing this I’ve kept messing with it on the weekends and when I need a distraction. After I finish a few sets for friends, I plan to do something higher quality and to spec for a larger chess board that our family uses.
I’d also love to try some other printers to compare quality. Specifically, I’d like to try a Ultimaker machine and compare the two. The next time I see Erik I’ll try to convince him to let me take one for a test run!
A surprising outcome of this was the new interest my son took in playing chess with me. I’m really enjoying that.